iT邦幫忙

2022 iThome 鐵人賽

DAY 19
0
DevOps

30天WebSphere入門及經驗分享系列 第 19

D19/在WebSphere匯入ssl憑證(二)

  • 分享至 

  • xImage
  •  

今天就來透過console匯入憑證,

登入console之後,左側選單 > Security > SSL certificate and key management
進入頁面後,點選右側 Key stores and certificates
https://ithelp.ithome.com.tw/upload/images/20221004/20128973nVnE1sBTdR.png
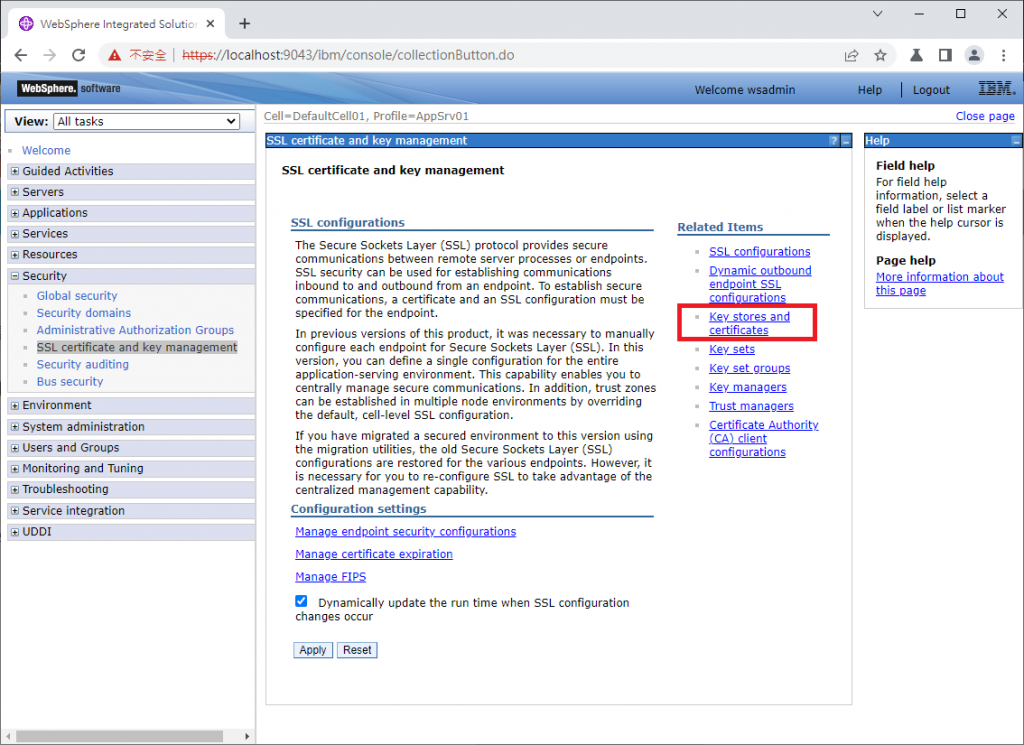
點擊 NodeDefaultTrustStore > 右側 Signer certificates
https://ithelp.ithome.com.tw/upload/images/20221004/201289739FanhqxNLt.png
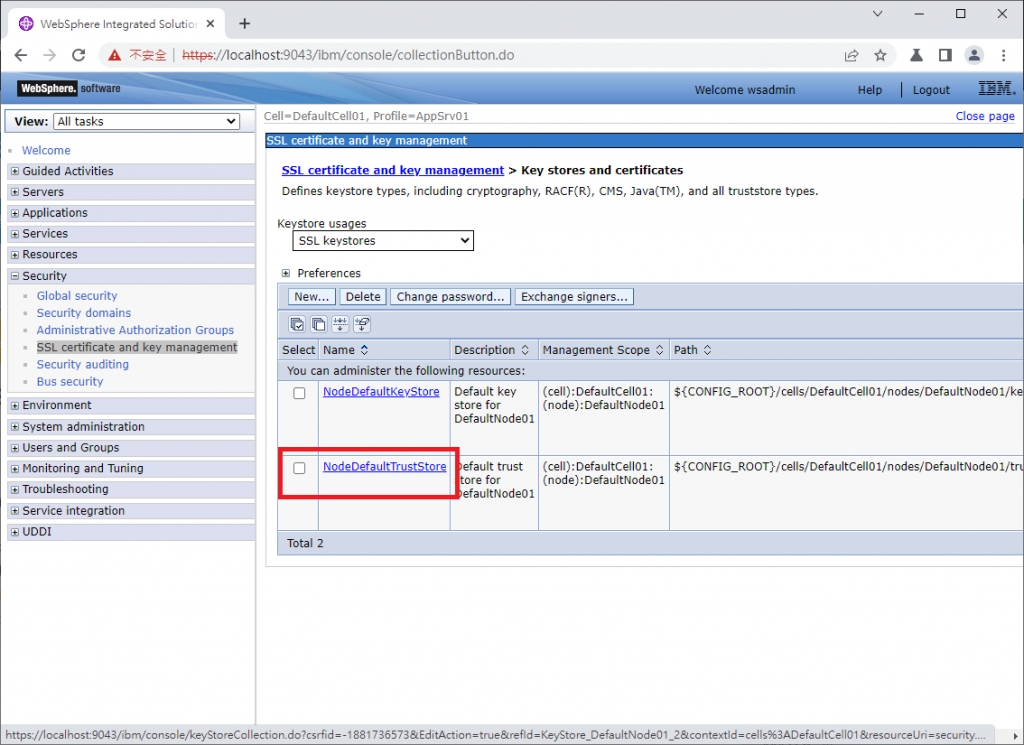
進入頁面可以看到,目前除了WebSphere自動產生的自簽憑證之外,目前沒有其他任何憑證
https://ithelp.ithome.com.tw/upload/images/20221004/20128973YDlmOV9Olk.png

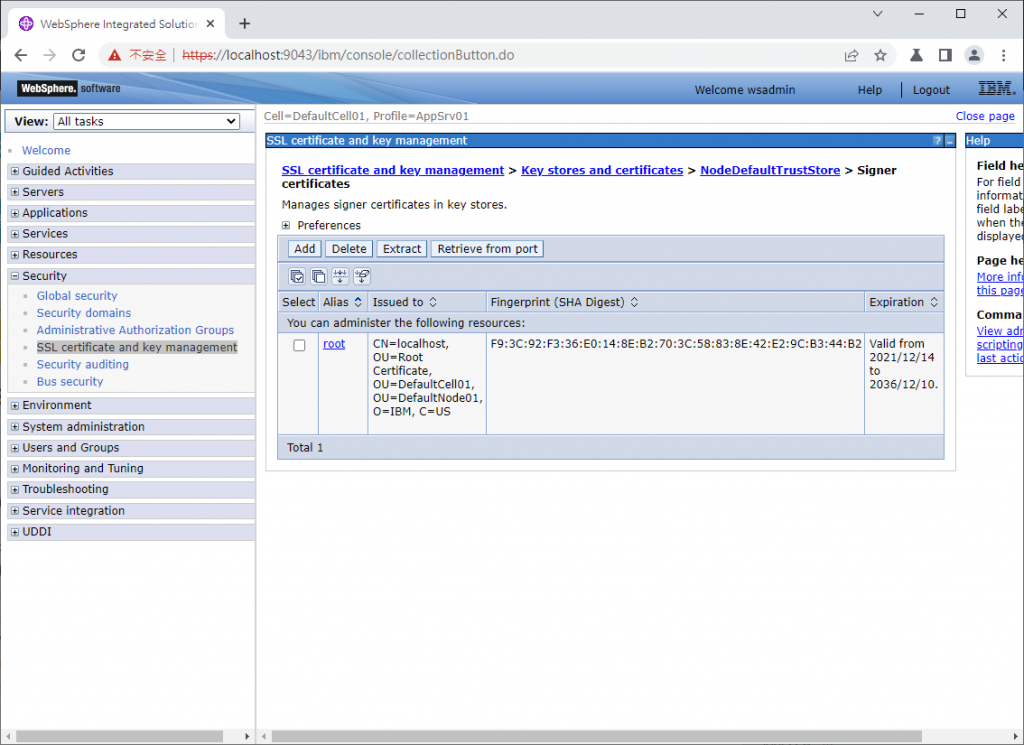
由於我在測試程式中寫的是連線https://www.google.com ,因此要將google的憑證匯入才行,
https://ithelp.ithome.com.tw/upload/images/20221004/20128973b3xPaZM9Qb.png

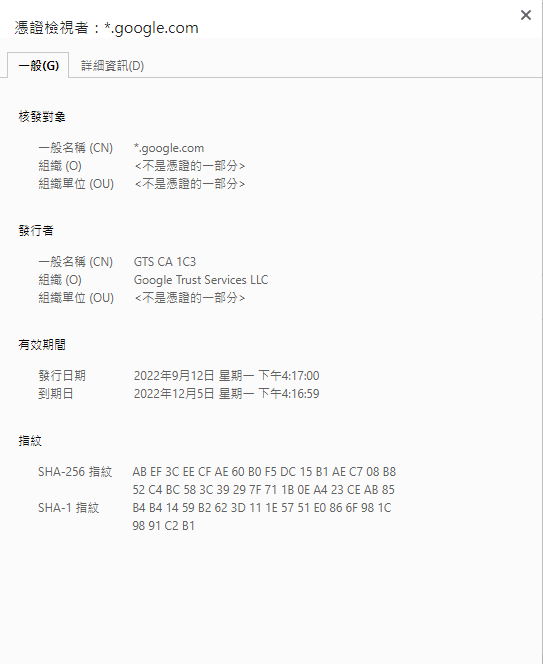
匯入憑證有兩種方法([Add] or [Retrieve from port]):
https://ithelp.ithome.com.tw/upload/images/20221004/20128973FiuwgTXEEQ.png
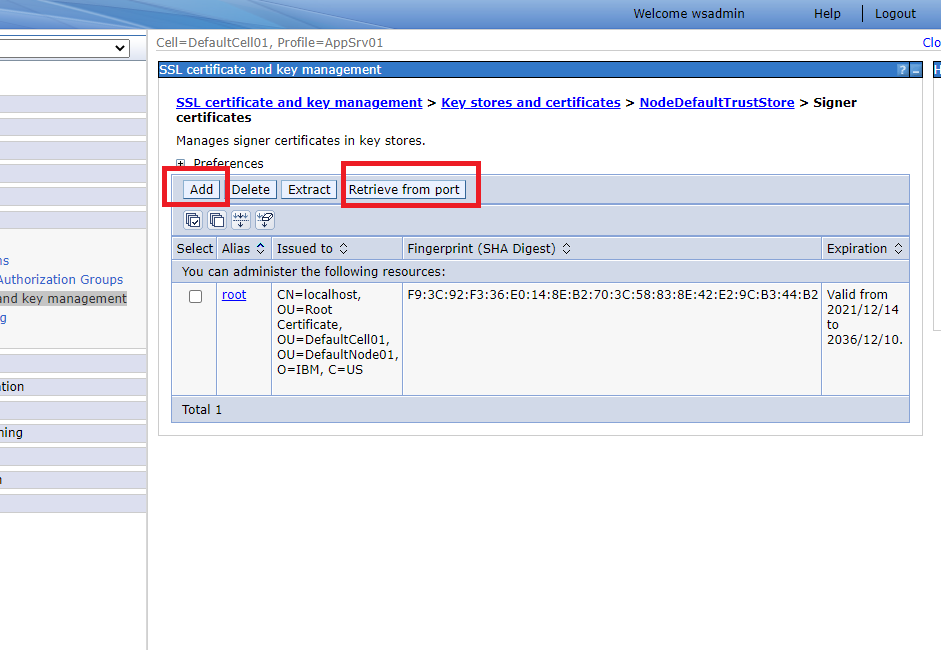
1.[Add] 將憑證下載下來,再匯入的憑證庫儲存
https://ithelp.ithome.com.tw/upload/images/20221004/201289734zCfmFo8gO.png
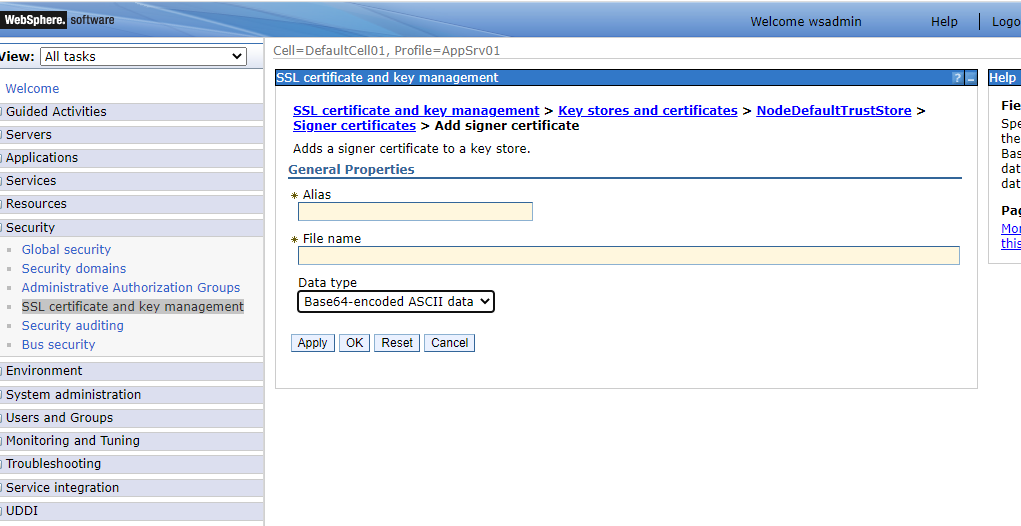
2.[Retrieve from port] 透過WebSphere直接擷取憑證,並匯入的憑證庫儲存

選擇 1.的情況,通常是更換憑證時使用,
例如:對方網站通知他們即將更換SSL憑證,並提供新的SSL憑證讓我們在新憑證還沒換上網站前提早匯入

選擇 2.的情況,則通常是新增憑證時使用,
例如:程式要連到一個新網站,以Retrieve from port的方式擷取憑證,並順便檢查防火牆有沒有開通

今天就先以Retrieve from port匯入憑證

點擊[Retrieve from port]按鈕
輸入Host與Port
https://ithelp.ithome.com.tw/upload/images/20221004/20128973fMsROO55MZ.png
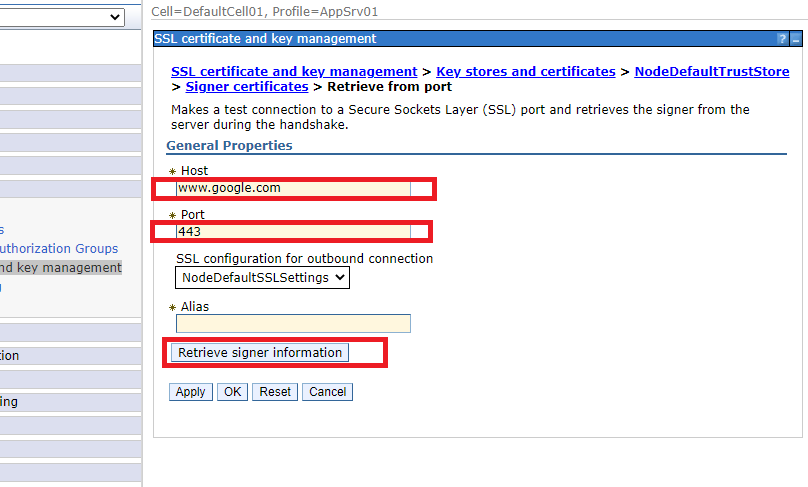
點擊[Retrieved signer information]
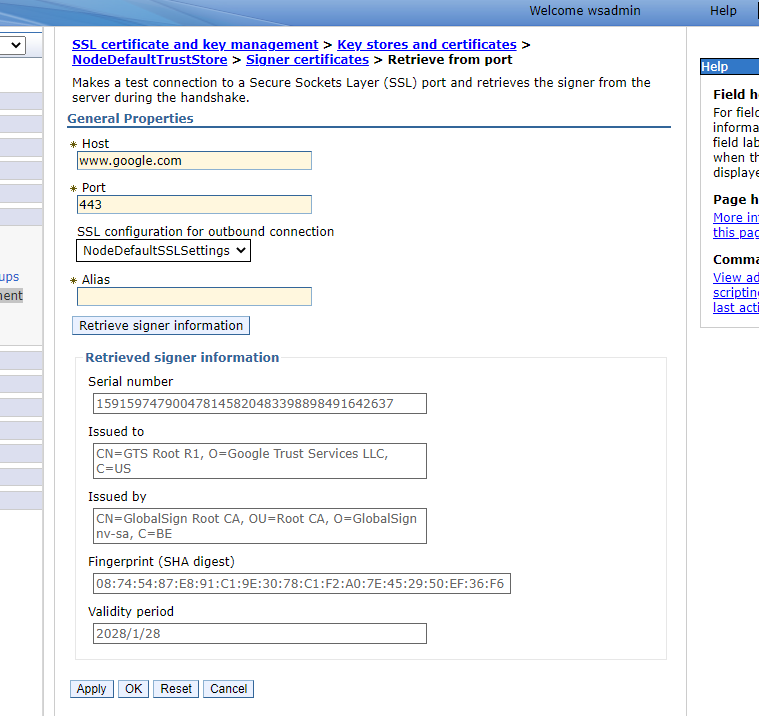
https://ithelp.ithome.com.tw/upload/images/20221004/20128973bc6JqXlz0G.png
下方會出現擷取到的憑證資訊,
確認無誤後,輸入Alias , 按OK並Save即可

此時重新測試連線,就不會出現SSLHandshake的錯誤了。


上一篇
D18/在WebSphere匯入ssl憑證(一)
下一篇
D20/WebSphere的SSL 連線設定
系列文
30天WebSphere入門及經驗分享36
圖片
  直播研討會
圖片
{{ item.channelVendor }} {{ item.webinarstarted }} |
{{ formatDate(item.duration) }}
直播中

尚未有邦友留言

立即登入留言