參考 https://docs.velociraptor.app/docs/deployment/clients/
Velociraptor Server
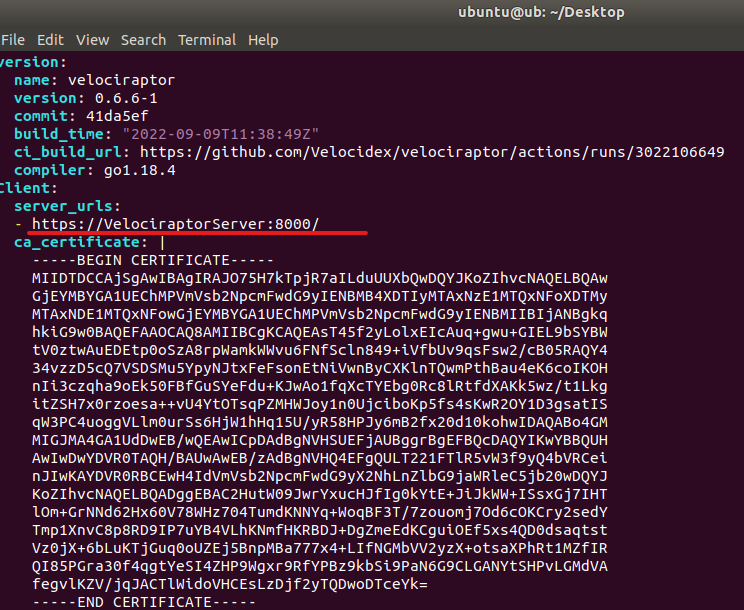
到Docker 內把設定檔複製出來
docker cp velociraptor:/velociraptor/client.config.yaml .
修改server urls (改成IP)
Windows client
到Github下載client agent (velociraptor-v0.6.6-2-windows-amd64.msi)
https://github.com/Velocidex/velociraptor/releases
執行後複製client.config.yaml 到C:\Program Files\Velociraptor\
開啟cmd 輸入以下指令
velociraptor.exe --config client.config.yaml service install
瀏覽器
左上輸入all,看到主機報到成功
https://docs.velociraptor.app/docs/deployment/clients/
