比較 Kotlin 和 Flutter 按鈕觸發事件改變 View 的差異之處。
以點選按鈕後變動文字顏色為例,EX: 文字 "阿寶" 文字變為綠色,再點一次則回復預設顏色。
| 點擊按鈕前 | 點擊按鈕後 |
|---|---|
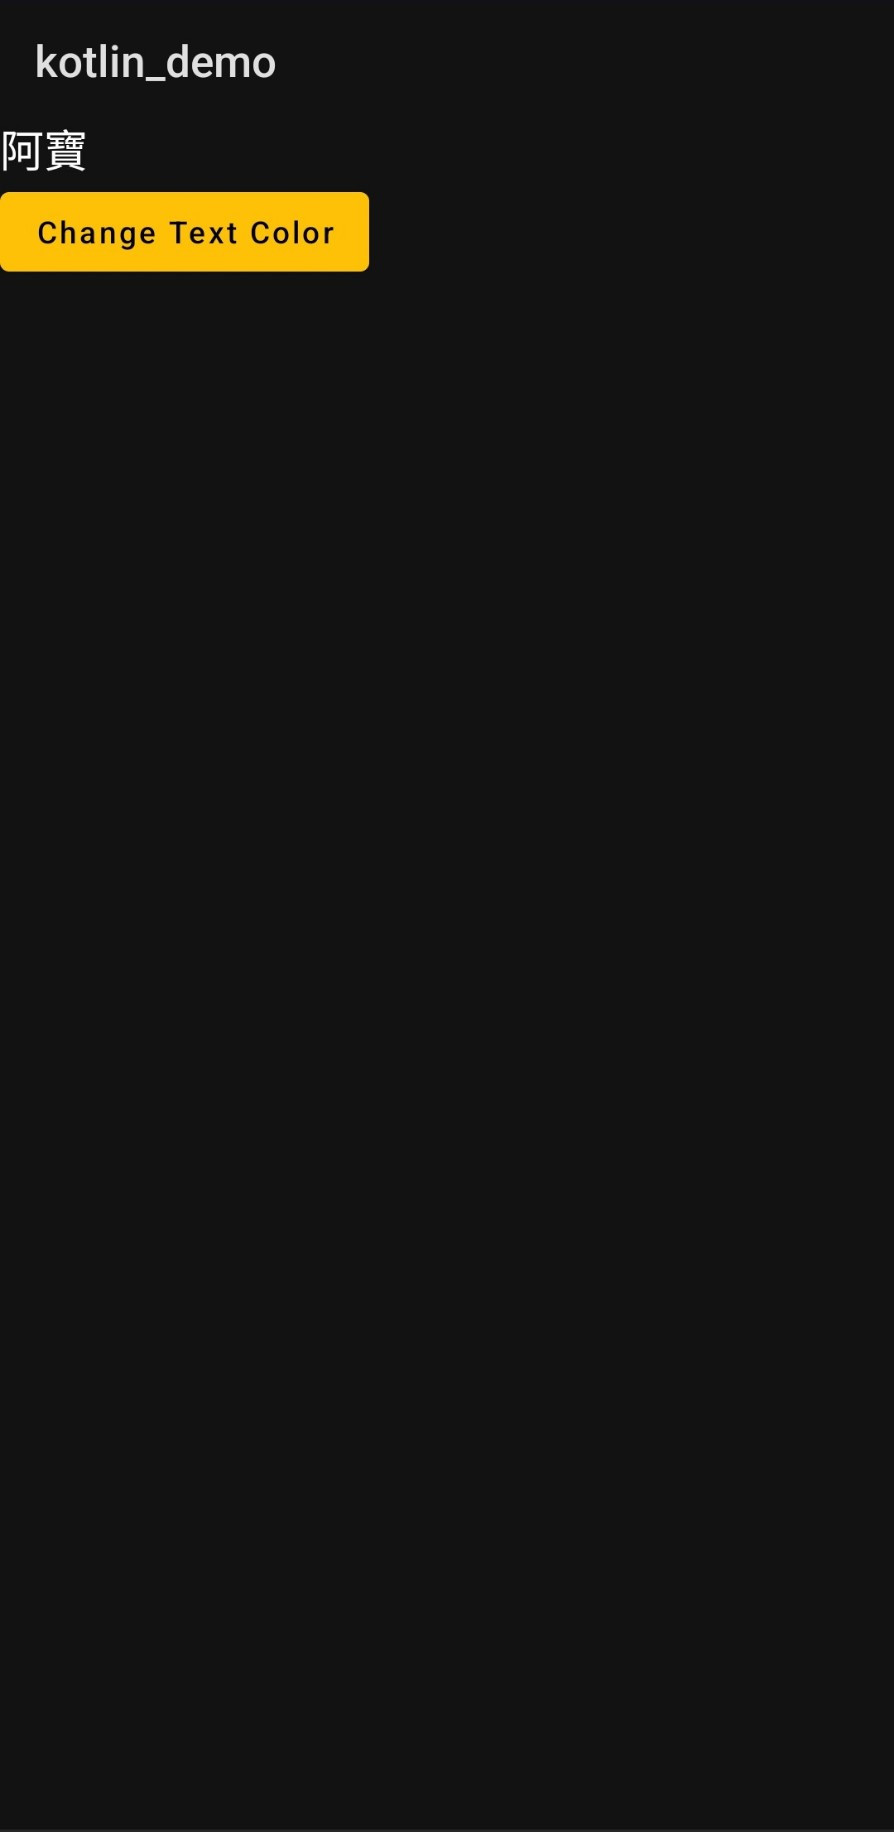 |
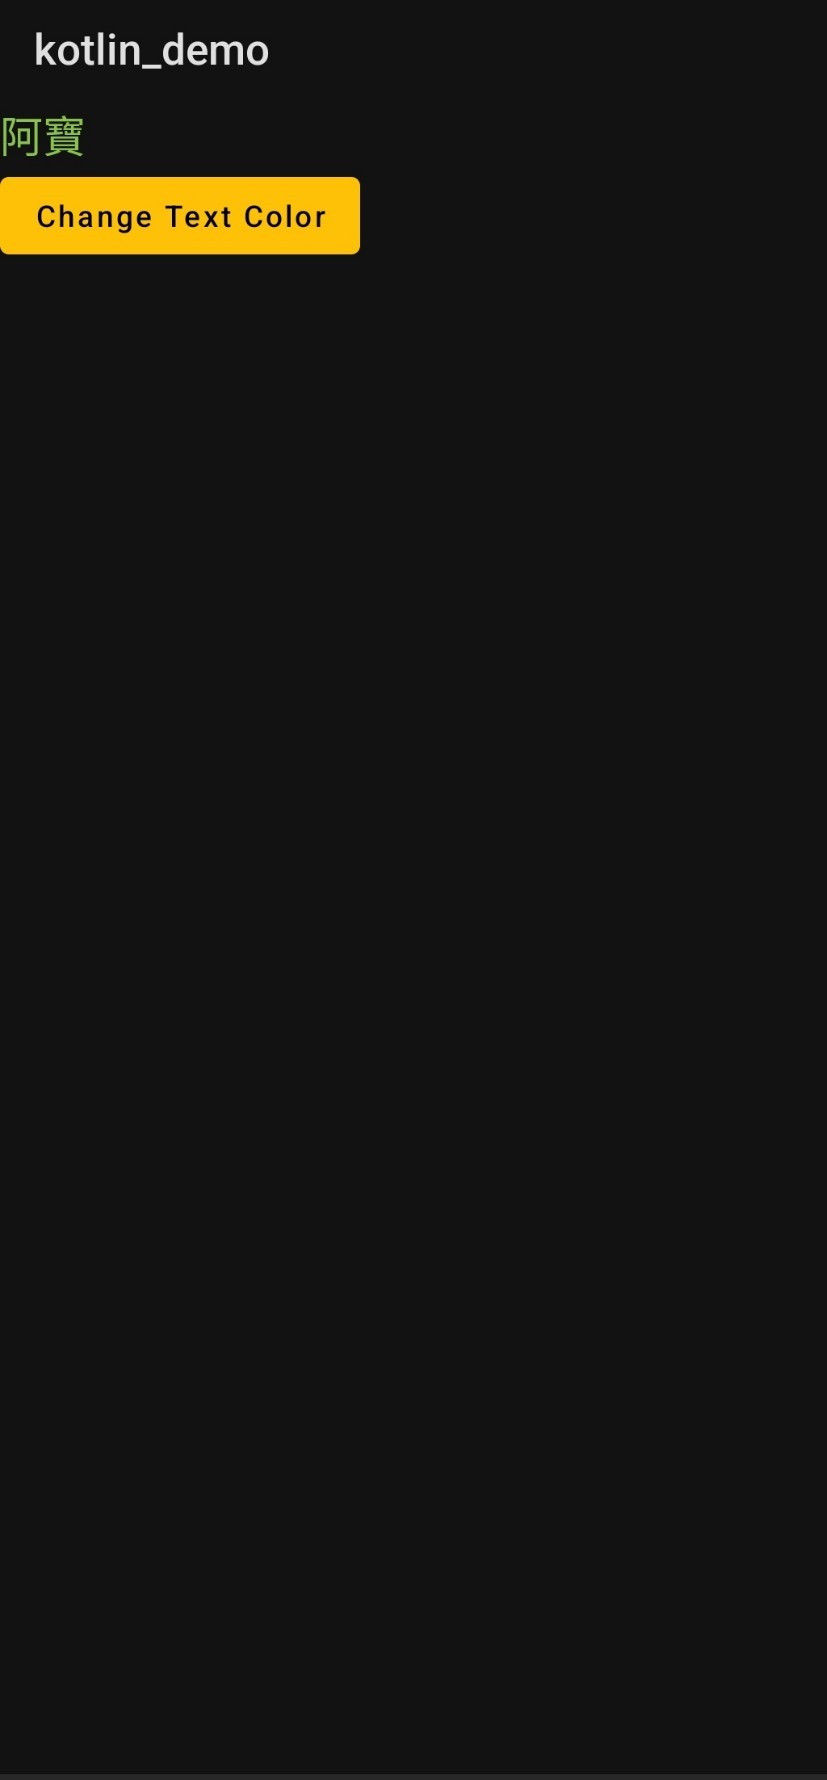 |
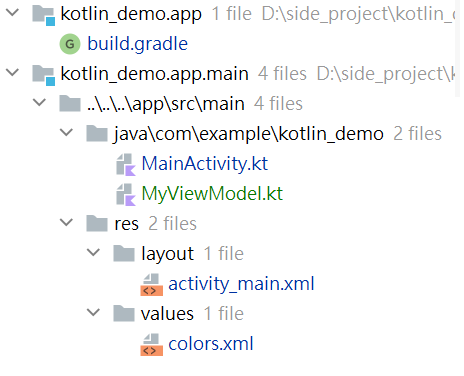
TextView : 文字元件Button : 按鈕元件以下為各檔案內容 :
build.gradle(Module) : 使用 ViewModel。
dependencies {
....
    implementation 'android.arch.lifecycle:extensions:1.1.1'
}
MainActivity.kt :
1. 取得文字元件和按鈕元件。
2. 以 observer 監聽 LiveData 儲存的文字顏色變數。
3. 只要文字顏色變數改變,就會從 observer 內重新設定文字顏色。
package com.example.kotlin_demo

import android.graphics.Color
import androidx.appcompat.app.AppCompatActivity
import android.os.Bundle
import android.util.Log
import android.view.View
import android.widget.Button
import android.widget.TextView
import androidx.core.content.ContextCompat
import androidx.lifecycle.LifecycleOwner

class MainActivity : AppCompatActivity() {
    private val viewModel = MyViewModel()

    override fun onCreate(savedInstanceState: Bundle?) {
        super.onCreate(savedInstanceState)
        setContentView(R.layout.activity_main)

        //預設文字顏色
        var textColor: Int = R.color.white
        viewModel.TextColor.value = textColor

        //文字元件
        val tv : TextView = findViewById<TextView>(R.id.textView)
        tv.setText("阿寶")

        ///當文字顏色變數資料改變時,observer callback , 重新再做一次 文字顏色設定
        viewModel.TextColor.observe(this,{
            tv.setTextColor(ContextCompat.getColor(baseContext,it))
        })

        //按鈕元件
        val btn : Button = findViewById<Button>(R.id.button)
        btn.setBackgroundColor(ContextCompat.getColor(baseContext,R.color.amber))
        btn.setText("Change Text Color")
        //移除文字全部大寫
        btn.isAllCaps = false
        //監聽按鈕點擊事件
        btn.setOnClickListener(object : View.OnClickListener {
            override fun onClick(p0: View?) {
                viewModel.TextColor.value = if ( viewModel.TextColor.value== R.color.white) R.color.lightGreen else R.color.white
            }
        })

    }
}
MyViewModel.kt : 以 LiveData 儲存文字顏色資料。
package com.example.kotlin_demo

import androidx.lifecycle.MutableLiveData
import androidx.lifecycle.ViewModel

class MyViewModel: ViewModel() {
    val TextColor = MutableLiveData<Int>()
}
activity_main.xml : 設定文字與按鈕樣式排版。
<?xml version="1.0" encoding="utf-8"?>
<androidx.constraintlayout.widget.ConstraintLayout xmlns:android="http://schemas.android.com/apk/res/android"
    xmlns:app="http://schemas.android.com/apk/res-auto"
    xmlns:tools="http://schemas.android.com/tools"
    android:layout_width="match_parent"
    android:layout_height="match_parent"
    tools:context=".MainActivity">

    <TextView
        android:id="@+id/textView"
        android:layout_width="wrap_content"
        android:layout_height="wrap_content"
        android:textSize="20dp"
        app:layout_constraintStart_toStartOf="parent"
        app:layout_constraintTop_toTopOf="parent" />

    <Button
        android:id="@+id/button"
        android:layout_width="wrap_content"
        android:layout_height="wrap_content"
        app:layout_constraintStart_toStartOf="parent"
        app:layout_constraintTop_toBottomOf="@id/textView"
        />

</androidx.constraintlayout.widget.ConstraintLayout>
colors.xml : 設定文字顏色和按鈕背景顏色。
<?xml version="1.0" encoding="utf-8"?>
<resources>
    <color name="purple_200">#FFBB86FC</color>
    <color name="purple_500">#FF6200EE</color>
    <color name="purple_700">#FF3700B3</color>
    <color name="teal_200">#FF03DAC5</color>
    <color name="teal_700">#FF018786</color>
    <color name="black">#FF000000</color>
    <color name="white">#FFFFFFFF</color>
    <color name="amber">#FFFFC107</color>
    <color name="lightGreen">#FF8BC34A</color>
</resources>
| 點擊按鈕前 | 點擊按鈕後 |
|---|---|
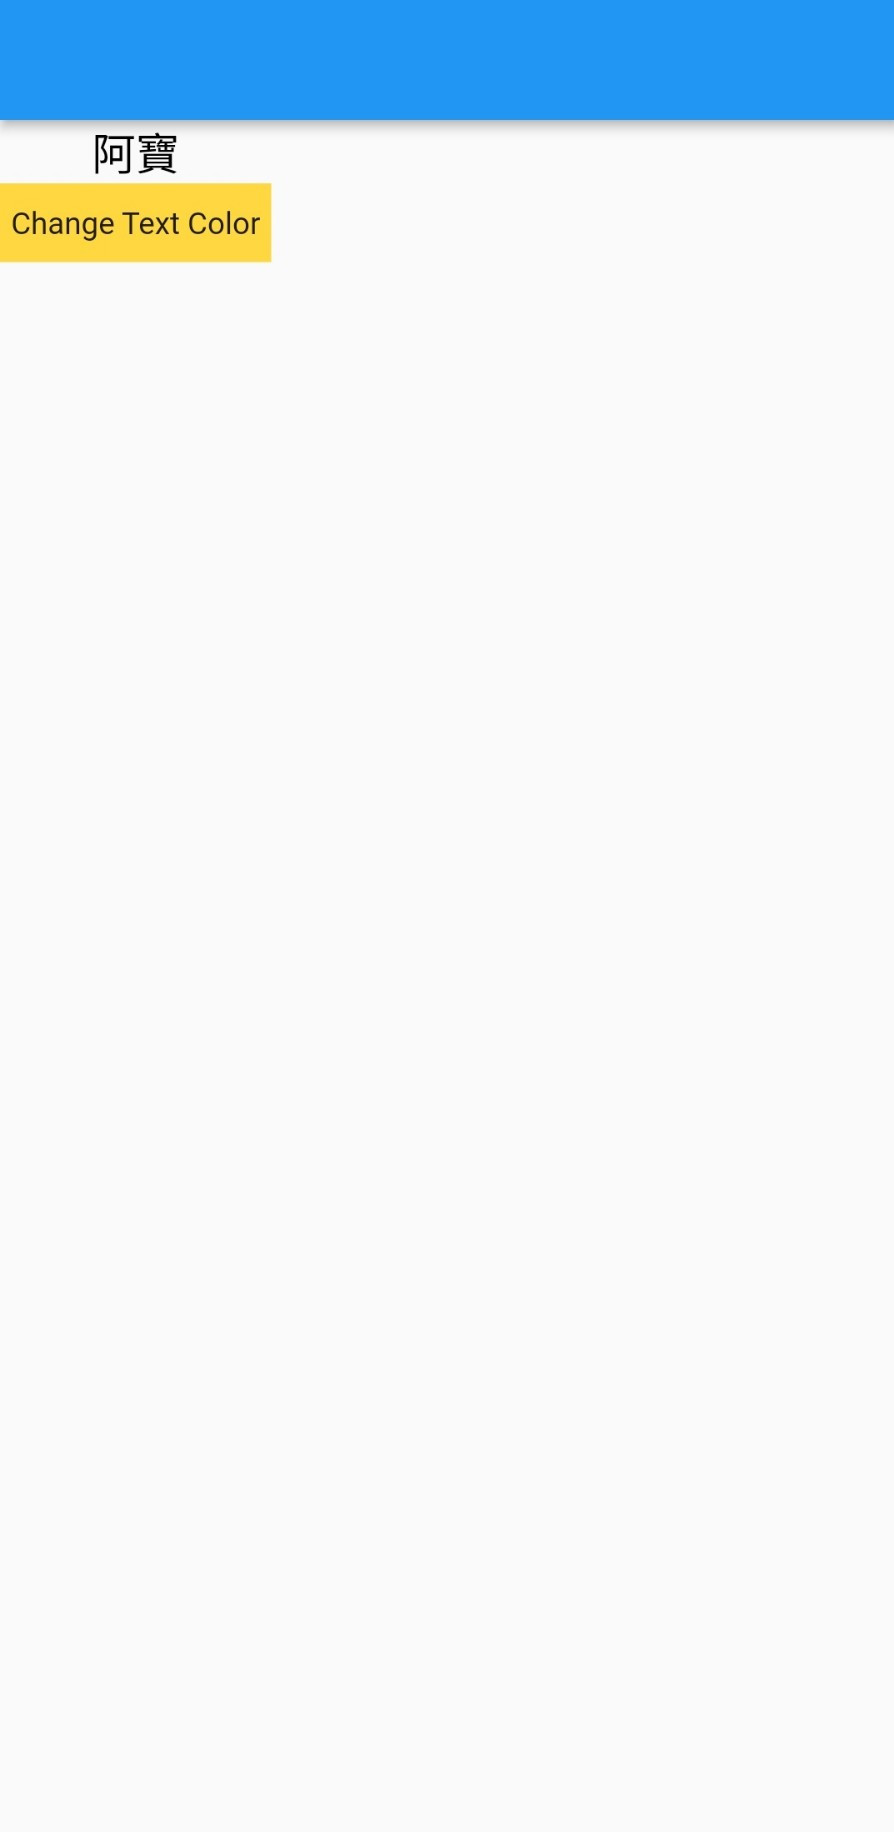 |
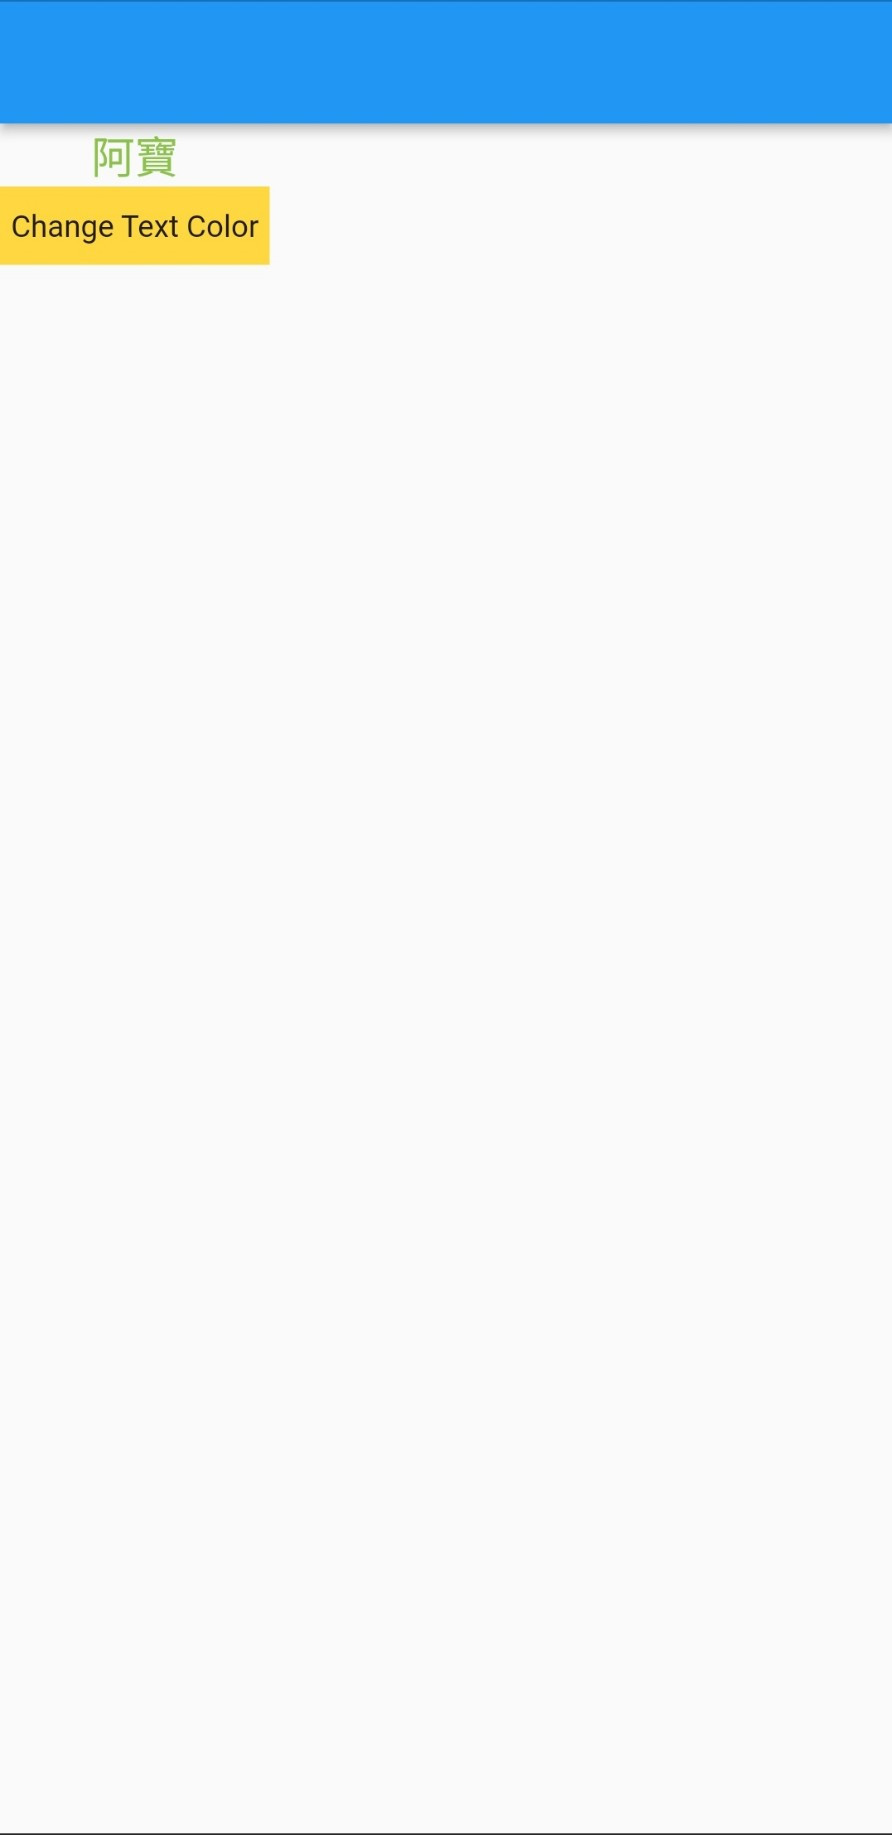 |

Text : 文字元件Container : 根據元件內容大小包住元件InkWell : 偵測被包在裡面的元件的事件以下為 main.dart 檔案內容 :
1. Text 元件建立文字。
2. 透過 Container & InkWell 元件組裝成按鈕元件,同時在InkWell 元件監聽觸發事件,當發生事件就改變文字顏色變數資料,並使用 setState(() {}); 以新變數重新建立元件畫面。
3. Column元件直向排列文字元件和按鈕元件。
import 'package:flutter/material.dart';

void main() {
  runApp(const MyApp());
}

class MyApp extends StatefulWidget {
  const MyApp({super.key});
  @override
  _MyAppState createState() => _MyAppState();
}

class _MyAppState extends State<StatefulWidget> {

  ///設定文字顏色
  Color textColor = Colors.black;

  @override
  Widget build(BuildContext context) {

    //文字元件
    Widget wText = Text(
      "阿寶",
      style: TextStyle(fontSize: 20,color: textColor),
    );

    //按鈕元件
    Widget wButton = Container(
      padding: EdgeInsets.symmetric(horizontal: 5,vertical: 10,),
      color: Colors.amberAccent,
      child: InkWell(
        onTap: () {
          ///觸發點擊事件時,文字顏色是黑色就轉為綠色,文字是綠色就轉黑色
          textColor == Colors.black
              ? textColor = Colors.lightGreen
              : textColor = Colors.black;
          setState(() {});
        },
        child: Text("Change Text Color"),
      ),
    );

    return MaterialApp(
      home: Scaffold(
          appBar: AppBar(),
          body: Container(
              child: Column(
                children: [
                  wText,
                  wButton,
                ],
              ))),
      debugShowCheckedModeBanner: false,
    );
  }

}
| Kotlin | Flutter | |
|---|---|---|
| 按鈕元件建立方式 | 直接使用原生元件 | 組裝多個原生元件 |
| 如何監聽事件 | 加入 listener | 加入可監聽事件的元件 |
| 改變元件狀態方法 | 透過觀察資料變化,自動更新原本元件狀態 | 觸發事件後,改變資料內容,最後再生成新元件 |
