iT邦幫忙

2023 iThome 鐵人賽

DAY 8
0
WordPress

透過WordPress架設電商網站,並串接管理後台系列 第 8

«D8»讓我們再稍稍了解 Elementor 編輯

  • 分享至 

  • xImage
  •  

昨天想一想,因為 Elementor 是真的蠻複雜的,所以今天再來陪我研究一下吧!

Container

他會影響整個區塊的排列,上下左右、背景顏色、間距、Padding 及 Margin。
拖曳加入新的 Container element
https://ithelp.ithome.com.tw/upload/images/20230916/20162937446tjl1UxA.png

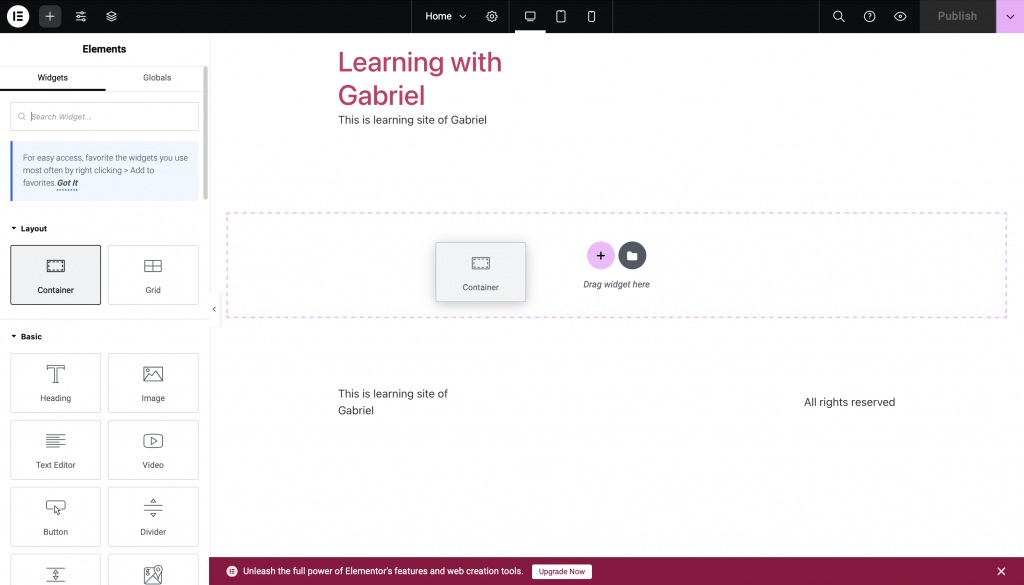
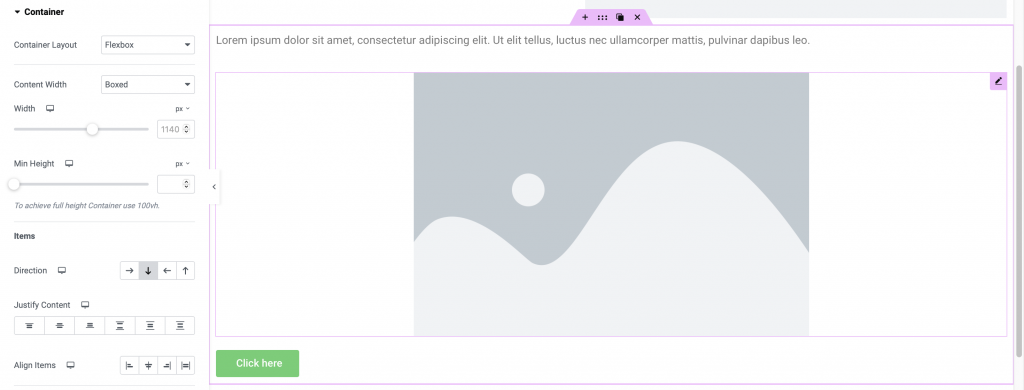
在 Content 區塊可以調整他們的排列方式、大小,這是他們由左至右及由上到下的差別,其他的可以自己試試
https://ithelp.ithome.com.tw/upload/images/20230916/201629372GNzKZdXmv.png
https://ithelp.ithome.com.tw/upload/images/20230916/20162937oKzRYGUL0G.png

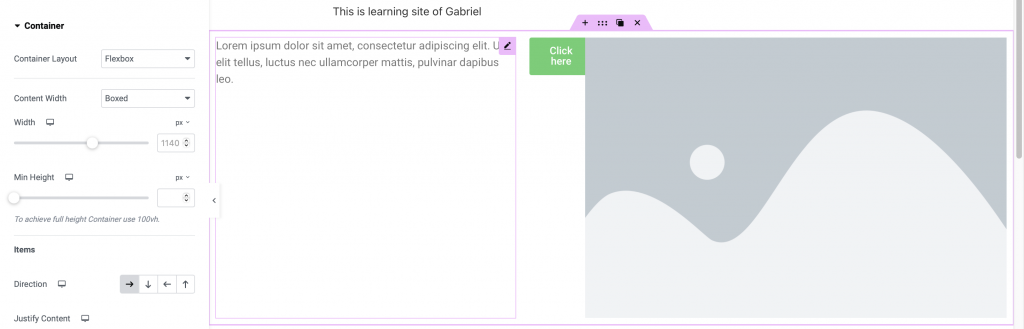
在 Style 區塊可以調整背景顏色、Container 上籠罩的一層顏色(Overlay)、邊框。
這邊我設定了 Container 的背景圖片,Overlay 加上預設綠色,以及將 Border Radius 設為 50px
https://ithelp.ithome.com.tw/upload/images/20230916/20162937UrVWMJ5Raf.png

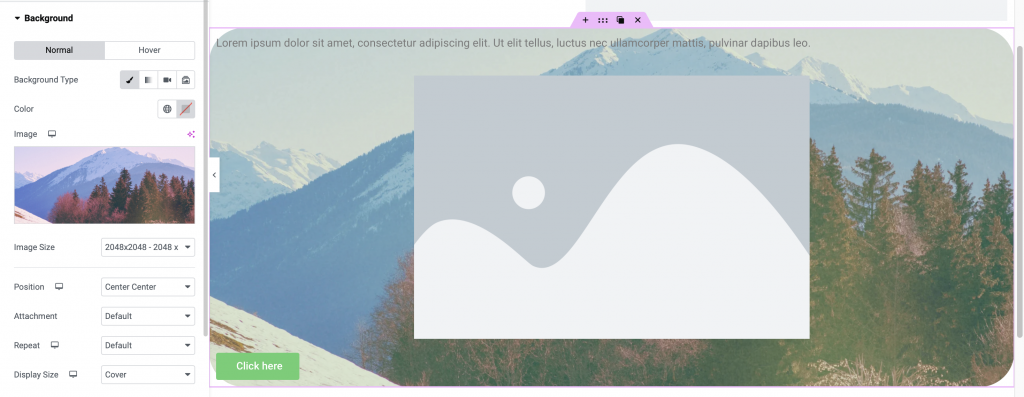
在 Advanced 可以設定動畫效果、在 Desktop/Tablet/Mobile 中隱藏、CSS,以及 Padding Margin,Padding 是 Container 內的,Margin 是往外的,這張 Edge 瀏覽器的 DevTools 介紹應該很清楚
https://ithelp.ithome.com.tw/upload/images/20230916/20162937E6dh2B3BMi.png

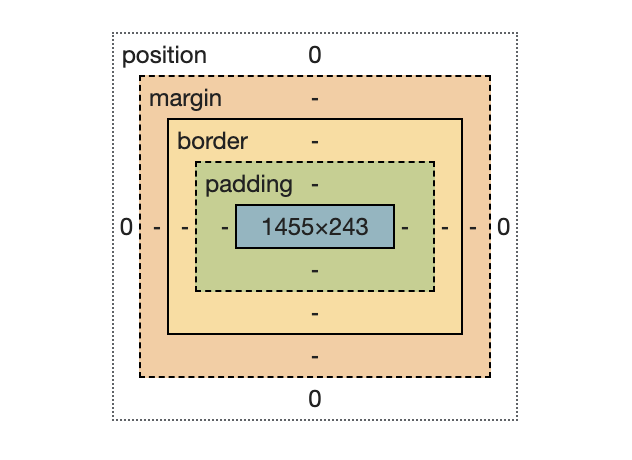
這邊我設定 100px padding,100px margin-top
https://ithelp.ithome.com.tw/upload/images/20230916/20162937i26jllHBCo.png

Text & Image

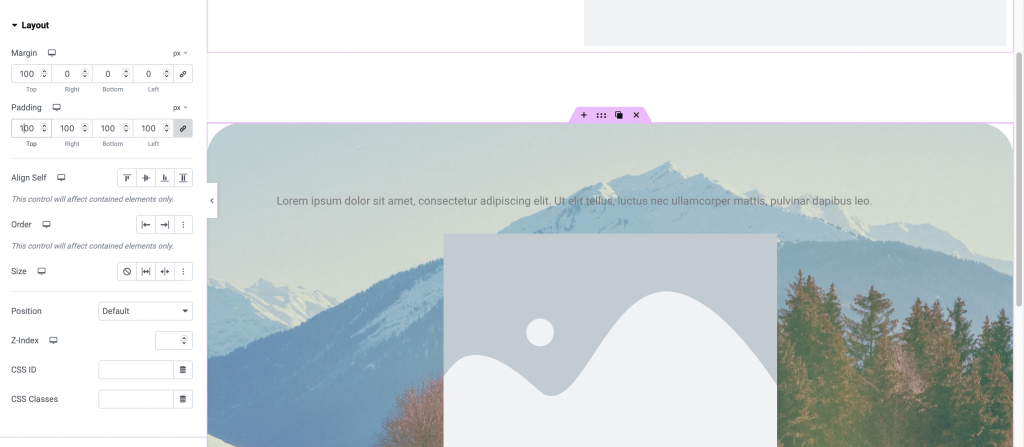
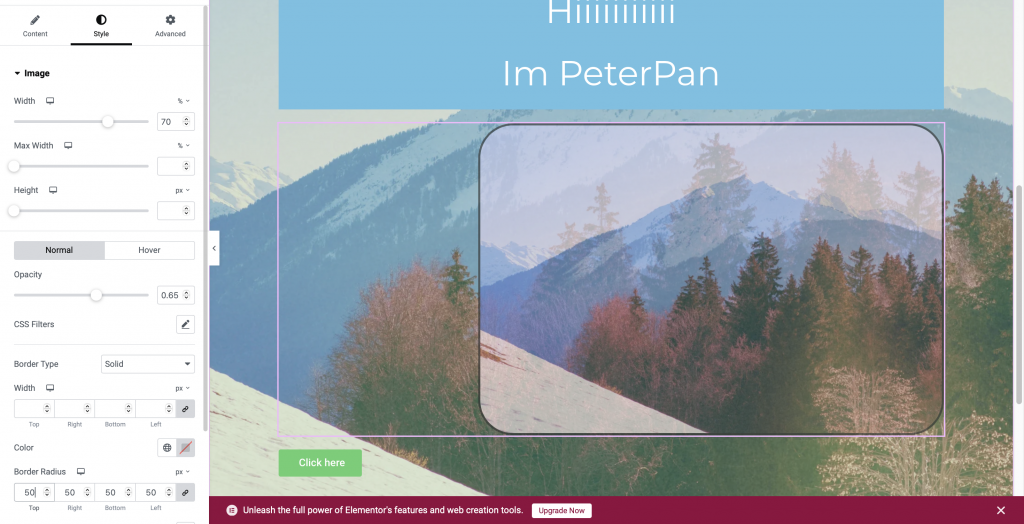
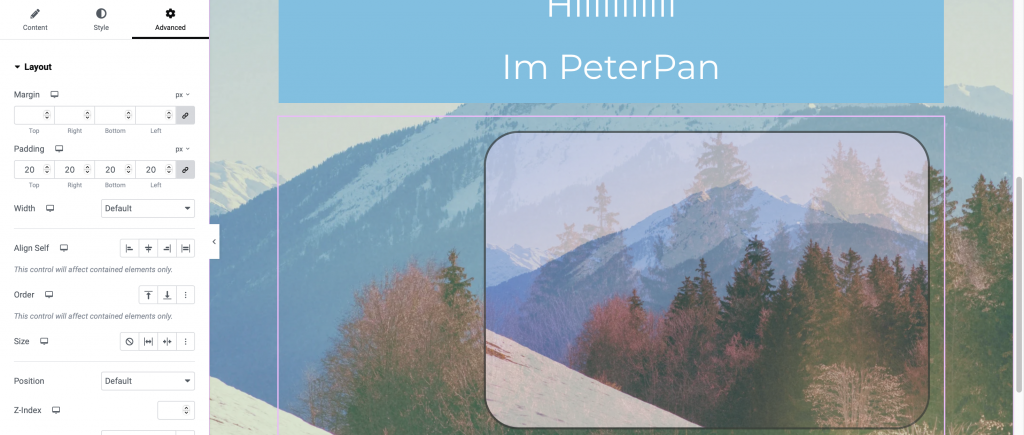
一樣照順序 Content>Style>Advance
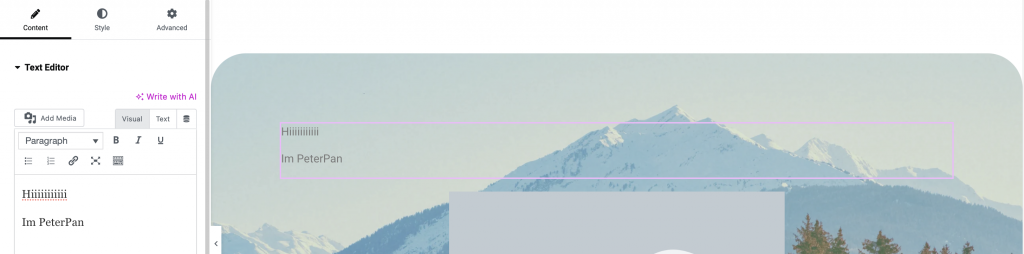
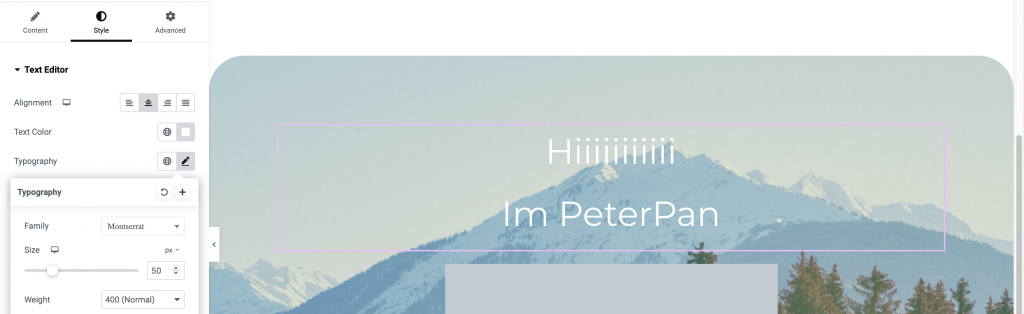
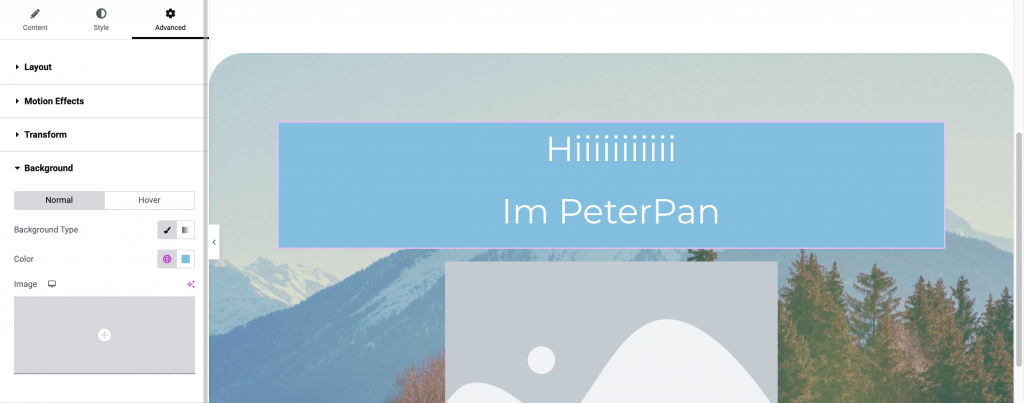
https://ithelp.ithome.com.tw/upload/images/20230916/20162937w60AkF3kSo.png
https://ithelp.ithome.com.tw/upload/images/20230916/20162937G6djnc5LPa.png
https://ithelp.ithome.com.tw/upload/images/20230916/20162937xcGk34KpI4.png

Image 一樣
https://ithelp.ithome.com.tw/upload/images/20230916/20162937HPM80TWhU1.png
https://ithelp.ithome.com.tw/upload/images/20230916/20162937dB4mIV0a5C.png
https://ithelp.ithome.com.tw/upload/images/20230916/20162937Ae4ljsS4lM.png

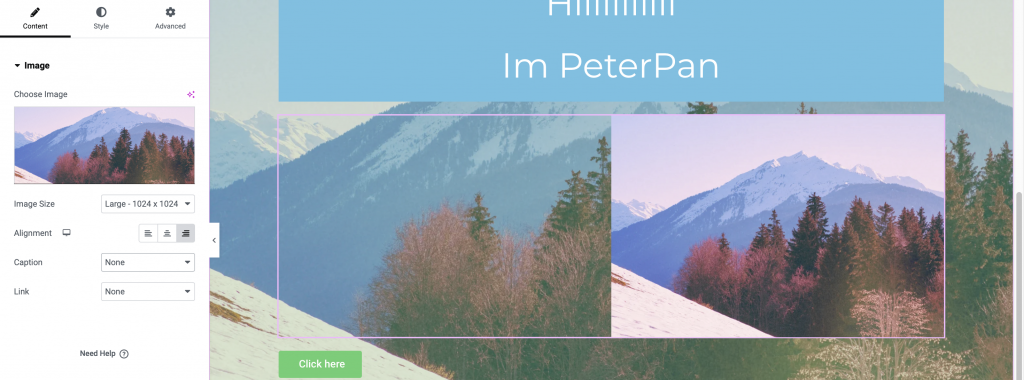
這樣應該很清楚了吧!其他的 Elements 歡迎自己試試!


上一篇
«D7»安裝&初始化 Elementor
下一篇
«D9»安裝&初始化 WooCommerce 外掛
系列文
透過WordPress架設電商網站,並串接管理後台30
圖片
  直播研討會
圖片
{{ item.channelVendor }} {{ item.webinarstarted }} |
{{ formatDate(item.duration) }}
直播中

尚未有邦友留言

立即登入留言