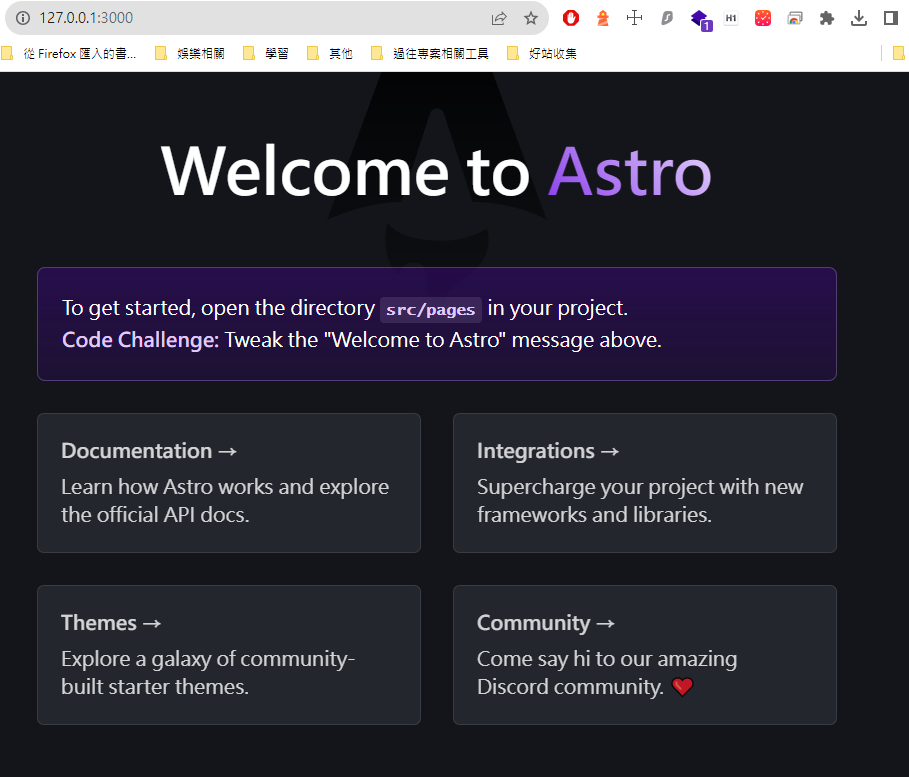
今天我們先跟著 Astro.js 的安裝指南來試用一下 ,
# 使用 npm 建立新專案
npm create astro@latest
-------------------
PS E:\ezoom\ithome_ironman_2023\day-03> npm create astro@latest

 astro   v2.10.7 Launch sequence initiated.

   dir   Where should we create your new project?
         ./cute-cat

  tmpl   How would you like to start your new project?
         Include sample files
      ✔  Template copied

  deps   Install dependencies?
         Yes
      ✔  Dependencies installed

    ts   Do you plan to write TypeScript?
         No
      ◼  No worries! TypeScript is supported in Astro by default,
         but you are free to continue writing JavaScript instead.

   git   Initialize a new git repository?
         No
      ◼  Sounds good! You can always run git init manually.

  next   Liftoff confirmed. Explore your project!

         Enter your project directory using cd ./my-project
         Run npm run dev to start the dev server. CTRL+C to stop.
         Add frameworks like react or tailwind using astro add.

         Stuck? Join us at https://astro.build/chat
執行下方的指令 , 你就可以在 http://127.0.0.1:3000/ 看到大大的 Astro Logo

# 移動到 cute-cat 資料夾中
cd cute-cat
# 安裝相關套件
npm install
# 啟動專案
npm run dev
除了預設的模板之外 , 在 https://astro.new/latest/ 上面還有一些官方提供的其他模板可用
如果想要使用這些模板 , 只要在多下 -- --template basics 就可以使用自己喜歡的模板
# 使用 npm 建立新專案
npm create astro@latest -- --template basics
astro@3.0 指定使用 Node.js - v18.14.1+ 的版本 , 如果我們使用 Node.js 比較舊該怎麼呢?
我們可以使用較舊的 create-astro 即可
# 指定使用的 create-astro 版本
npm create astro@3.2.2
版本對照表
| Node | astro | create-astro |
|---|---|---|
| v14.18.0 ~ v16.12.0 | 1.9.2 | 2.0.2 |
| v16.12.0+ | 2.10.15 | 3.2.2 |
| v18.14.1+ | 3.0.0 | 4.1.0 |
