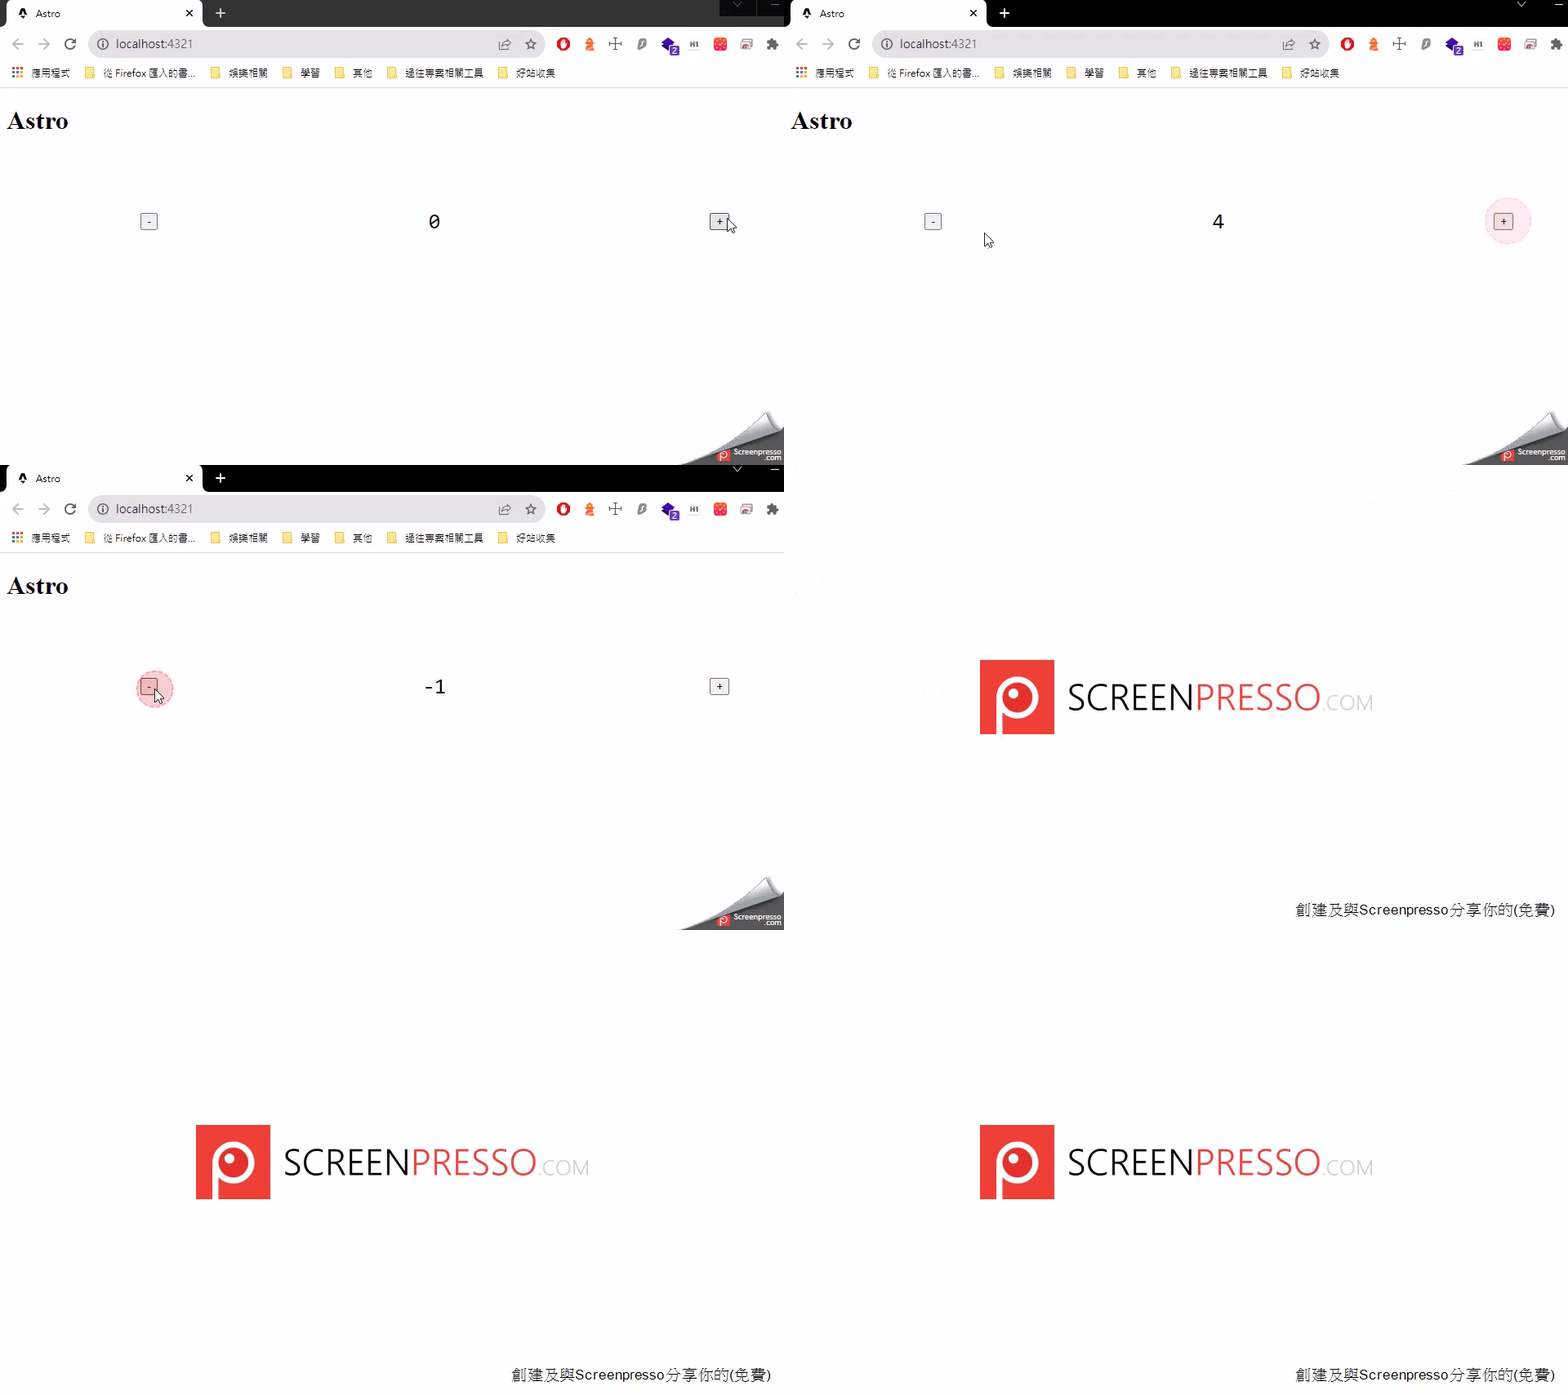
最近 , 都一直在強調 astro 中 , 可以使用不同的 UI Frameworks , 那實際執行要如何做呢 ?
我們可以查看 astro doc - Integrations 的說明 , 選擇我們想要用的 UI Frameworks 並照著上面的步驟來執行 , 達到在 astro 中 , 使用 Vue . React or Svelte
create-astro 建立新專案複習一下 , 我們可以使用 npm create astro@latest 來建立專案
然後使用 npm create astro@latest -- --template xxx 選擇想要使用的模板
接下來我們就先使用 starlight 這個 template , 來往下說明要如何在專案中 , 接入 Vue . React or Svelte
之前 , 我們用手動選擇的方式 , 選擇我們想要的設定 , 建立新專案 , 今天我們嘗試用 CLI Flags 來建立 😎
CLI Flags
| Name | Description |
|---|---|
| --template | Specify your template. |
| --install / --no-install | Install dependencies (or not). |
| --git / --no-git | Initialize git repo (or not). |
| --yes (-y) | Skip all prompt by accepting defaults. |
| --no (-n) | Skip all prompt by declining defaults. |
| --dry-run | Walk through steps without executing. |
| --skip-houston | Skip Houston animation. |
| --typescript | TypeScript option: strict / strictest / relaxed. |
完整 CLI
# npm create astro@<版本號> <專案名稱> -- --template <模板名稱>
npm create astro@latest integration-test -- --template minimal --no-install --no-git --typescript relaxed

---------------------------------------------------------------------
 astro   Launch sequence initiated.

      ◼  dir Using integration-test as project directory
      ◼  tmpl Using minimal as project template
      ✔  Template copied
      ◼  No problem! Remember to install dependencies after setup.
      ◼  ts Using relaxed TypeScript configuration
      ✔  TypeScript customized
      ◼  Sounds good! You can always run git init manually.

  next   Liftoff confirmed. Explore your project!

         Enter your project directory using cd ./integration-test
         Run npm run dev to start the dev server. CTRL+C to stop.
         Add frameworks like react or tailwind using astro add.

         Stuck? Join us at https://astro.build/chat
cd integration-testnpx astro add vue它就會幫你追加 vue 的相關設定 , 並在 CLI 中描述它幫你改了什麼設定
PS E:\ezoom\ithome_ironman_2023\day-05\integration-test> npx astro add vue
✔ Resolving packages...

  If you skip this step, you can always run it yourself later

 ╭───────────────────────────────────────╮
 │ npm install @astrojs/vue vue@^3.2.30  │
 ╰───────────────────────────────────────╯

√ Continue? ... yes
✔ Installing dependencies...

  Astro will make the following changes to your config file:

 ╭ astro.config.mjs ─────────────────────────────╮
 │ import { defineConfig } from 'astro/config';  │
 │                                               │
 │ import vue from "@astrojs/vue";               │
 │                                               │
 │ // https://astro.build/config                 │
 │ export default defineConfig({                 │
 │   integrations: [vue()]                       │
 │ });                                           │
 ╰───────────────────────────────────────────────╯

√ Continue? ... yes

   success  Added the following integration to your project:
  - @astrojs/vue

  Astro will make the following changes to your E:\ezoom\ithome_ironman_2023\day-05\integration-test\tsconfig.json:

 ╭ E:\ezoom\ithome_ironman_2023\day-05\integration-test\tsconfig.json ╮
 │ {                                                                  │
 │   "extends": "astro/tsconfigs/base",                               │
 │   "compilerOptions": {                                             │
 │     "jsx": "preserve"                                              │
 │   }                                                                │
 │ }                                                                  │
 ╰────────────────────────────────────────────────────────────────────╯

√ Continue? ... yes

   success  Successfully updated TypeScript settings
假設我們有個 Counter.vue , 我們就可以將其放入 src/components 中
<template>
  <div class="counter">
    <button @click="subtract()">-</button>
    <pre>{{ count }}</pre>
    <button @click="add()">+</button>
  </div>
  <div class="counter-message">
    <slot />
  </div>
</template>

<script>
import { ref } from 'vue';
export default {
  setup() {
    const count = ref(0);
    const add = () => (count.value = count.value + 1);
    const subtract = () => (count.value = count.value - 1);

    return {
      count,
      add,
      subtract,
    };
  },
};
</script>

<style>
.counter {
  display: grid;
  font-size: 2em;
  grid-template-columns: repeat(3, minmax(0, 1fr));
  margin-top: 2em;
  place-items: center;
}

.counter-message {
  text-align: center;
}
</style>
---
+ import Counter from '../components/Counter.vue
---

<html lang="en">
	<head>
		<meta charset="utf-8" />
		<link rel="icon" type="image/svg+xml" href="/favicon.svg" />
		<meta name="viewport" content="width=device-width" />
		<meta name="generator" content={Astro.generator} />
		<title>Astro</title>
	</head>
	<body>
		<h1>Astro</h1>
+   <Counter client:idle/>
	</body>
</html>

如果要追加 react 的 Integrations , 你可以用
npx astro add react做處理
整合上述的 CLI
# 使用 npm 建立新專案
npm create astro@latest integration-test -- --template minimal --no-install --no-git --typescript relaxed
# add vue framework
npx astro add vue
# 複製 Counter.vue
cp external/Counter.vue src/components/Counter.vue
