iT邦幫忙

2023 iThome 鐵人賽

DAY 7
0
Security

Zabbix 監控實做分享系列 第 7

7-Zabbix Windows安裝Agent

  • 分享至 

  • xImage
  •  

今天,我要和大家分享在Windows上安裝Zabbix Agent的旅程,選擇正確的版本是關鍵,安裝步驟非常簡單,讓我們開始今天的旅程吧!

一、下載Agent

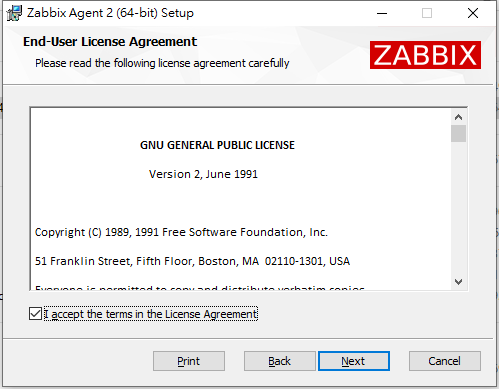
1.點擊以下連結,進入Zabbix官方網站,下載適用於Windows的Agent執行檔:
Zabbix-Windows-Agent 官方載點
https://ithelp.ithome.com.tw/upload/images/20230907/20161484ksQ74aP97g.png

本文選擇5.0下載,Server端也是安裝5.0版本,版本選擇錯誤會造成相容性問題,所以選擇和Server端一樣版本做安裝。
Windows >> Any >> amd64 >> 5.0 >> OpenSSL >> MSI
https://ithelp.ithome.com.tw/upload/images/20230907/20161484ls8auHn1i1.png

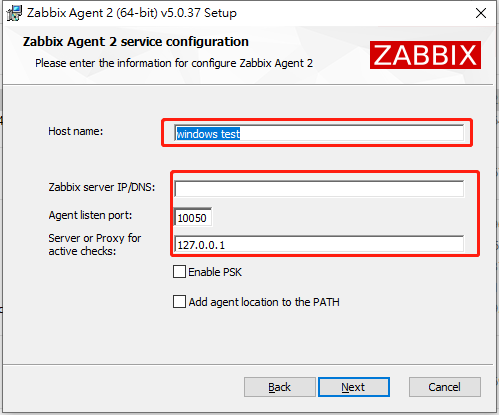
2.根據需求,選擇Agent或Agent2。本文以Agent2為例,點擊Download,進入下載頁面。在此頁面,需填入Zabbix Server的IP位址,並記得設定Zabbix Agent Port號為"10050"。

https://ithelp.ithome.com.tw/upload/images/20230907/20161484Qc9luOiLyX.png

https://ithelp.ithome.com.tw/upload/images/20230907/20161484Ncf98cwpRm.png

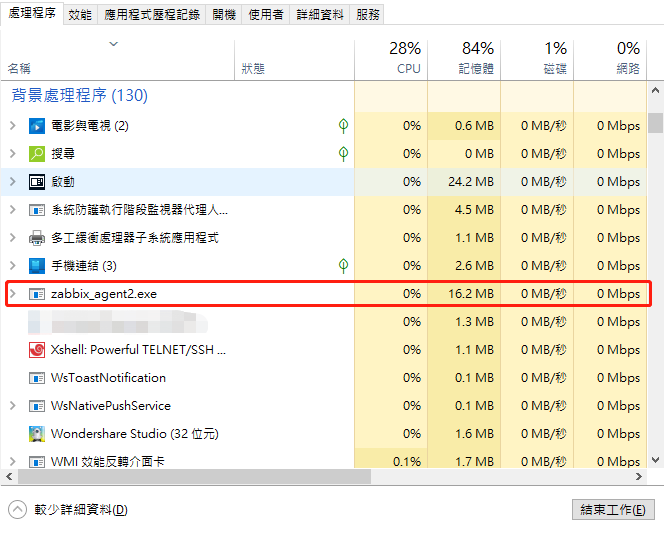
3.下載並安裝完畢後,開啟Windows的工作管理員。如果能看到Agent的工作狀態,即表示安裝成功。

https://ithelp.ithome.com.tw/upload/images/20230907/20161484MIRoXRvfpJ.png

二、添加主機

1.和之前的操作步驟一樣至Zabbix-Web 進入 配置 >> 主機 >> 創建主機,填寫客戶端IP與端口"10050"。
https://ithelp.ithome.com.tw/upload/images/20230907/20161484WLpY6O79SL.png
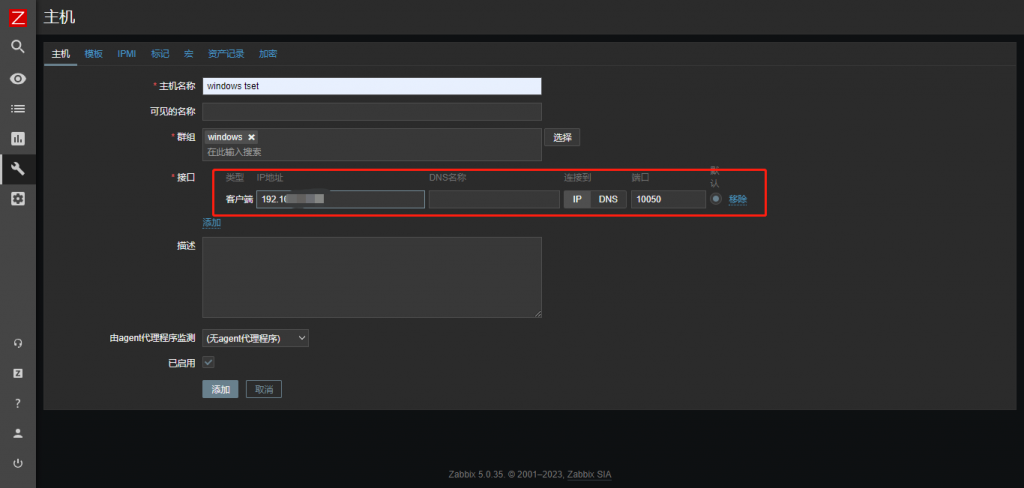
2.接著至模板中鏈結Windows Agent模板,設定為成點選更新
https://ithelp.ithome.com.tw/upload/images/20230907/201614840TI9Qp83Bi.png
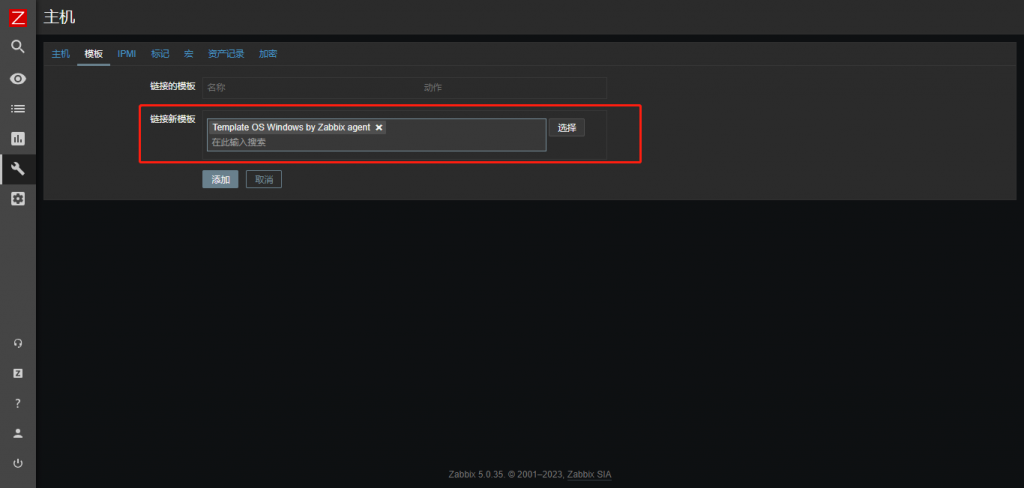
3.添加主機後等待3~5分鐘響應時間,右側ZBX亮綠色即配置成功。

PS:如燈號一直沒亮,檢查是否IP添加錯誤,模板有沒有鏈結正確,如果都沒錯重啟Zabbix Server讓主機和客戶端重新連接。

https://ithelp.ithome.com.tw/upload/images/20230907/20161484VjGm1hJInQ.png


上一篇
6-在CentOS7上安裝Zabbix-Agent
下一篇
8-Zabbix 透過Gmail發送報警
系列文
Zabbix 監控實做分享28
圖片
  直播研討會
圖片
{{ item.channelVendor }} {{ item.webinarstarted }} |
{{ formatDate(item.duration) }}
直播中

尚未有邦友留言

立即登入留言