本來在想要直接用CI/CD來打包Image還是手動作一個,
但還是先手動作一個image讓ECS可以正常啟用好了。
首先,我們先進到昨天建立的ECR中,然後點選檢視推送命令。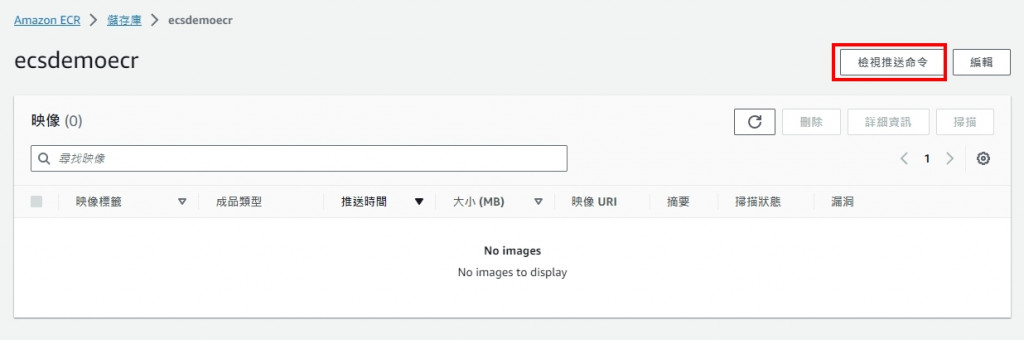
就會看到AWS有提供了4條命令給我們。
今天會用到的是第2~3條,用來打包image,
明天用第1與第4條把image推送至ECR。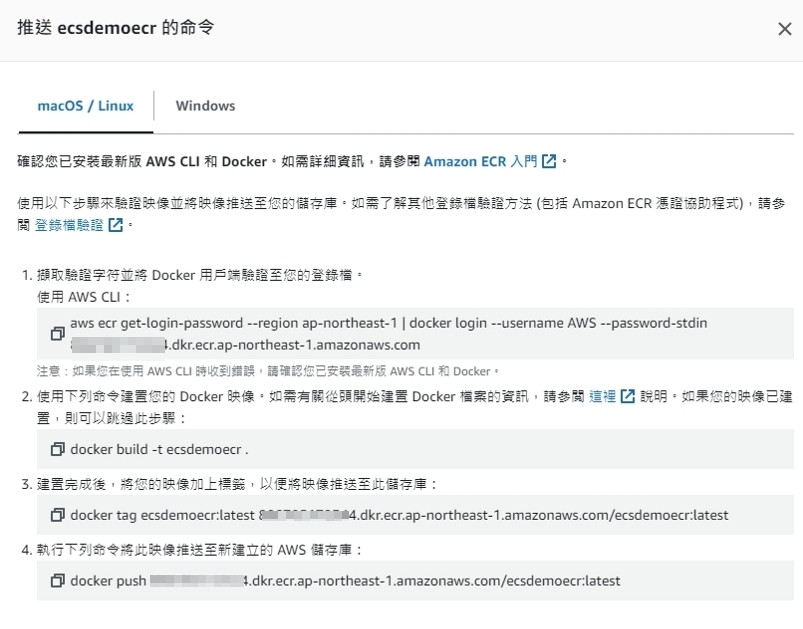
接著,開啟專案資料夾,並在資料夾的路徑輸入CMD,
呼叫出命令提示字元。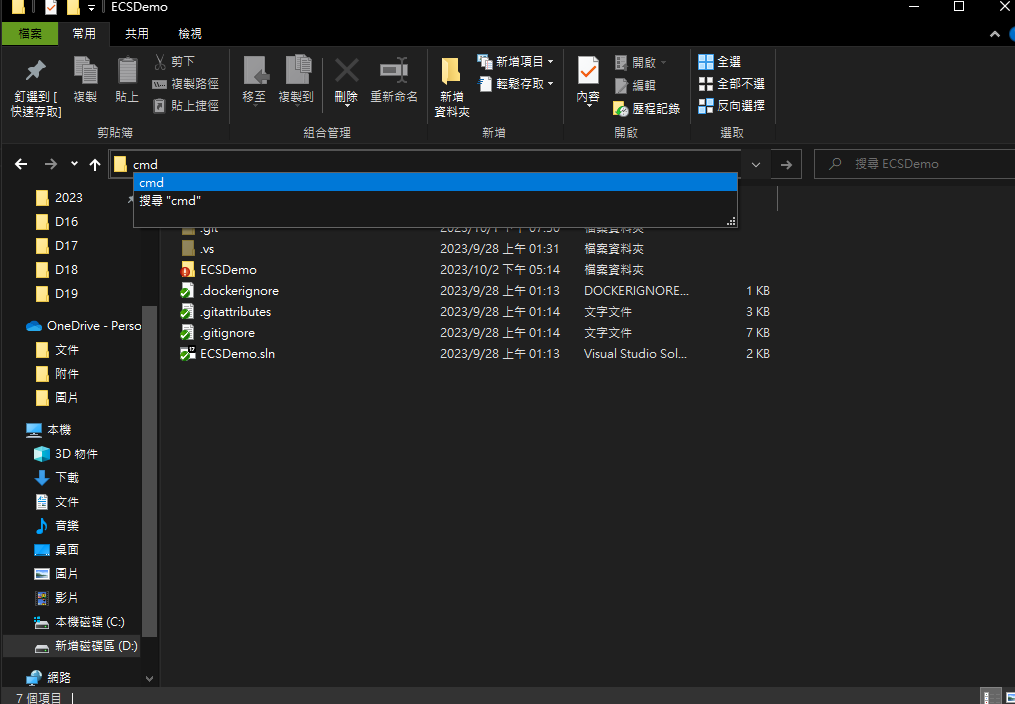
接著我們輸入(執行前請開啟docker desktop)
docker build -t ecsdemoecr:latest -f ECSDemo/Dockerfile .
這行命令拆解說明分別是
docker build:使用docker進行打包
-t:製作出的image要叫做什麼名字與taag =>在這裡會是一個叫做ecsdemoecr的image,tag則是latest
-f :指定dockerfile的路徑
.:這個"."不是句號,而是docker build的結尾要加"." !!!!
建出image之後,輸入
({ID}的部分請自行調整為你的AccountID)
docker tag ecsdemoecr:latest {ID}.dkr.ecr.ap-northeast-1.amazonaws.com/ecsdemoecr:latest
這行命令的意思是將名為
ecsdemoecr且tag為latest的image
複製一份變成名為
123456789000.dkr.ecr.ap-northeast-1.amazonaws.com/ecsdemoecr且tag為latest的image
接著輸入
docker images
就可以看到現在有一個名為
ecsdemoecr且tag為latest的image
與一個名為
123456789000.dkr.ecr.ap-northeast-1.amazonaws.com/ecsdemoecr且tag為latest的image了


 iThome鐵人賽