iT邦幫忙

2023 iThome 鐵人賽

DAY 20
0
Cloud Native

docker系列 第 20

Day20 虛擬機設定

  • 分享至 

  • xImage
  •  

虛擬機設定

在上一篇,我們已經完成了虛擬機的基本配置,最後一步是將上一篇下載的 ISO 檔案加入虛擬機,這樣我們就可以啟動虛擬機了!

1.進入「設定」 > 「存放裝置」
首先,點擊剛剛新增的虛擬機,然後點擊右上角的「設定」。
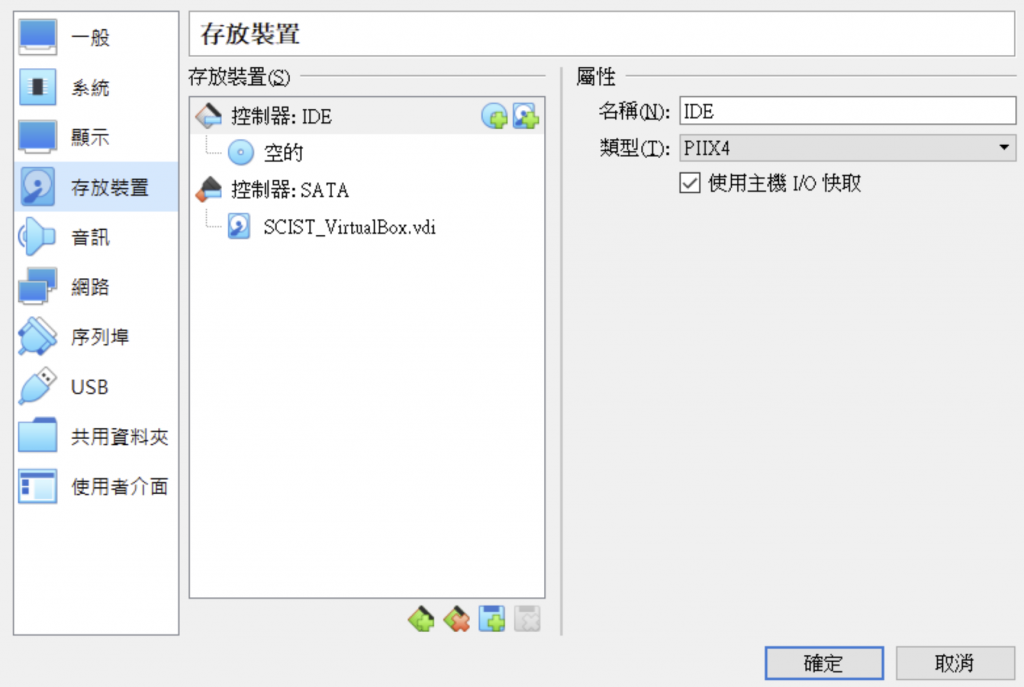
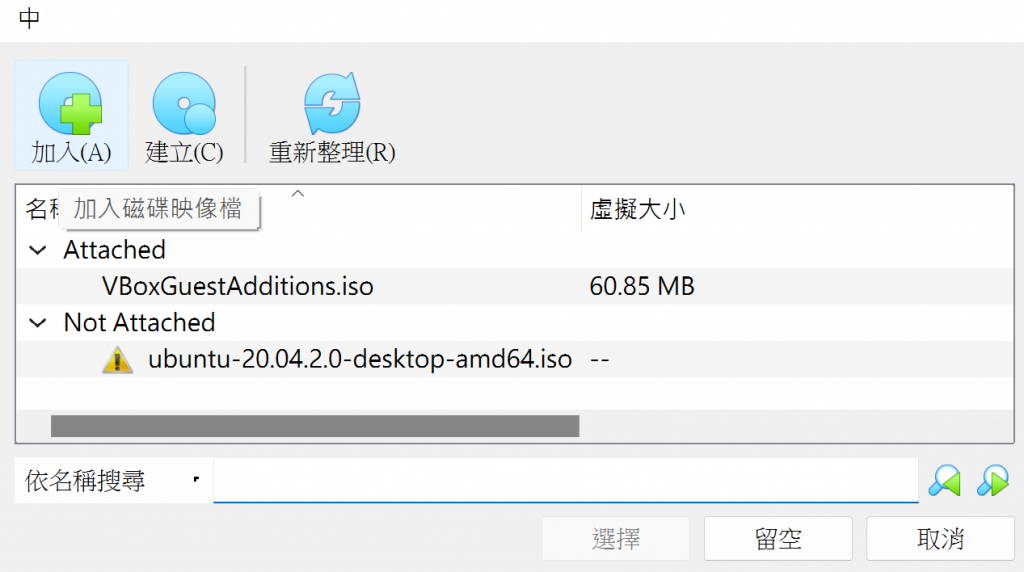
https://ithelp.ithome.com.tw/upload/images/20231005/2015023913r1ZILj6p.png
2.新增 ISO 檔
選擇「CD 圖案」的按鈕,然後點擊「加入」,找到剛剛下載的 ISO 檔案。
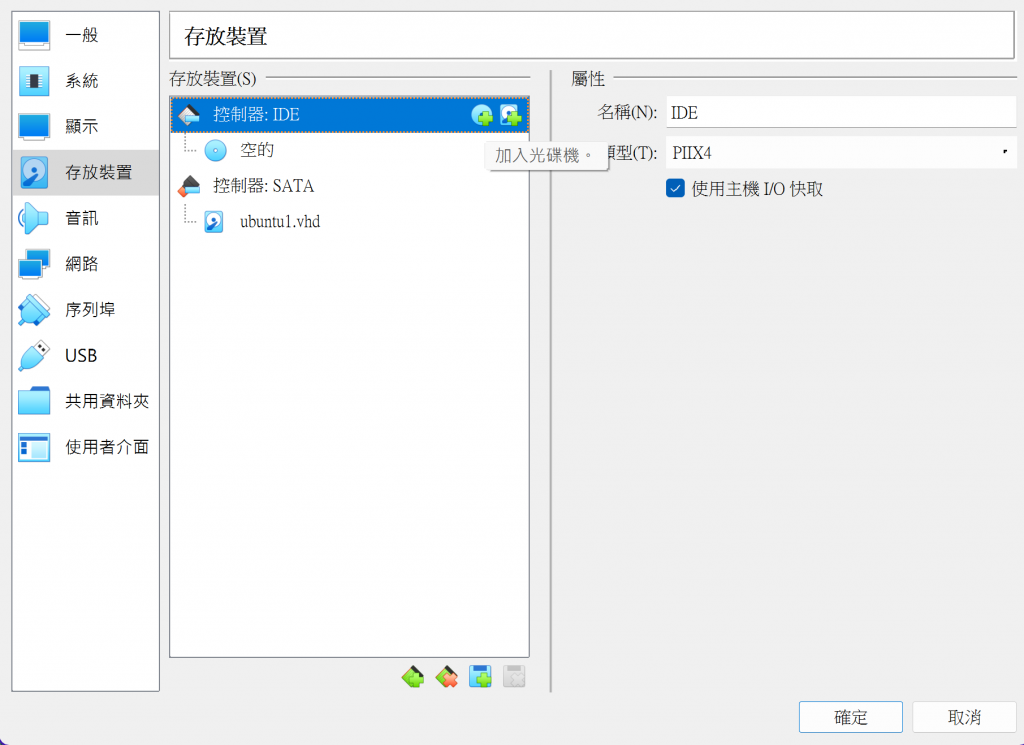
https://ithelp.ithome.com.tw/upload/images/20231005/20150239V13Z4jejm5.png
https://ithelp.ithome.com.tw/upload/images/20231005/20150239RKG0HB5NDh.png
現在,我們可以開啟虛擬機了!

第一次開機

第一次開機時需要進行一些基本的設定。
1.選擇啟動磁碟
選擇剛剛下載的 ISO 檔案,通常預設值就是這個。
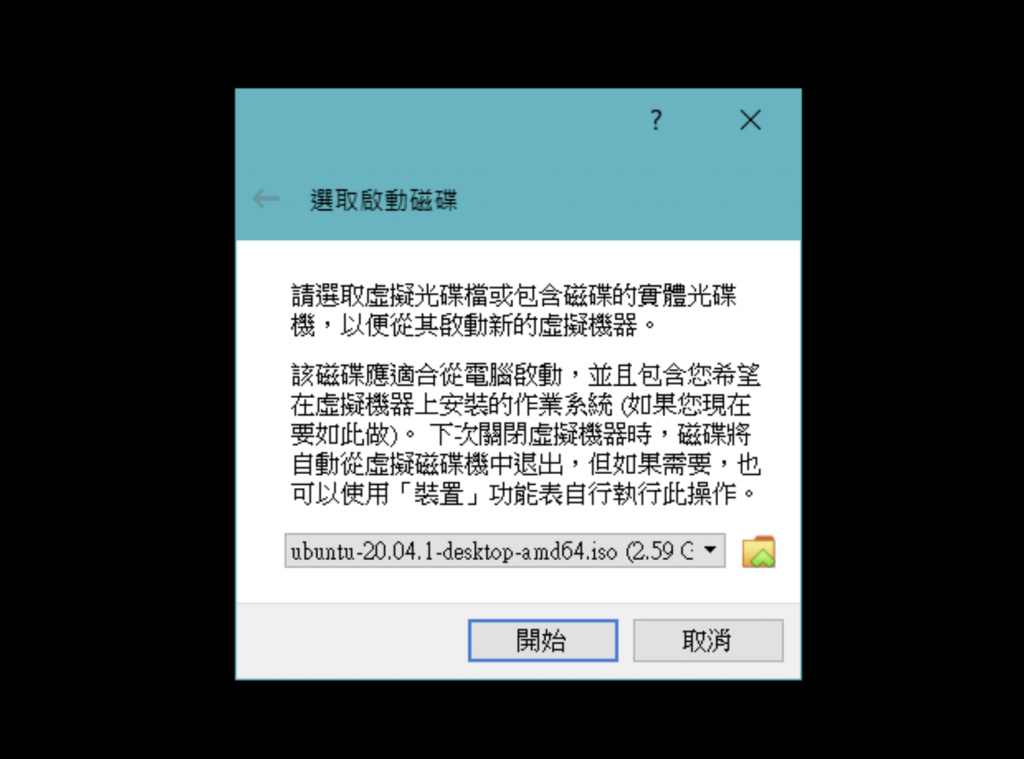
https://ithelp.ithome.com.tw/upload/images/20231005/20150239tuCUKw0aqy.png
2.語言設定
選擇英文作為語言,然後點擊「Install Ubuntu」。
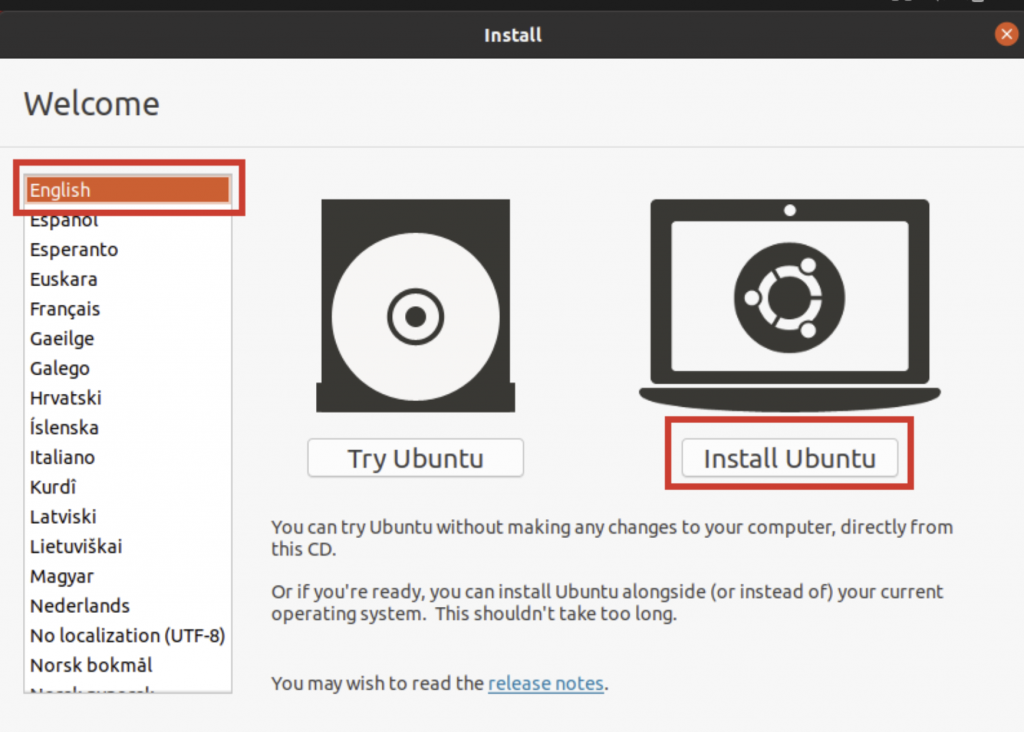
https://ithelp.ithome.com.tw/upload/images/20231005/20150239q6haR6EHEc.png
3.鍵盤語言配置
鍵盤語言建議選擇 English (US)。
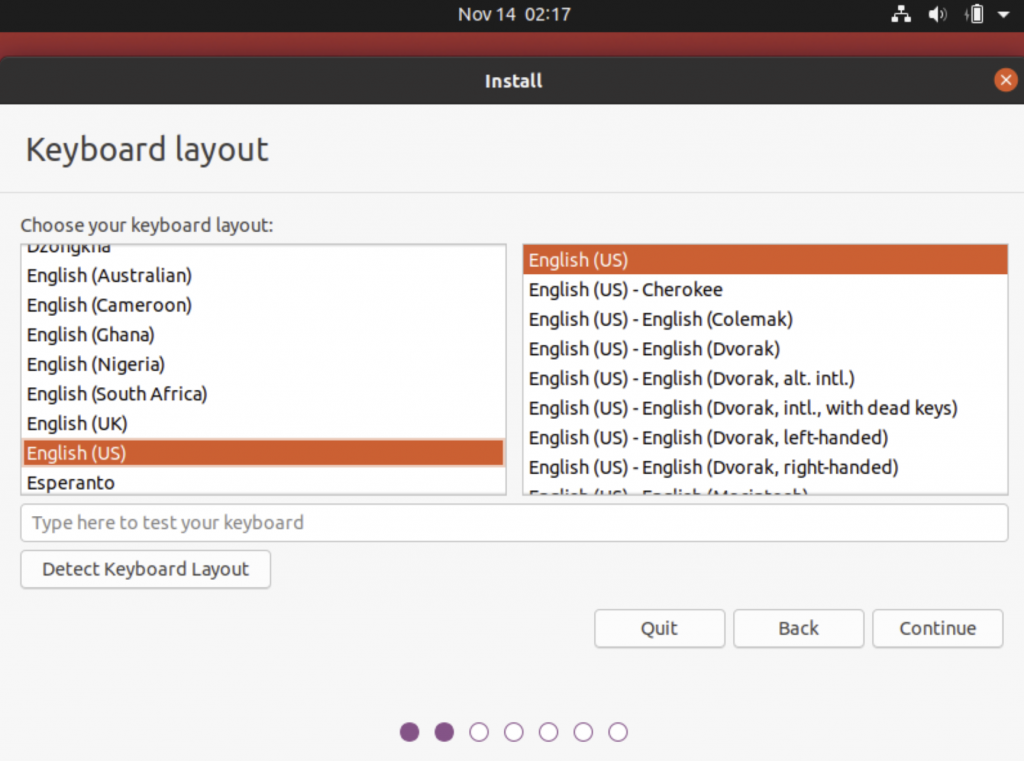
https://ithelp.ithome.com.tw/upload/images/20231005/20150239nI26DufZFy.png
4.更新設定
選擇「Normal Installation」並勾選「Download updates while installing Ubuntu」。
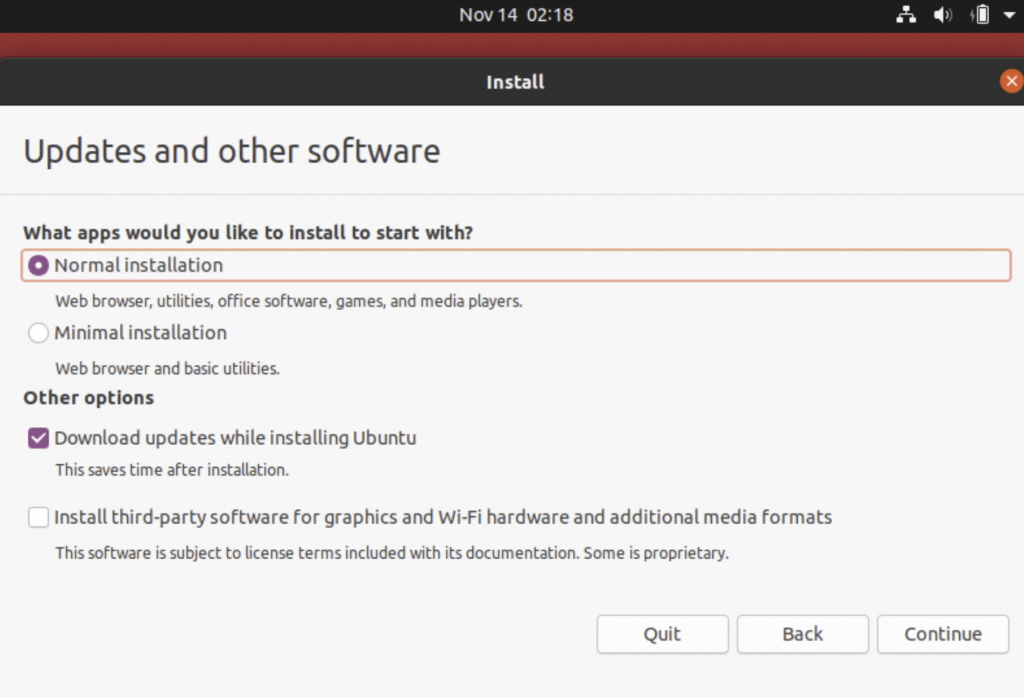
https://ithelp.ithome.com.tw/upload/images/20231005/2015023936KohrtrB1.png
5.下載方式
選擇「Erase disk and install Ubuntu」即可。
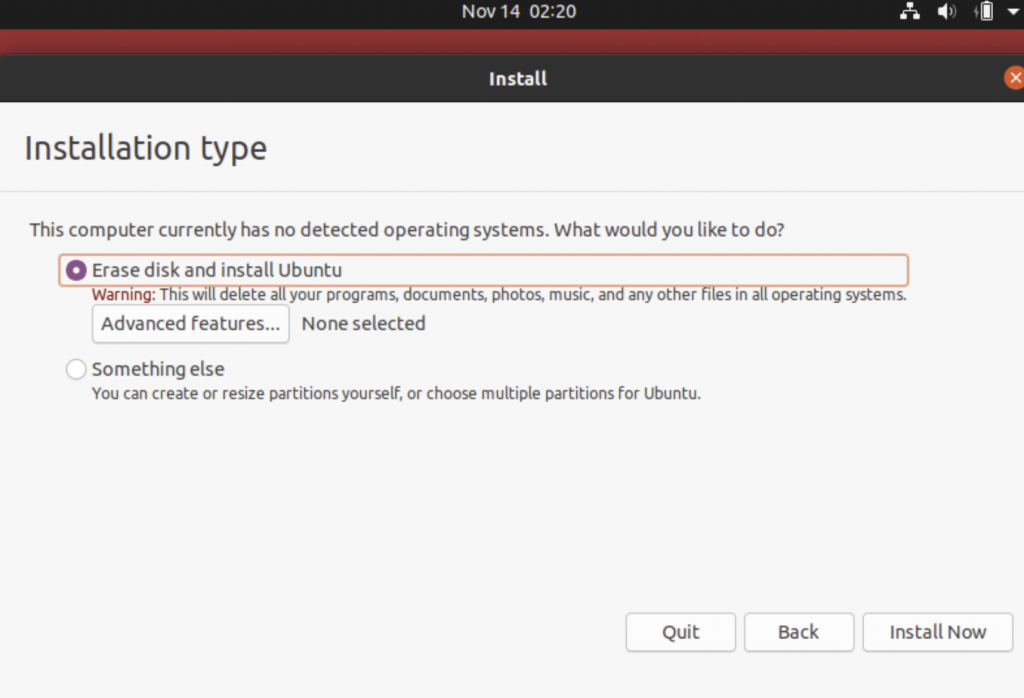
https://ithelp.ithome.com.tw/upload/images/20231005/20150239LUCoB5jd5C.png
6.選擇地區
選擇你所在的區域,按照預設值即可。
https://ithelp.ithome.com.tw/upload/images/20231005/20150239EA9yFOrwWc.png
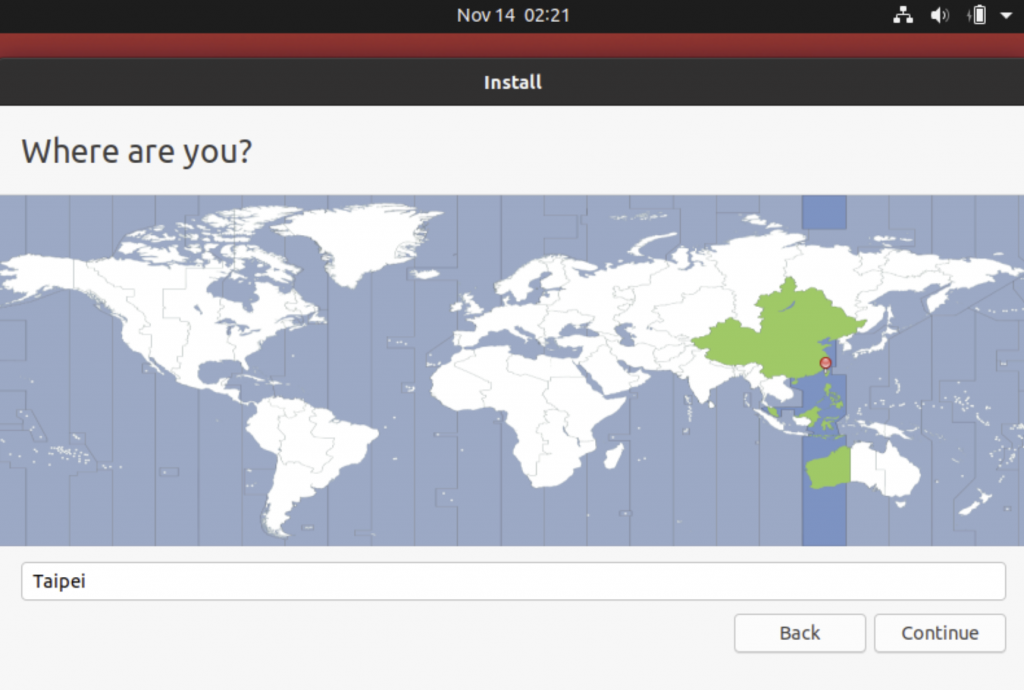
最後設定使用者相關的資訊後只需要等待,並重新啟動即可。


上一篇
Day19 Virtual Box安裝
下一篇
Day21 Kubernetes 安裝
系列文
docker30
圖片
  直播研討會
圖片
{{ item.channelVendor }} {{ item.webinarstarted }} |
{{ formatDate(item.duration) }}
直播中

尚未有邦友留言

立即登入留言