Hello, 各位 iT 邦幫忙 的粉絲們大家好~~~
在本系列文會延續 Re: 從零改用 .NET MAUI 技術來繼續過去用 Xamarin 技術開發的一個 App : TopStore 使用 .NET MAUI 技術所建立的 TopStore App ,更新 .NET MAUI 在 .NET 6 轉換到 .NET 7 時所需要調整的部分,並持續地的開發 TopStore App 其他需要的功能。
本篇是 Re: 從零續用 .NET MAUI 技術開發過去的一個 App : TopStore 系列 系列文的 EP22。
當有 "下訂單" 的狀態進入到 "商品詳細頁面" 時,在頁面右上方的 "ToolbarItem" 就要換成 "加訂單" 的選向來顯示,而原本的 "新增/編輯" 就先隱藏起來。
理論上這樣的功能應該不太困難,但很莫名的是 ToolbarItem 居然沒有 IsVisible 屬性可以進行這樣的調整,而且從 2018 年開始就已經是被標註成要加入的功能,但卻都一直沒有下文,這點著實讓人想不透!
有興趣的人可以參與 GitHub 上的討論 https://github.com/dotnet/maui/issues/3701
話雖如此, ToolbarItem 本身沒有設計這個 IsVisible 屬性,但要自己實作也不是太困難,從上述的 GitHub 連結當中,就已經有大大把處理的方式給寫出來,處理的方式大致上就是繼承原本的 ToolbarItem,再額外賦予一個 IsVisible 屬性,並針對此屬性值去處理此 ToolbarItem 該不該出現在 Page 的 ToolbarItems 當中。
但注意此方式適用於一開始畫面上已經在 XAML 當中,有撰寫設計好的 ToolbarItem,然後根據 IsVisible 的屬性值決定是否留下該 ToolbarItem 元件顯示;如果要動態調整的就需要再透過額外手法處理,GitHub 討論串中也有提及。
由於在目前使用的情境中,大概使用自行設計 IsVisible 屬性給 ToolbarItem 的做法就足以應付了,所以這邊就依樣畫葫蘆並稍微改寫了一下囉~~~
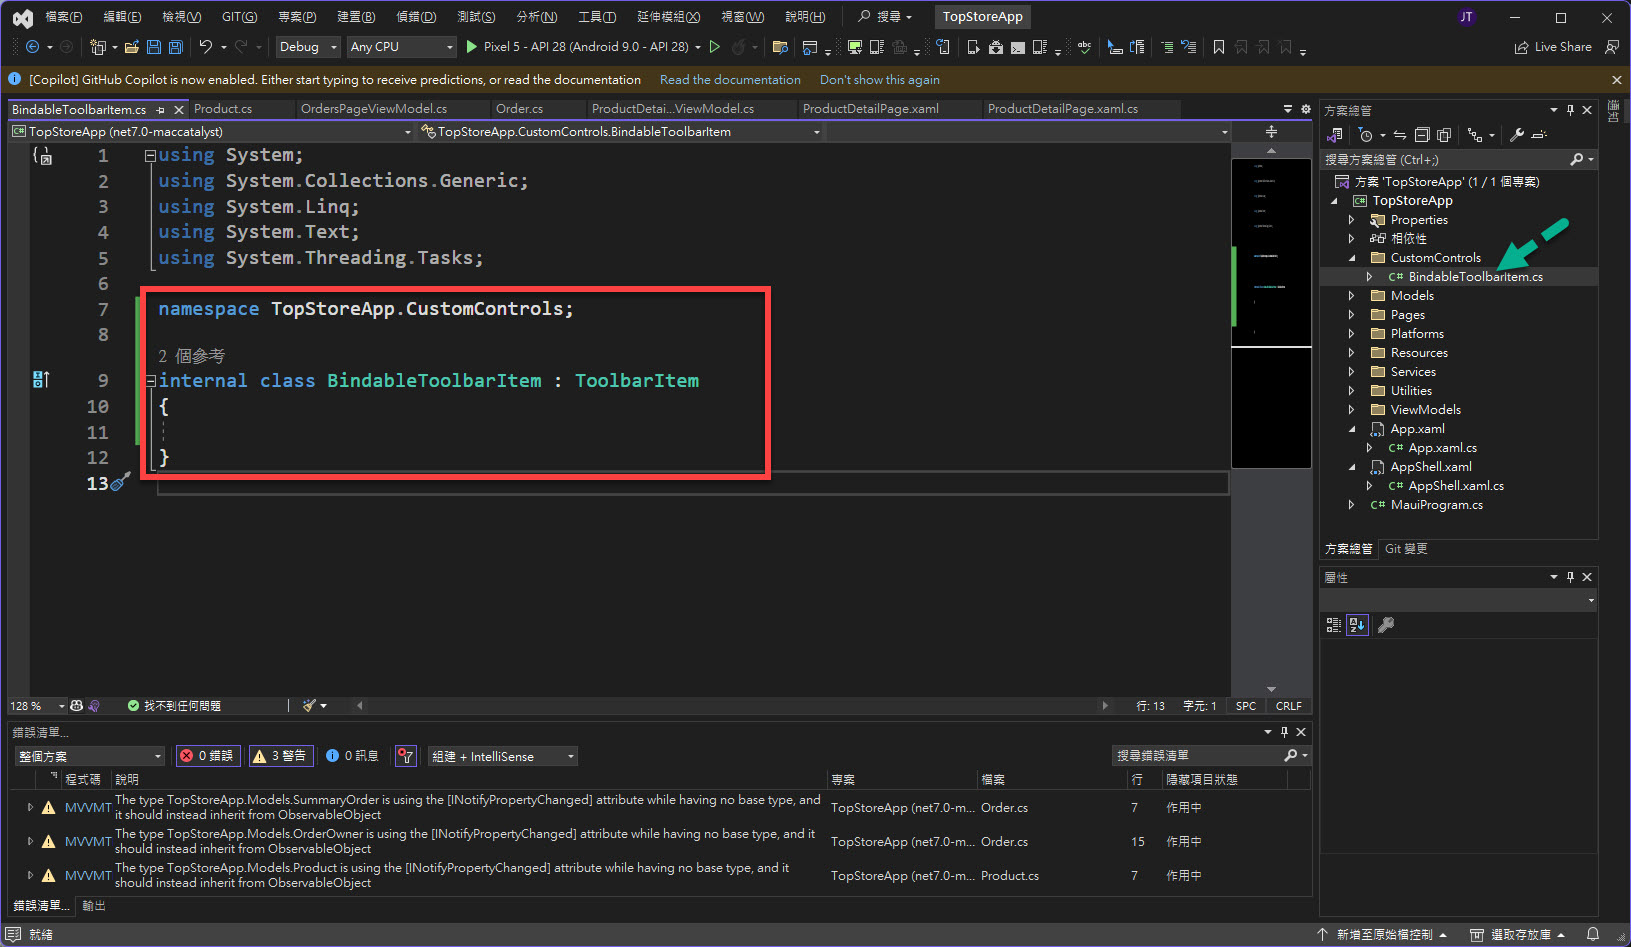
首先,在專案當中加入 CustomControls 資料夾,並在該資料夾當中加入有下列程式碼的類別檔:
namespace TopStoreApp.CustomControls;

internal class BindableToolbarItem : ToolbarItem
{

}
完成結果如下圖:
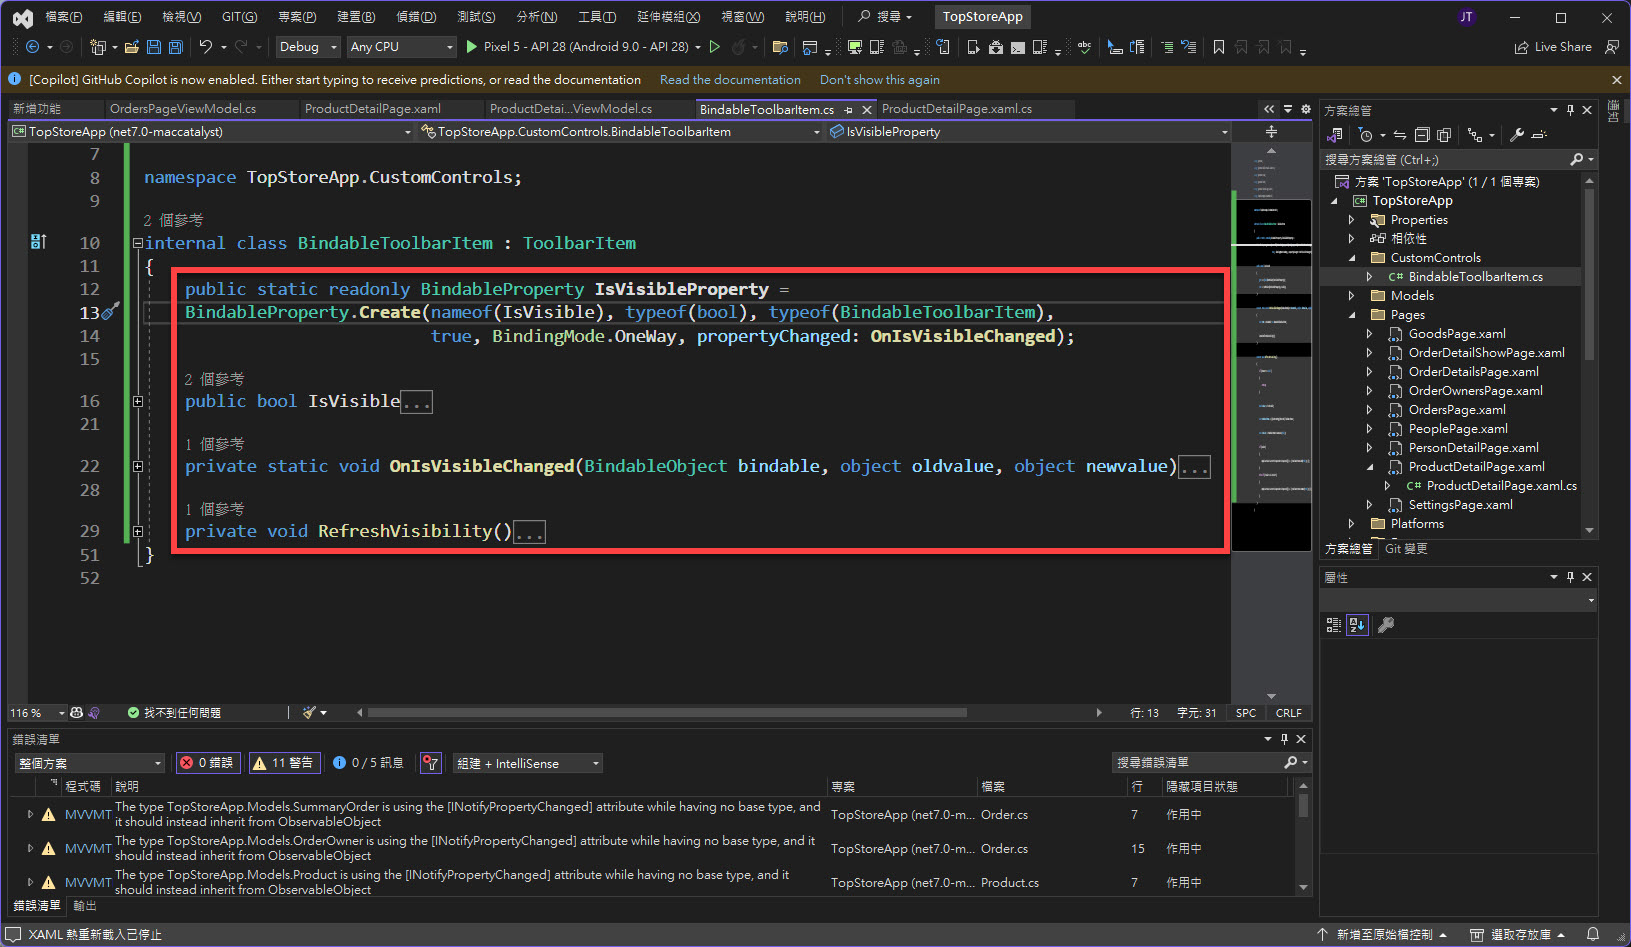
完成後,在該類別當中加入以下設計:
public static readonly BindableProperty IsVisibleProperty =
BindableProperty.Create(nameof(IsVisible), typeof(bool), typeof(BindableToolbarItem),
                        true, BindingMode.OneWay, propertyChanged: OnIsVisibleChanged);

public bool IsVisible
{
    get => (bool)GetValue(IsVisibleProperty);
    set => SetValue(IsVisibleProperty, value);
}

private static void OnIsVisibleChanged(BindableObject bindable, object oldvalue, object newvalue)
{
    var item = bindable as BindableToolbarItem;

    item.RefreshVisibility();
}

private void RefreshVisibility()
{
    if (Parent == null )
    {
        return;
    }

    bool value = IsVisible;

    var toolbarItems = ((ContentPage)Parent).ToolbarItems;

    var isExist = toolbarItems.Contains(this);

    if (value)
    {
        Application.Current.Dispatcher.Dispatch(() => { toolbarItems.Add(this); });
    }
    else if (!value && isExist)
    {
        Application.Current.Dispatcher.Dispatch(() => { toolbarItems.Remove(this); });
    }
}
完成結果如下圖:
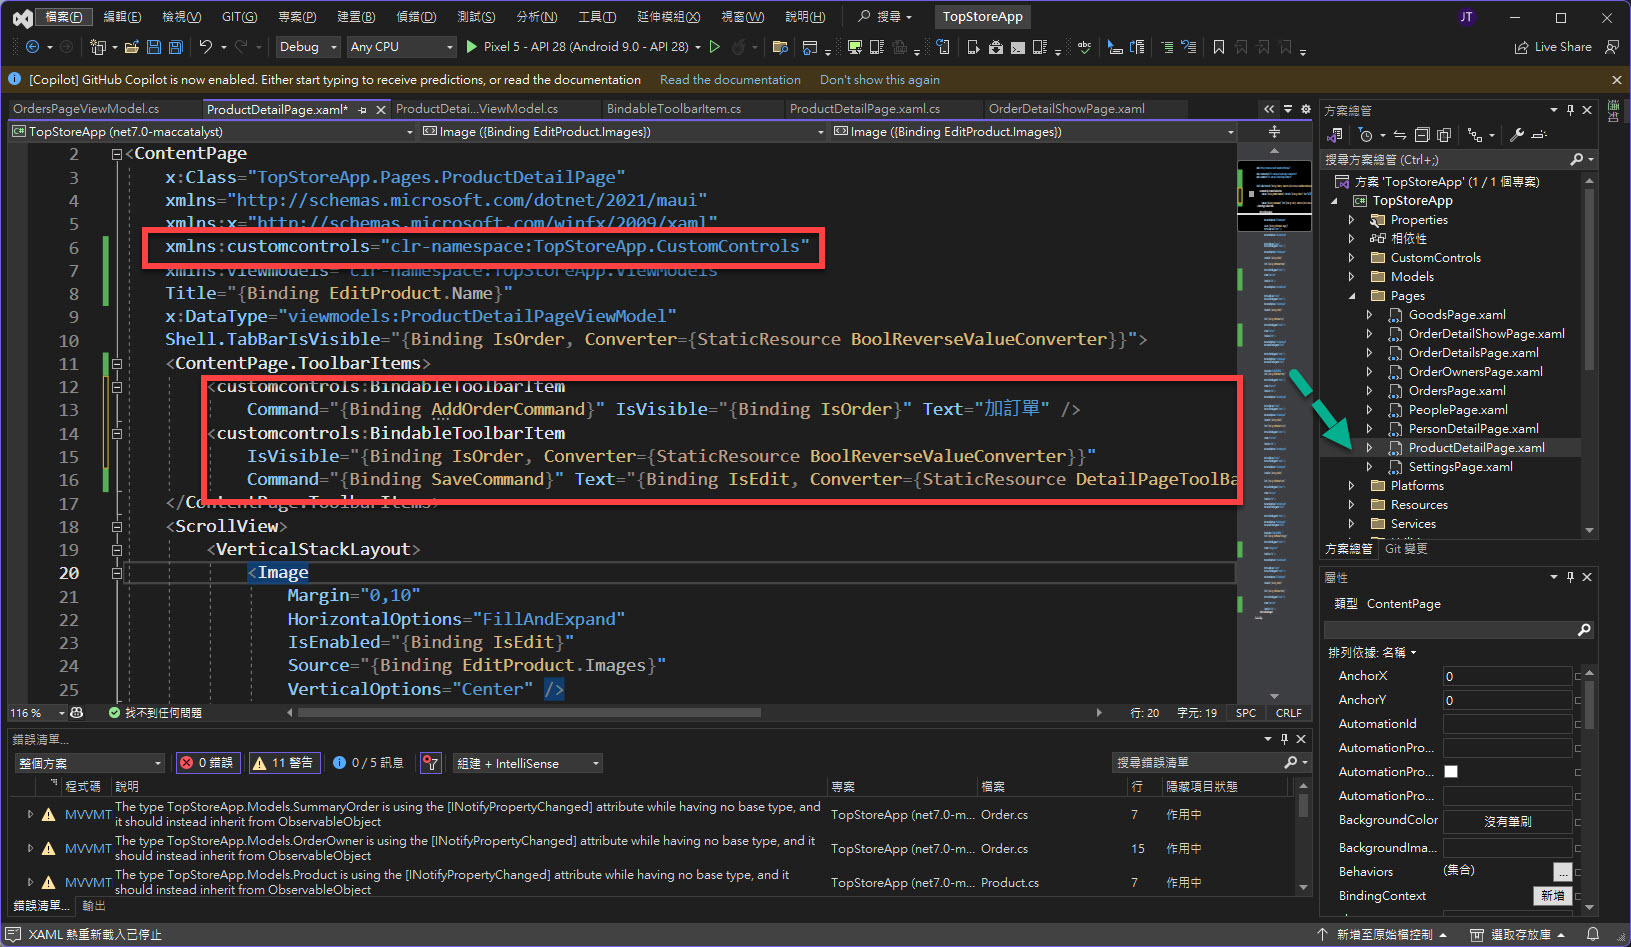
接著再把 Pages 底下的 ProductDetailPage 進行 XAML 的改寫。
首先針對 ContentPage 加入 XAML Namespace 的使用,並幫 ToolbarItems 的內容改寫成使用上述的客製化 BindableToolbarItem。
xmlns:customcontrols="clr-namespace:TopStoreApp.CustomControls"
<customcontrols:BindableToolbarItem
    Command="{Binding AddOrderCommand}" IsVisible="{Binding IsOrder}" Text="加訂單" />
<customcontrols:BindableToolbarItem
    IsVisible="{Binding IsOrder, Converter={StaticResource BoolReverseValueConverter}}"
    Command="{Binding SaveCommand}" Text="{Binding IsEdit, Converter={StaticResource DetailPageToolBarItemDisplayText}, ConverterParameter='儲存,編輯'}" />
完成結果如下圖:
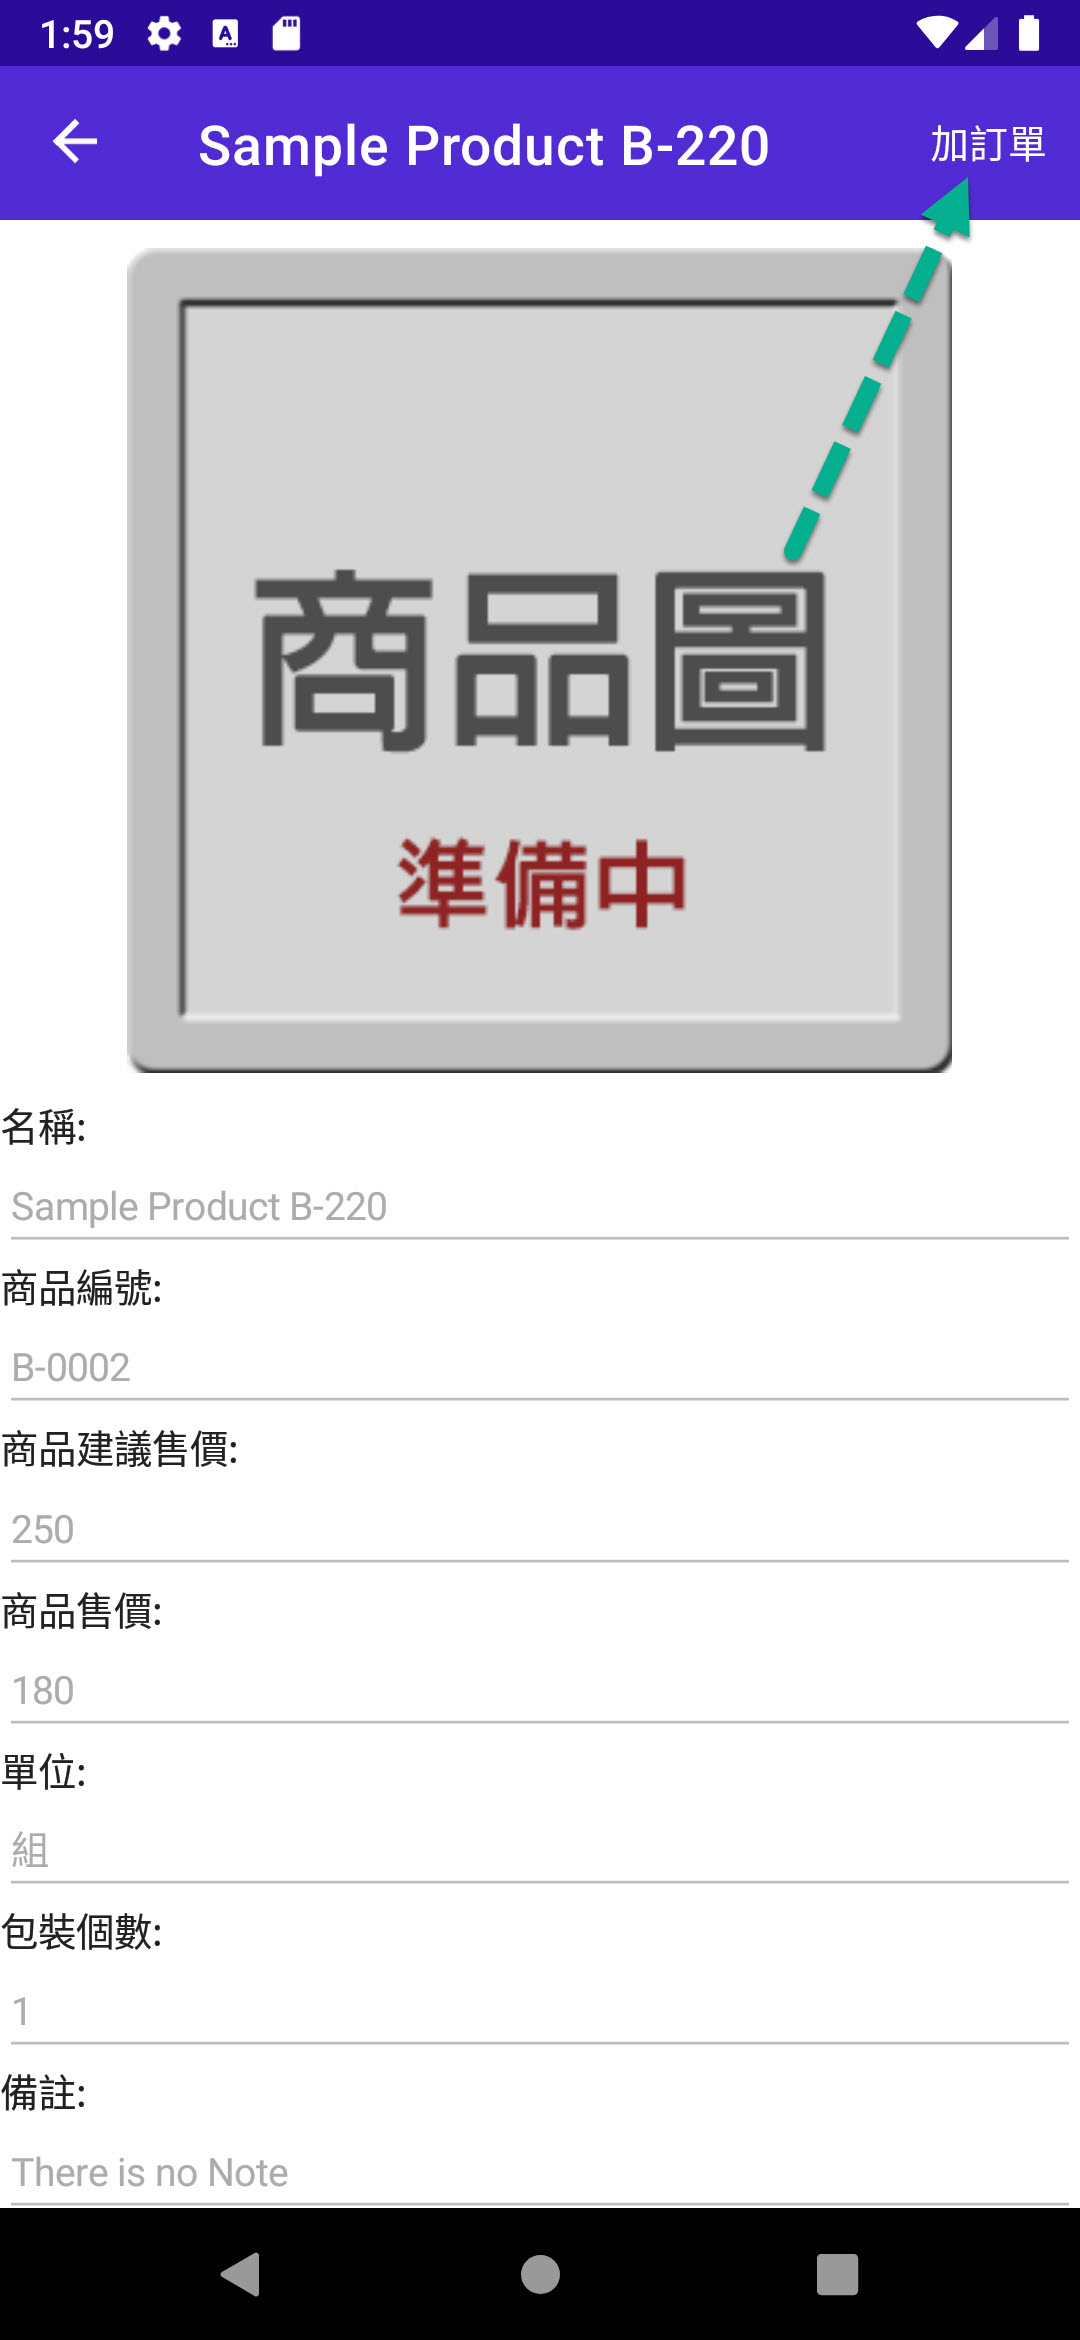
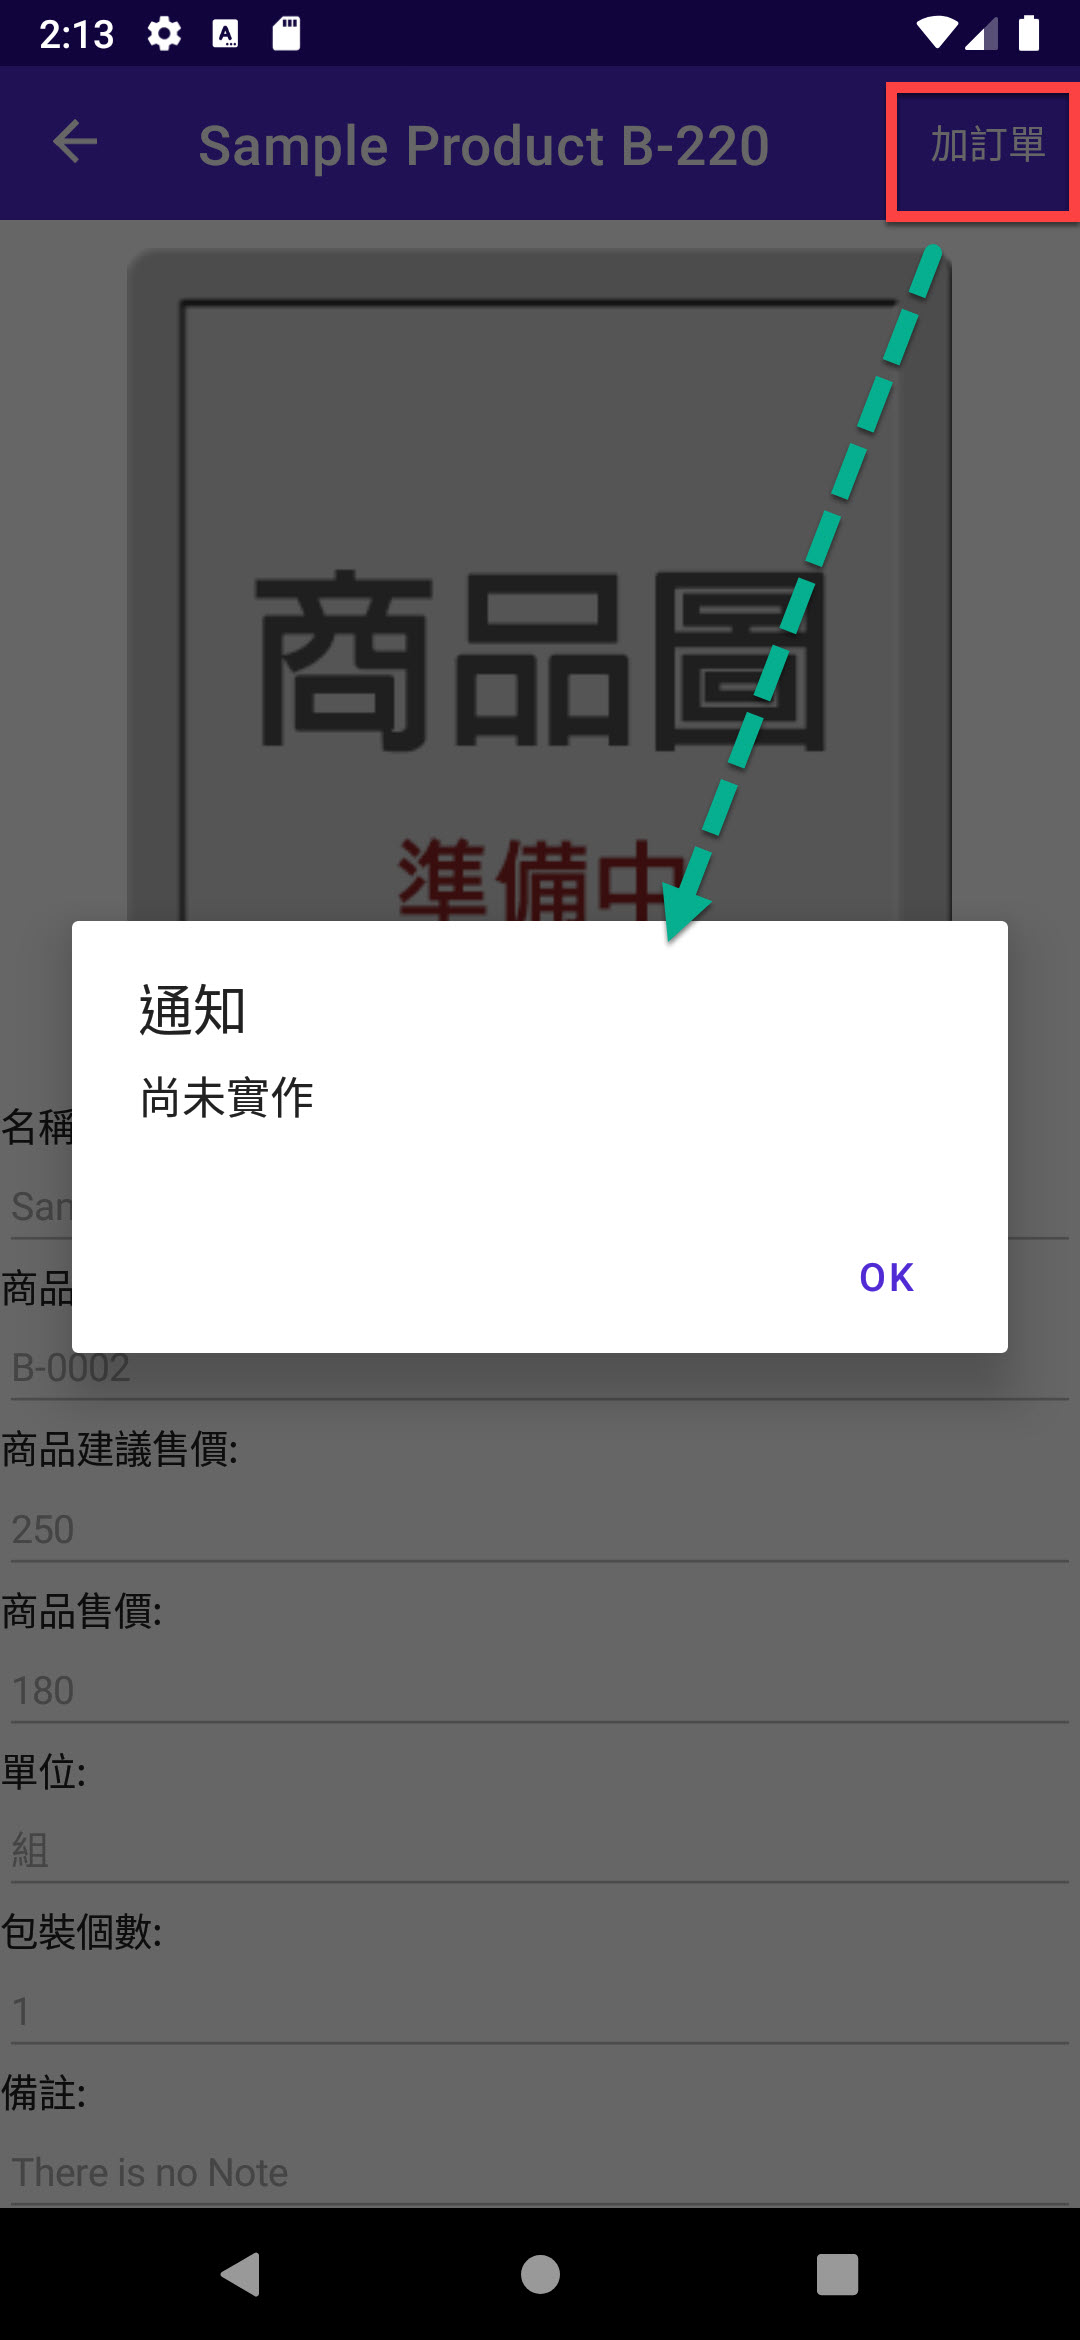
完成後,若從 "下訂單" 模式的操作進入到 ProductDetailPage 那 ToolbarItems 就會出現 "加訂單"。
結果如下圖:
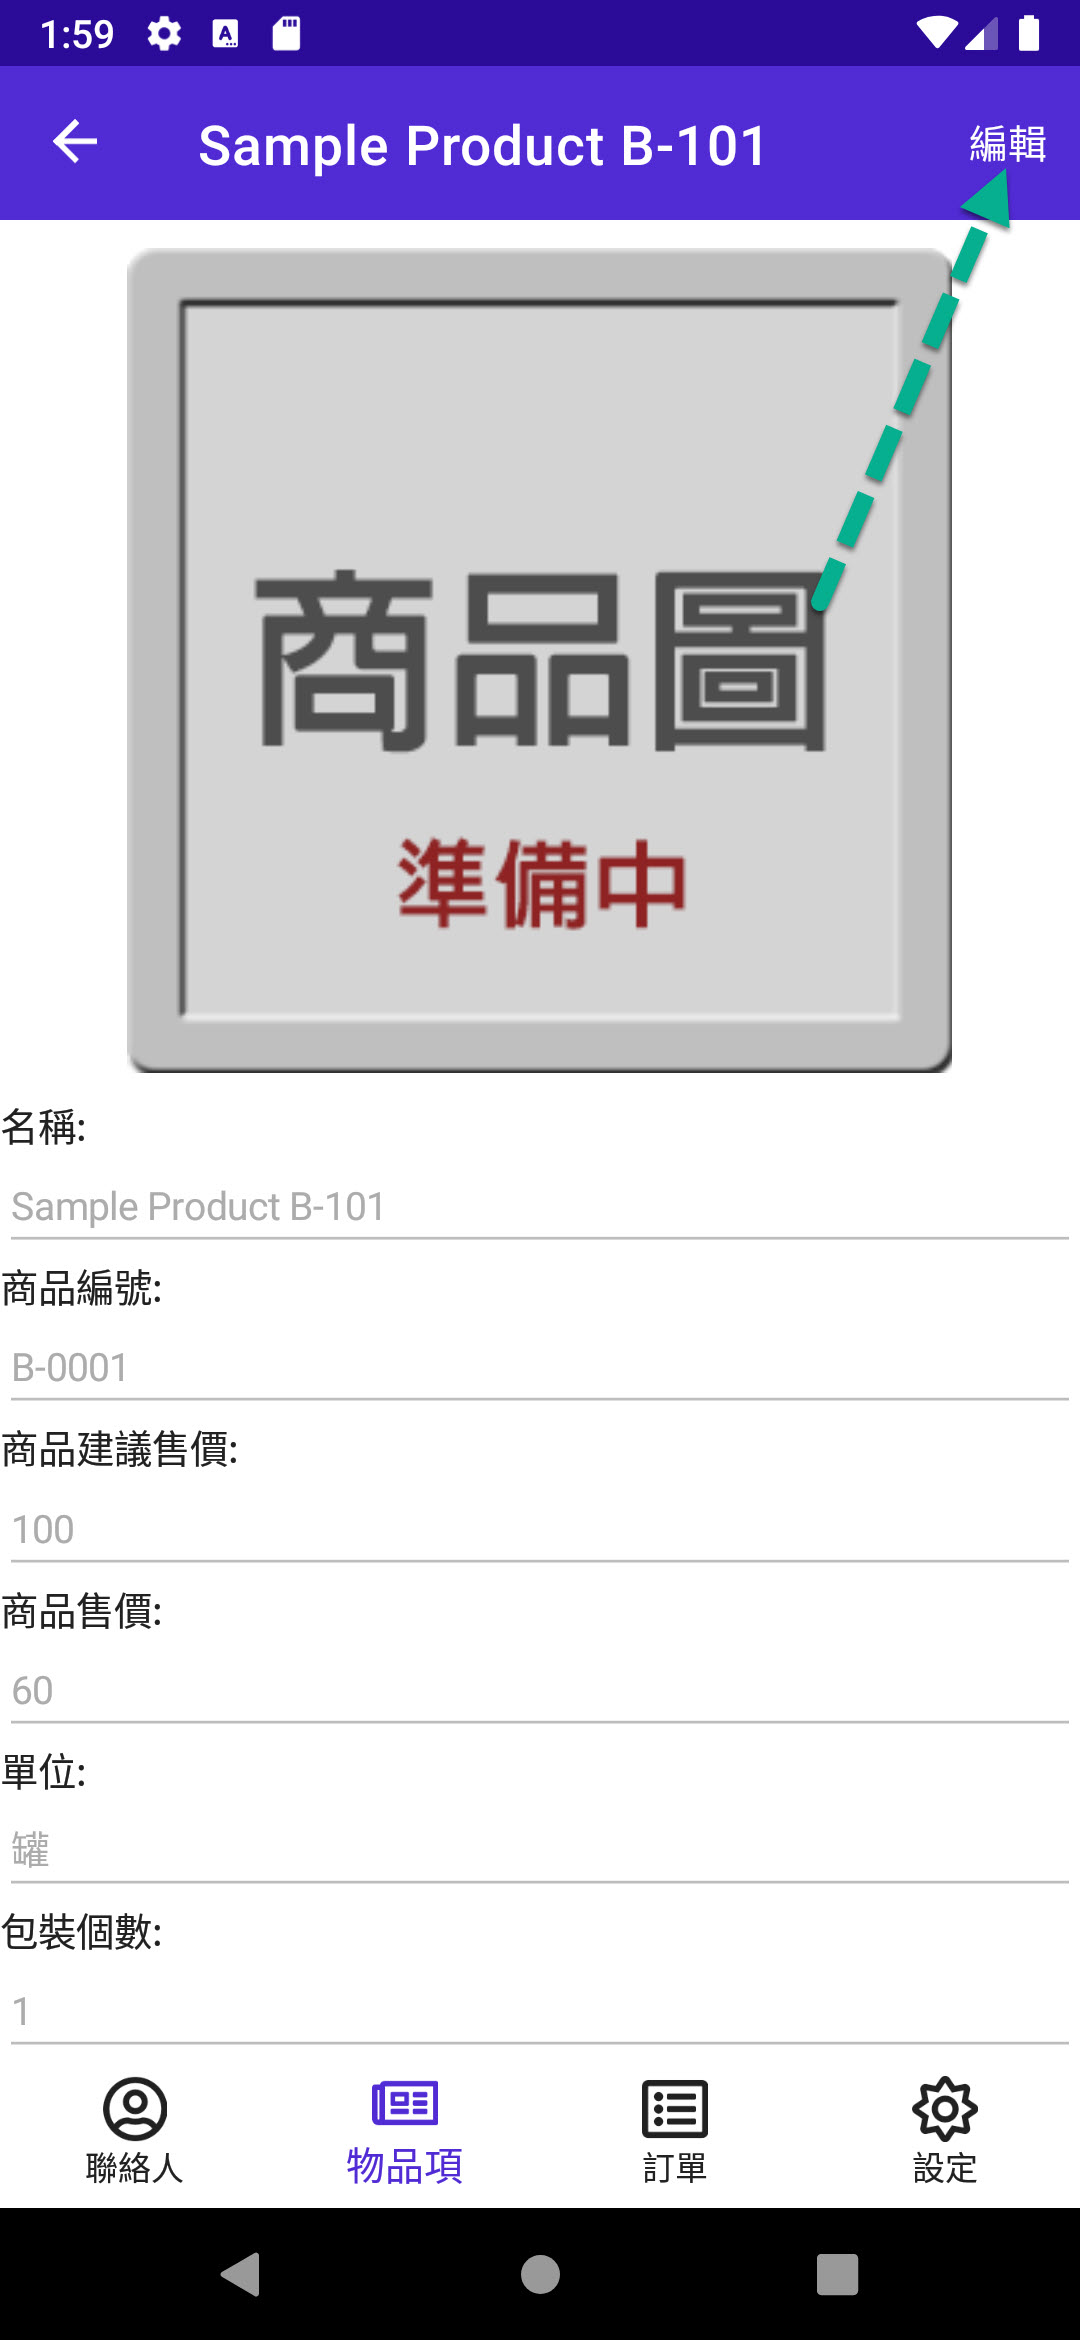
若是直接從 "瀏覽商品" 模式的操作進入到 ProductDetailPage 那 ToolbarItems 就會出現 "編輯/儲存"。
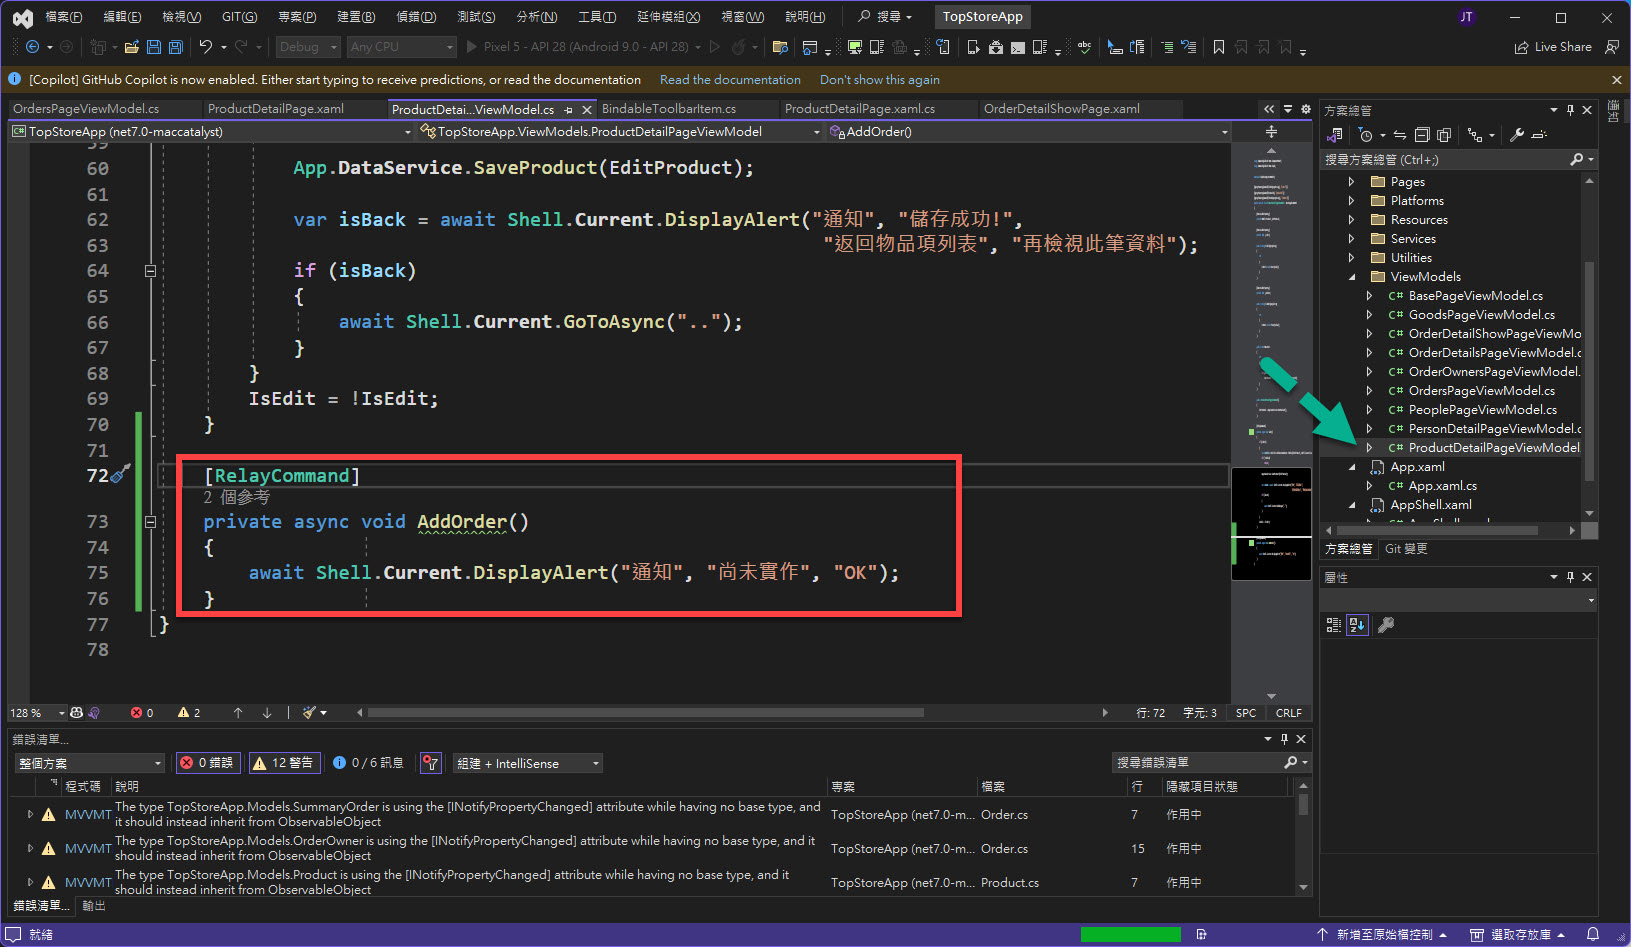
最後到 ProductDetailPageViewModel 當中補上 AddOrder 的方法,但先用 DisplayAlert 代替處理 "加訂單" 的事情:
[RelayCommand]
private async void AddOrder()
{
    await Shell.Current.DisplayAlert("通知", "尚未實作", "OK");
}
完成結果如下圖:
執行的結果:
下一回就再繼續處理 "加訂單" 的部分囉~~~