PostgreSQL 監控涉及收集和分析各種性能指標,如查詢執行時間、磁盤使用率、連線狀態等。這不僅有助於預防故障,還能提高系統效能,優化資料庫架構,以應對日益複雜的業務需求,在 Zabbix 中使用 PostgreSQL by ODBC 監控範本,我們可以容易的監控以下項目:
因為筆者沒有 PostgreSQL 的環境,所以將使用 Docker 來快速進行演示。
PostgreSQL
使用 Docker 來進行安裝
docker run -p 5432:5432 `
  -e POSTGRES_USER=your_account `
  -e POSTGRES_PASSWORD=your_password `
  -e POSTGRES_DB=postgres `
  --name db `
  -d postgres:15
驗證是否安裝成功
docker exec db psql -V
psql (PostgreSQL) 15.4 (Debian 15.4-2.pgdg120+1)
pgAdmin
接下來我們需要安裝 pgAdmin 圖形化工具來方便管理 PostgreSQL
docker run -p 8080:80 `
  -e 'PGADMIN_DEFAULT_EMAIL=user@domain.com' `
  -e 'PGADMIN_DEFAULT_PASSWORD=your_password' `
  -d dpage/pgadmin4
瀏覽 http://localhost:8080 就可以使用了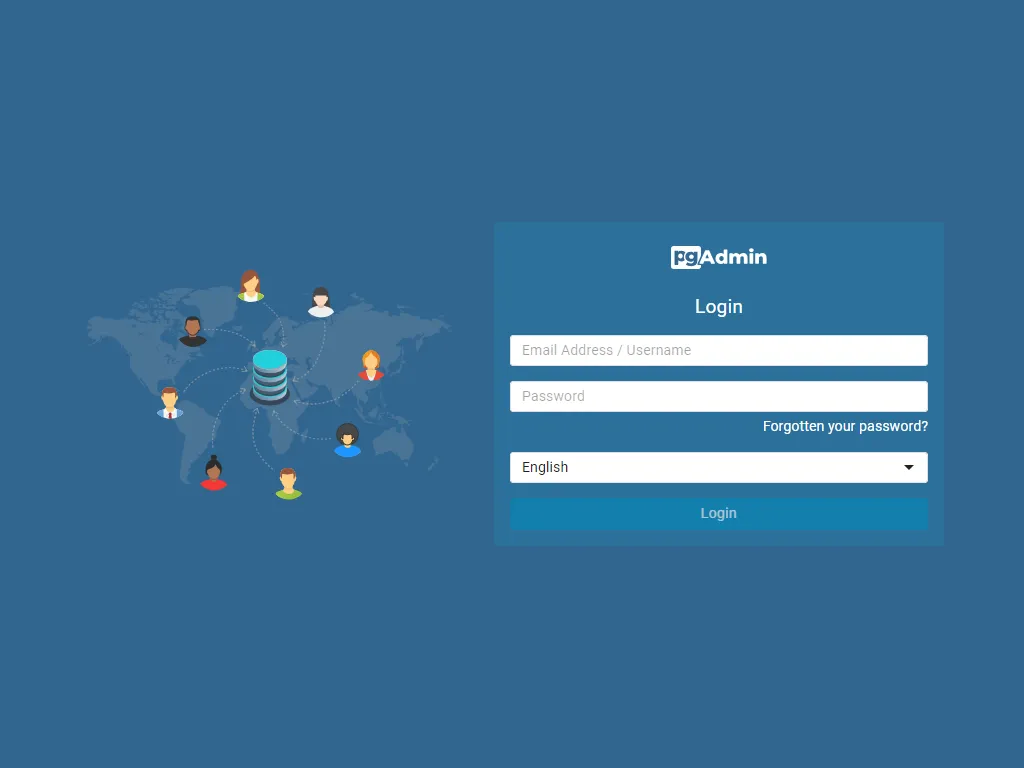
點選 Add New Server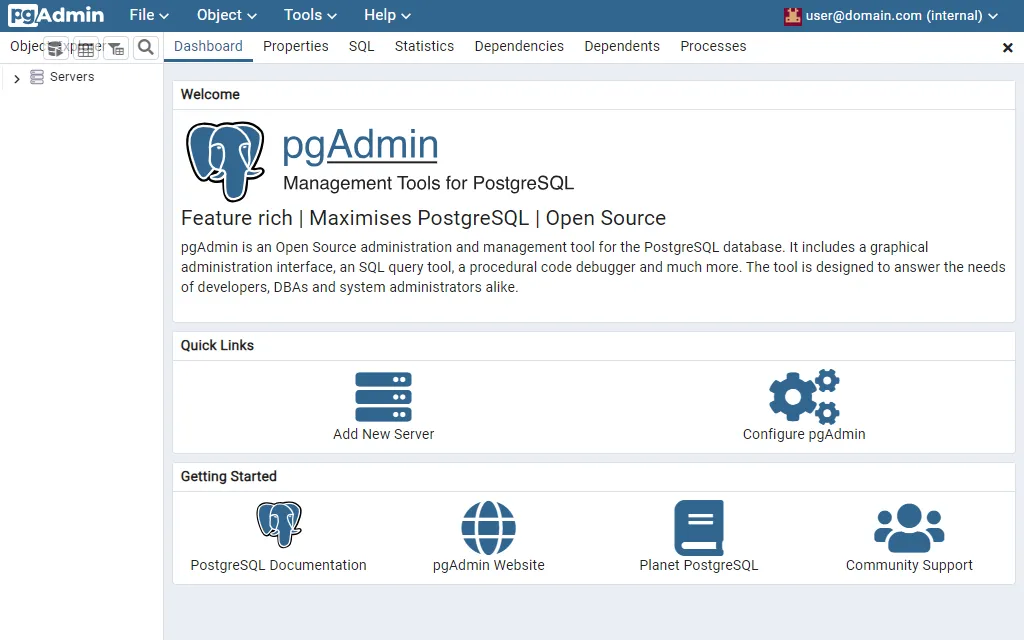
填入 PostgreSQL 連線資訊
演示的環境準備就緒了
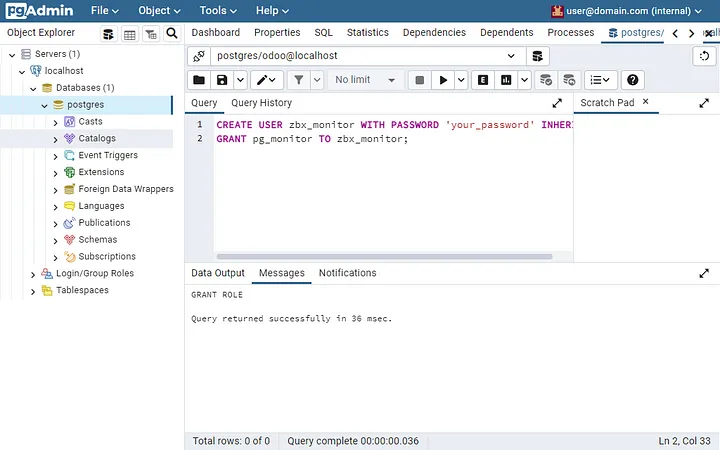
監控帳號建立
新增一個用於監控的 PostgreSQL 帳號並授予 pg_monitor 角色,使其可讀取與執行各種監視視圖和函數。
透過下列指令新增 zbx_monitor 並授予 pg_monitor 角色
CREATE USER zbx_monitor WITH PASSWORD 'your_password' INHERIT;
GRANT pg_monitor TO zbx_monitor;
安裝 PostgreSQL ODBC Driver
透過以下指令進行安裝
sudo apt-get install odbc-postgresql
配置 ODBC 驅動程式管理員
sudo vi /etc/odbcinst.ini
[postgresql]
Description = General ODBC for PostgreSQL
Driver      = /usr/lib/x86_64-linux-gnu/odbc/psqlodbcw.so
Setup       = /usr/lib/x86_64-linux-gnu/odbc/libodbcpsqlS.so
FileUsage   = 1
# Since 1.6 if the driver manager was built with thread support you may add another entry to each driver entry.
# This entry alters the default thread serialization level.
Threading   = 2
配置 ODBC 連接訊息
sudo vi /etc/odbc.ini
[your_database_name]
Description = PostgreSQL database 1
Driver  = postgresql
#CommLog = /tmp/sql.log
Username = zbx_monitor
Password = your_password
# Name of Server. IP or DNS
Servername = your_postgresql_ip
# Database name
Database = postgres
# Postmaster listening port
Port = 5432
# Database is read only
# Whether the datasource will allow updates.
ReadOnly = No
# PostgreSQL backend protocol
# Note that when using SSL connections this setting is ignored.
# 7.4+: Use the 7.4(V3) protocol. This is only compatible with 7.4 and higher backends.
Protocol = 7.4+
# Includes the OID in SQLColumns
ShowOidColumn = No
# Fakes a unique index on OID
FakeOidIndex  = No
# Row Versioning
# Allows applications to detect whether data has been modified by other users
# while you are attempting to update a row.
# It also speeds the update process since every single column does not need to be specified in the where clause to update a row.
RowVersioning = No
# Show SystemTables
# The driver will treat system tables as regular tables in SQLTables. This is good for Access so you can see system tables.
ShowSystemTables = No
# If true, the driver automatically uses declare cursor/fetch to handle SELECT statements and keeps 100 rows in a cache.
Fetch = Yes
# Bools as Char
# Bools are mapped to SQL_CHAR, otherwise to SQL_BIT.
BoolsAsChar = Yes
# SSL mode
SSLmode = disable
# Send to backend on connection
ConnSettings =
進行 ODBC 連接測試
isql -v your_database_name zbx_monitor your_password
登入成功,執行 select version() 看看。
+---------------------------------------+
| Connected!                            |
|                                       |
| sql-statement                         |
| help [tablename]                      |
| quit                                  |
|                                       |
+---------------------------------------+
SQL> select version();
+----------------------------------------------------------------------------------------------------------------------+
| version                                                                                                              |
+----------------------------------------------------------------------------------------------------------------------+
| PostgreSQL 15.4 (Debian 15.4-2.pgdg120+1) on x86_64-pc-linux-gnu, compiled by gcc (Debian 12.2.0-14) 12.2.0, 64-bit  |
+----------------------------------------------------------------------------------------------------------------------+
SQLRowCount returns 1
1 rows fetched
SQL> quit
確認可以透過 ODBC 登入想要監控的資料庫伺服器,接下來就可以回到 Zabbix 進行設定。
Zabbix
由於 Zabbix 預設沒有 PostgreSQL by ODBC 監控範本,請參考官網連結下載後進行匯入。
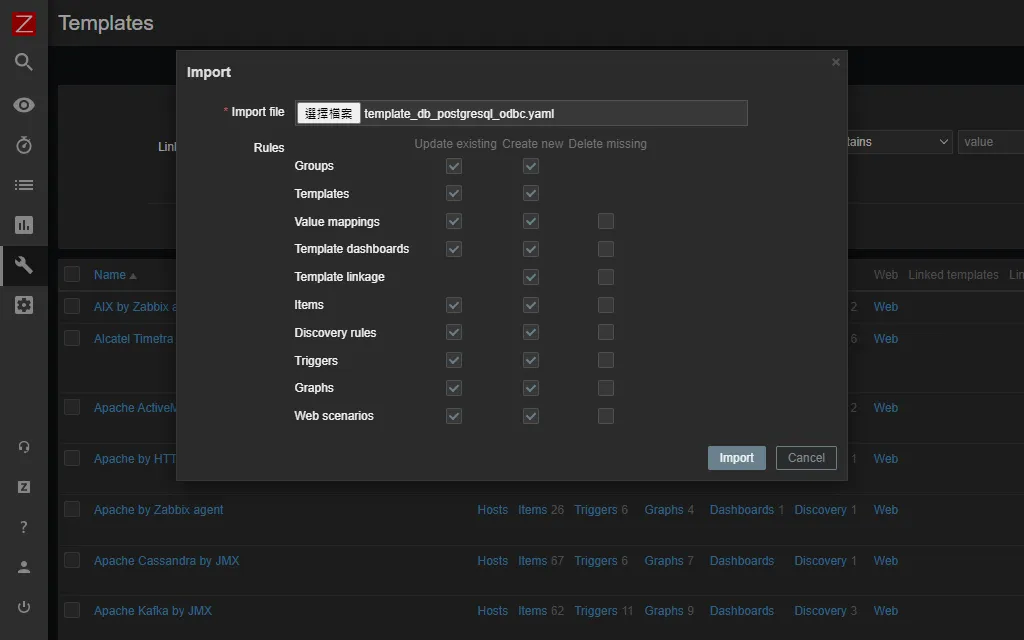
確認沒問題後,點選 Import。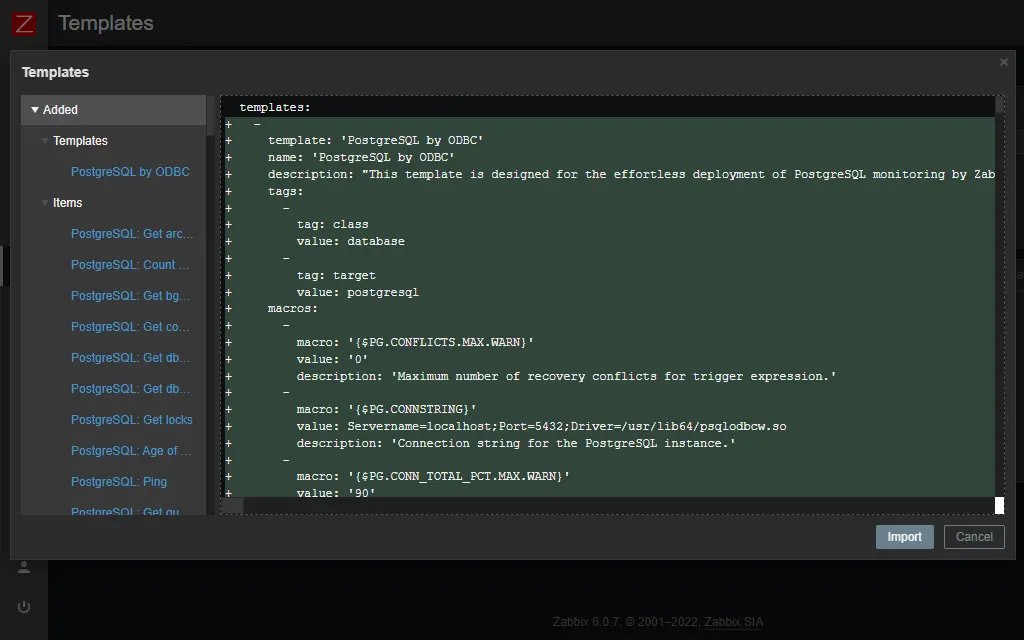
依照自己的分類與命名習慣建立 Host 主機即可,然後在 Templates 選擇 Templates/Databases,勾選 PostgreSQL by ODBC 。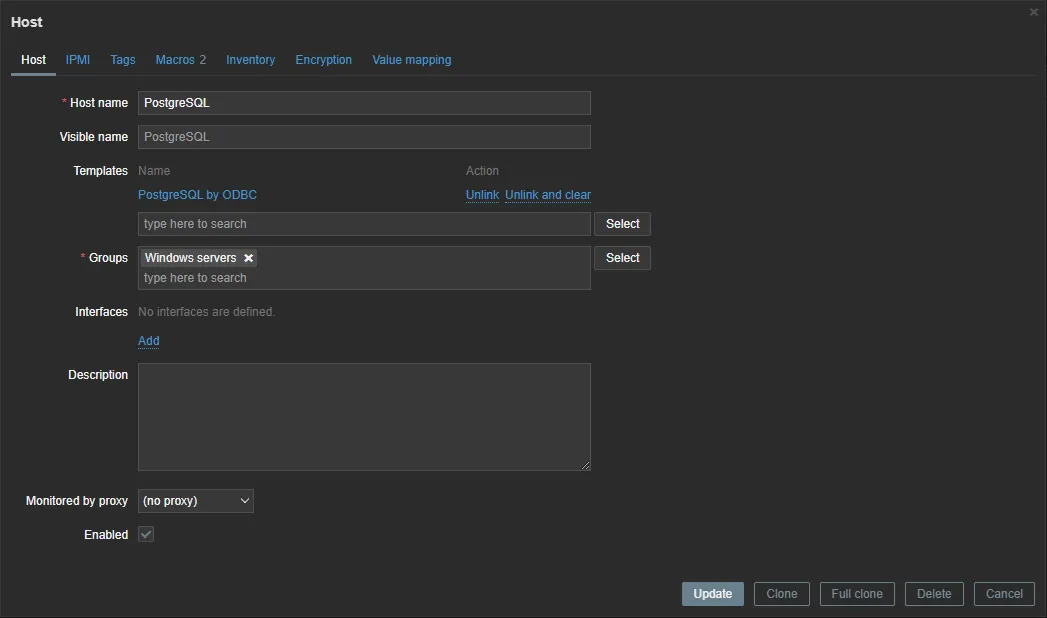
接下來切換到 Macros 頁面,添加以下 Macro。
驗證一下 Last Data 是否有抓到了
然後可以到 Granafa 開心的畫圖了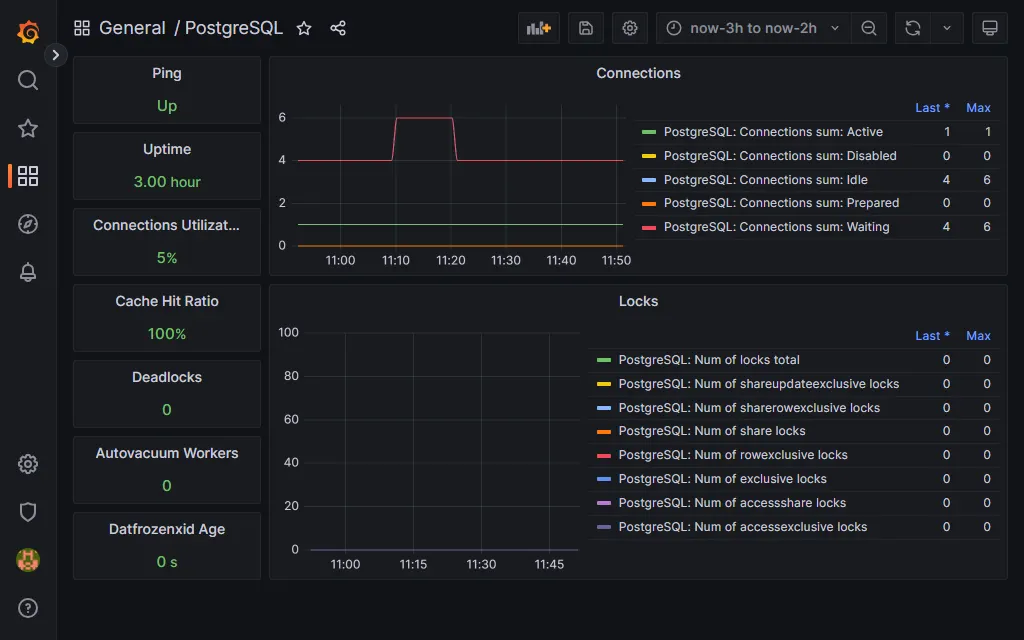
監控 PostgreSQL 是確保資料庫系統穩定運作的關鍵一環。透過持續監控,我們能夠即時捕捉系統性能異常、識別潛在問題並迅速回應,確保系統運作在最佳狀態。
今天的教學就到這邊,謝謝大家。
參考文件
 Ivan Cheng
