對於剛開始理解用Android studio做影像辨識的很重要,如何讀取到正確的圖片及抓取drawable位置圖片是在辨識前須先了解的,以下會用兩種例子說明。
流程:
Android studio drawable支援圖片格式:
JPEG/JPG: 最常見的圖片格式之一,壓縮率高,適合保存照片。
PNG: 支持透明背景,適合保存圖標和需要透明背景的圖片。
GIF: 支持動畫和透明背景,但色彩數有限,適合簡單的動畫和圖標。
BMP: 未壓縮的圖片格式,文件較大,通常不在移動應用中使用。
WEBP: Google開發的圖片格式,支持有損和無損壓縮,壓縮率高且質量好。
Android studio讀取資源文件夾圖片
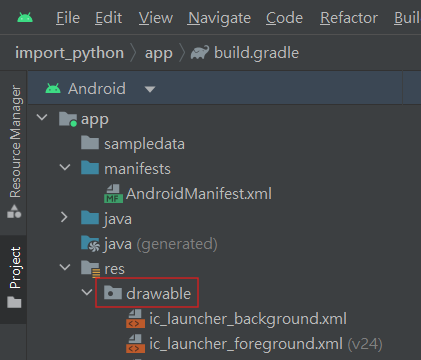
setImageResource會到drawable尋找圖片名稱進行轉換與辨識,記得把圖片放進去!
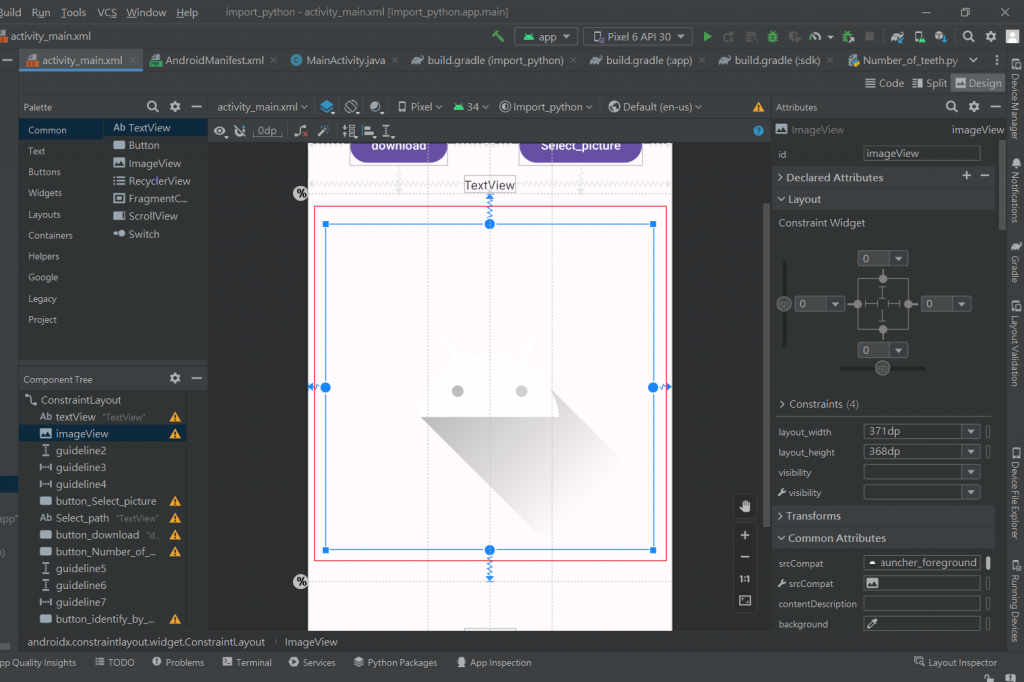
//指定xml中的imageView
imageView = findViewById(R.id.imageView);

//讀取資源文件夾圖片
imageView.setImageResource(R.drawable.sample_image);

//轉換為Bitmap
Drawable drawable = imageView.getDrawable();
Bitmap bitmap = ((BitmapDrawable) drawable).getBitmap();

//將Bitmap轉換為Mat
Mat mat = new Mat(bitmap.getHeight(), bitmap.getWidth(), CvType.CV_8UC4);
Utils.bitmapToMat(bitmap, mat);

//透過opencv將Mat格式轉換為灰階
Mat grayMat = new Mat();
Imgproc.cvtColor(mat, grayMat, Imgproc.COLOR_BGR2GRAY);

//將灰階Mat轉換為Bitmap供Androidstudio顯示
Bitmap grayBitmap = Bitmap.createBitmap(grayMat.cols(), grayMat.rows(), Bitmap.Config.ARGB_8888);
Utils.matToBitmap(grayMat, grayBitmap);

//將處理後的Bitmap顯示在ImageView中
imageView.setImageBitmap(grayBitmap);
針對目前的imageView去讀取照片
//指定xml中的imageView
imageView = findViewById(R.id.imageView);

//從資源文件夾中加載圖像並轉換為Mat
Mat drawable = Utils.loadResource(this, R.drawable.sample_image);

//將圖像轉換為灰階
Mat grayMat = new Mat();
Imgproc.cvtColor(drawable, grayMat, Imgproc.COLOR_BGR2GRAY);

//將灰階Mat轉換為Bitmap供Androidstudio顯示
Bitmap grayBitmap = Bitmap.createBitmap(grayMat.cols(), grayMat.rows(), Bitmap.Config.ARGB_8888);
Utils.matToBitmap(grayMat, grayBitmap);

//將處理後的Bitmap顯示在ImageView中
imageView.setImageBitmap(grayBitmap);
