模型除了可以以視窗方式呈現,也可以獨立存在,換句話說就是可以將模型從視窗內拖曳到空間的任何位置。
首先,新增一個子View,將讀取模型的程式碼放在子View之內:
struct ContentView: View {
    var body: some View {
        EarthDetailView()
    }
}

struct EarthDetailView: View {
    var body: some View {
        Model3D(named: "Scene", bundle: realityKitContentBundle)
            .padding(.bottom, 50)
    }
}
加入手勢操作,手勢可以針對垂直方向去滑動3D模型:
struct EarthDetailView: View {

    @State private var verticalRotation = CGFloat.zero
    @State private var endVerticalRotation = CGFloat.zero

    var body: some View {
        Model3D(named: "Scene", bundle: realityKitContentBundle)
            .rotation3DEffect(
                .degrees(-verticalRotation), axis: .x
            )
            .gesture(
                DragGesture()
                    .onChanged({ value in
                        verticalRotation = value.translation.height + endVerticalRotation
                    })
                    .onEnded({ _ in
                        endVerticalRotation = verticalRotation
                    })
            )

    }
}
這裡宣告了兩個變數verticalRotation與endVerticalRotation,用來儲存目前手勢拖曳的位置,verticalRotation表示儲存正在拖曳的位置,endVerticalRotation表示儲存結束拖曳的位置。
產生拖曳的效果在gesture屬性內,加入一個DragGesture物件,有兩個控制函式,透過onChanged會回傳正在拖曳的位置。onEnded會回傳結束拖曳的位置。
最後再透過rotation3DEffect屬性,去控制3D模型轉動的範圍。
而目前這裡只有控制垂直方向,水平方向同理:
struct EarthDetailView: View {

    @State private var horizontalRotation = CGFloat.zero
    @State private var verticalRotation = CGFloat.zero
    @State private var endHorizontalRotation = CGFloat.zero
    @State private var endVerticalRotation = CGFloat.zero

    var body: some View {
        Model3D(named: "Scene", bundle: realityKitContentBundle)
            .rotation3DEffect(
                .degrees(horizontalRotation), axis: .y
            )
            .rotation3DEffect(
                .degrees(-verticalRotation), axis: .x
            )
            .gesture(
                DragGesture()
                    .onChanged({ value in
                        horizontalRotation = value.translation.width + endHorizontalRotation
                        verticalRotation = value.translation.height + endVerticalRotation
                    })
                    .onEnded({ _ in
                        endHorizontalRotation = horizontalRotation
                        endVerticalRotation = verticalRotation
                    })
            )

    }
}
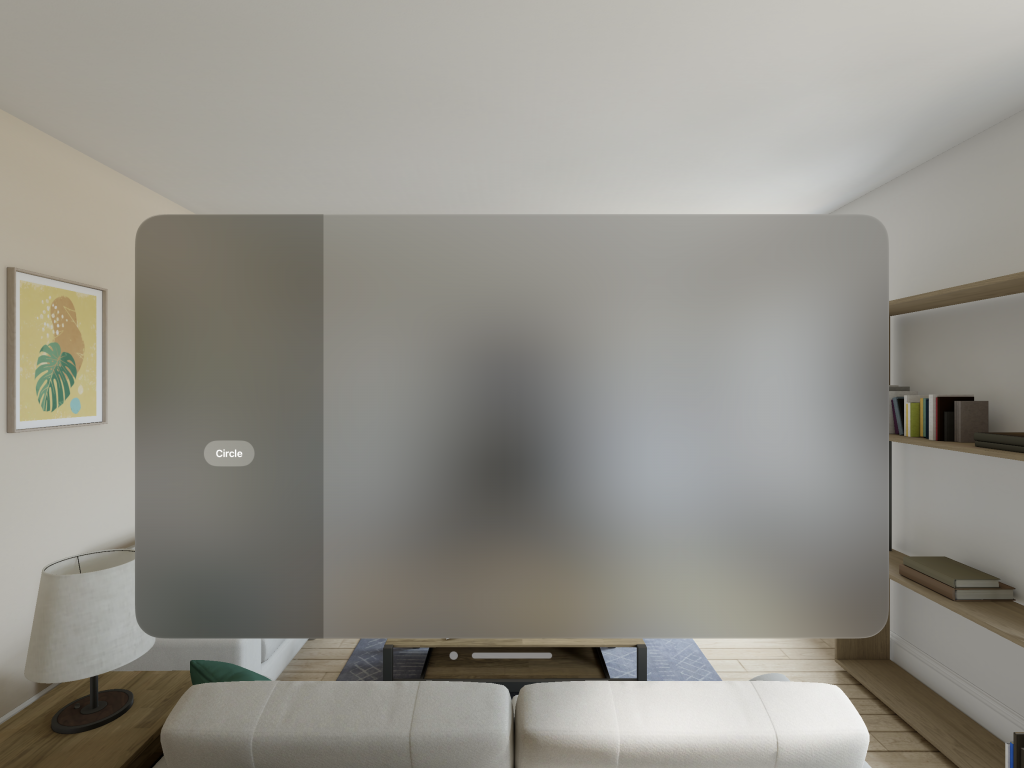
使用NavigationSplitView元件,將按鈕與3D模型的子View放入:
struct ContentView: View {
    var body: some View {
        NavigationSplitView {
            Button(action: {

            }, label: {
                Text("Circle")
            })

        } detail: {
            EarthDetailView()
                .navigationTitle("Circle")
                .toolbar {
                    Button(action: {

                    }, label: {
                        Text("Circle")
                    })
                }
        }

    }
}
顯示如圖:

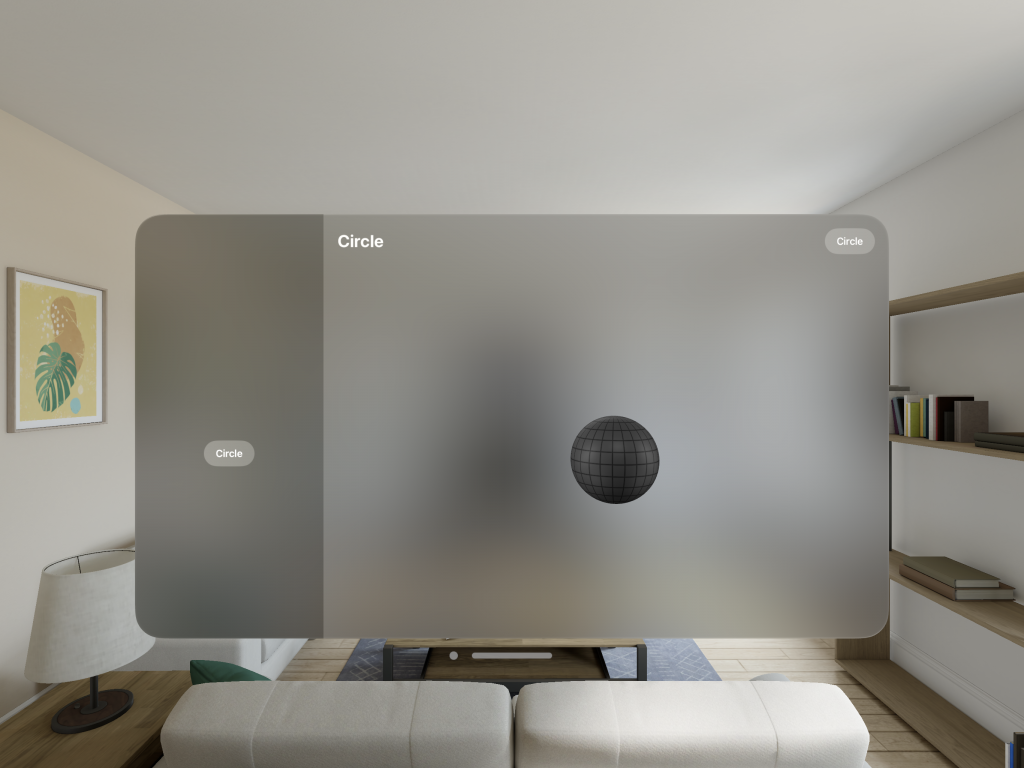
按下按鈕之後,模型就會出現:
顯示如圖:

為了要讓模型可以獨立呈現,在toolbar內加入一個openWindow指令,表示可以開啟另外一個視窗:
EarthDetailView()
    .navigationTitle("Circle")
    .toolbar {
        Button(action: {
            openWindow(id: "creatureWindow", value: "")

        }, label: {
            Text("Circle")
        })
}
在這個openWindow指令帶入一個id為creatureWindow,必須要多宣告另外一個WindowGroup,讓這裡的openWindow可以順利啟動另外一組WindowGroup:
@main
struct DemoVisionApp: App {
    var body: some Scene {
        WindowGroup {
            ContentView()
        }

        WindowGroup(id: "creatureWindow", for: String.self) { $modelName in
            EarthDetailView()
                .padding3D([.back, .top], 250)
        }
        .windowStyle(.volumetric)
        .defaultSize(width: 0.5, height: 0.5, depth: 0.5, in: .meters)
    }
}
多宣告一個WindowGroup,id一樣帶入creatureWindow,並且在內部放入EarthDetailView這個子View。
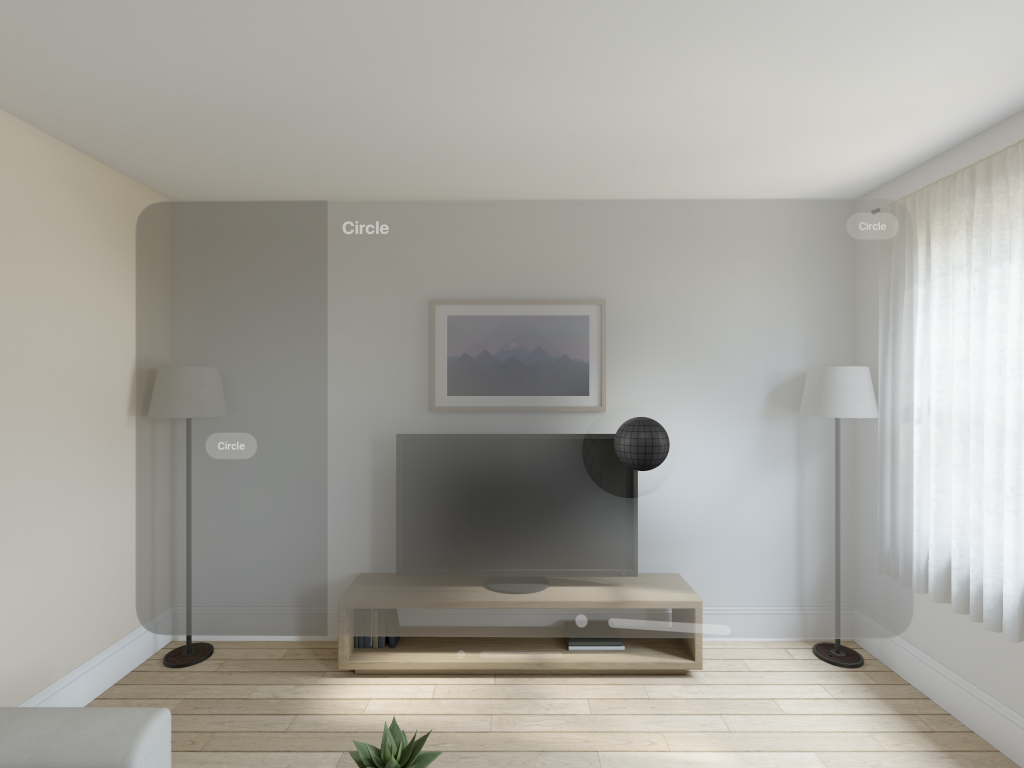
按下右上角的toolbar按鈕之後,就會另外開啟新的視窗:
顯示如圖:

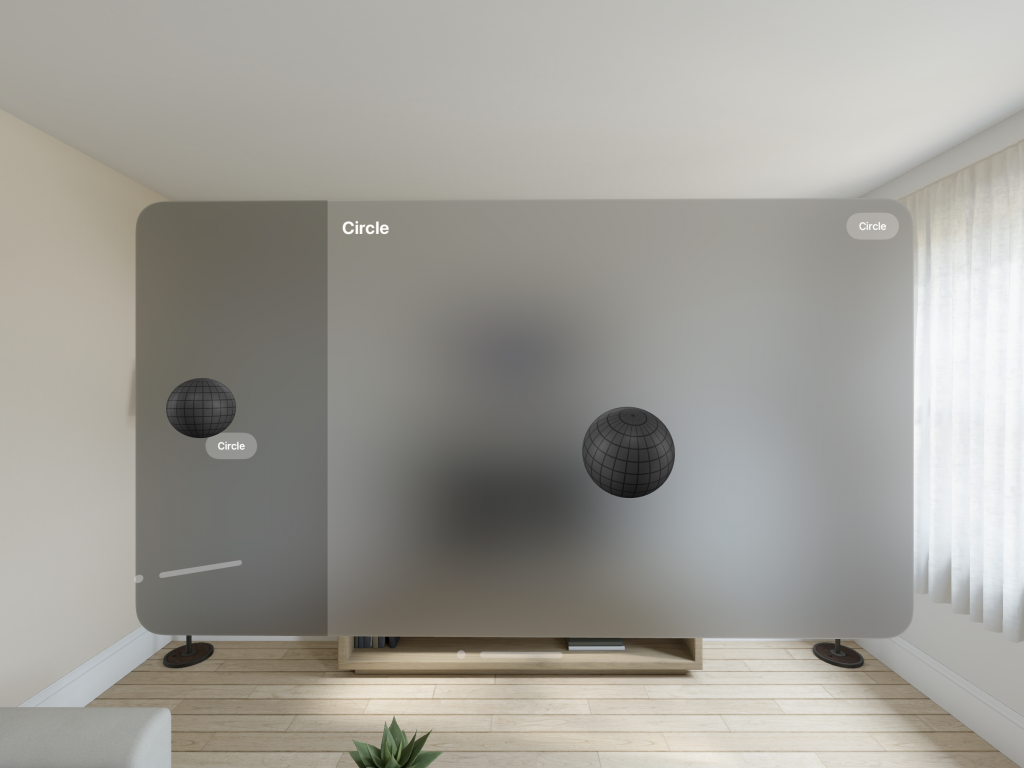
而這個3D模型視窗,也可以任意拖曳到空間之內:
顯示如圖:

完整程式碼:
import SwiftUI
import RealityKit
import RealityKitContent

struct ContentView: View {

    @State var isEarth = false
    @Environment(\.openWindow) private var openWindow

    var body: some View {

        NavigationSplitView {
            List {
                Button(action: {
                    isEarth.toggle()

                }, label: {
                    Text("Earth")
                })
            }

        } detail: {
            if isEarth {
                EarthDetailView()
                    .navigationTitle("Earth")
                    .toolbar {
                        Button(action: {
                            openWindow(id: "creatureWindow", value: "")

                        }, label: {
                            Text("Earth")
                        })
                    }
            }
        }
    }
}

struct EarthDetailView: View {

    @State private var horizontalRotation = CGFloat.zero
    @State private var verticalRotation = CGFloat.zero
    @State private var endHorizontalRotation = CGFloat.zero
    @State private var endVerticalRotation = CGFloat.zero

    var body: some View {
        Model3D(named: "Earth", bundle: realityKitContentBundle)
            .rotation3DEffect(
                .degrees(horizontalRotation), axis: .y
            )
            .rotation3DEffect(
                .degrees(-verticalRotation), axis: .x
            )
            .gesture(
                DragGesture()
                    .onChanged({ value in
                        horizontalRotation = value.translation.width + endHorizontalRotation
                        verticalRotation = value.translation.height + endVerticalRotation
                    })
                    .onEnded({ _ in
                        endHorizontalRotation = horizontalRotation
                        endVerticalRotation = verticalRotation
                    })
            )
    }
}
從 SwiftUI 到 Apple Vision Pro - SwiftUI 從零開始 Day24 [完]
