今天我們要來安裝、啟動還有調整 VitePress 的首頁,:
VitePress 可以單獨使用,也可以安裝到現有專案中。在這兩種情況下,都可以使用以下方式安裝它:
yarn add -D vitepress
VitePress 附帶一個命令行生成精靈,可以幫助你生成一個基本專案。安裝後,通過執行以下命令啟動精靈:
yarn vitepress init
需要回答幾個簡單的問題:
┌  Welcome to VitePress!
│
◇  Where should VitePress initialize the config?
│  ./docs
│
◇  Site title:
│  Opsehell\'s Blog
│
◇  Site description:
│  Opsehll\'s work and life records
│
◇  Theme:
│  Default Theme + Customization
│
◇  Use TypeScript for config and theme files?
│  Yes
│
◇  Add VitePress npm scripts to package.json?
│  Yes
│
└  Done! Now run yarn run docs:dev and start writing.

Tips:
- Since you've chosen to customize the theme, you should also explicitly install vue as a dev dependency.
如果是安裝到現有專案中,可以按照需求調整第一個選項的輸入,從而調整成適合的專案目錄結構。
在精靈的幫助下,我們成功建立了專案,新生的專案寶寶有著下面的目錄結構:
.
├─ docs
│  ├─ .vitepress
│  │  ├─ theme
│  │  │  ├─ index.ts
│  │  │  └─ style.css
│  │  └─ config.mts
│  ├─ api-examples.md
│  ├─ index.md
│  └─ markdown-examples.md
├─ node_modules
└─ package.json
docs 目錄是 VitePress 專案的主要目錄,約等於 Vite 中的 src。
.vitepress 目錄是 config 文件、Dev Server 的暫存(cache)、build 的輸出(dist) 和 theme(自訂主題) 的位置。
建議將 .vitepress/cache .vitepress/dist 加入 .gitignore 文件中。
yarn docs:dev
docs:dev 會啟動建立在 Vite 基礎上,具有即時熱更新的本地開發Server。
官方也提供另外一種直接調用 Vitepress的方式:
yarn vitepress dev docs
雖然我都用第一種~~
沒啥問題的話會看到下面的畫面: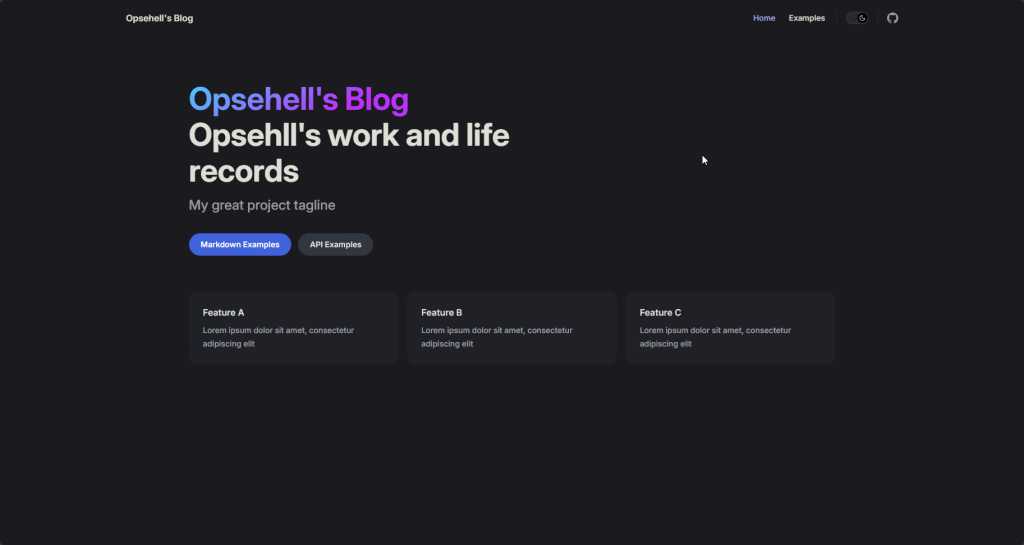
既然畫面都看到了,
當然是要把資料改成我們想要呈現的。
docs/index.md 就是我們的首頁檔案,我們把他打開。
可以看到長下面這樣:
---
# https://vitepress.dev/reference/default-theme-home-page
layout: home

hero:
  name: "Opsehell's Blog"
  text: "Opsehll's work and life records"
  tagline: My great project tagline
  actions:
    - theme: brand
      text: Markdown Examples
      link: /markdown-examples
    - theme: alt
      text: API Examples
      link: /api-examples

features:
  - title: Feature A
    details: Lorem ipsum dolor sit amet, consectetur adipiscing elit
  - title: Feature B
    details: Lorem ipsum dolor sit amet, consectetur adipiscing elit
  - title: Feature C
    details: Lorem ipsum dolor sit amet, consectetur adipiscing elit
---
在可以看到內容是包在 --- 和 --- 之間的,
而包起來的部分在是所謂的 YAML frontmatter (後面簡稱 frontmatter), 並使用 gray-matter 解析他。
在 VitePress 中,用來添加每個頁面自己的設定、資料及訊息,他也可以加入客制的訊息並在頁面中使用他(後面會常提、用到)。
有添加
frontmatter的時候,frontmatter區塊必須位於Markdown 文件(後面簡稱md) 的最上面。
在 VitePress 中, 每個 md build 的時後,都會解析成一個 .html 的靜態網頁,
而每份 md 都可以套用主題佈局、客制內容等,靈活度很高。
在上面的 frontmatter 中可以看到,首頁 md 會套用 layout: home 這個佈局生成首頁,相信各位看官們也看出來了,他們分別代表:
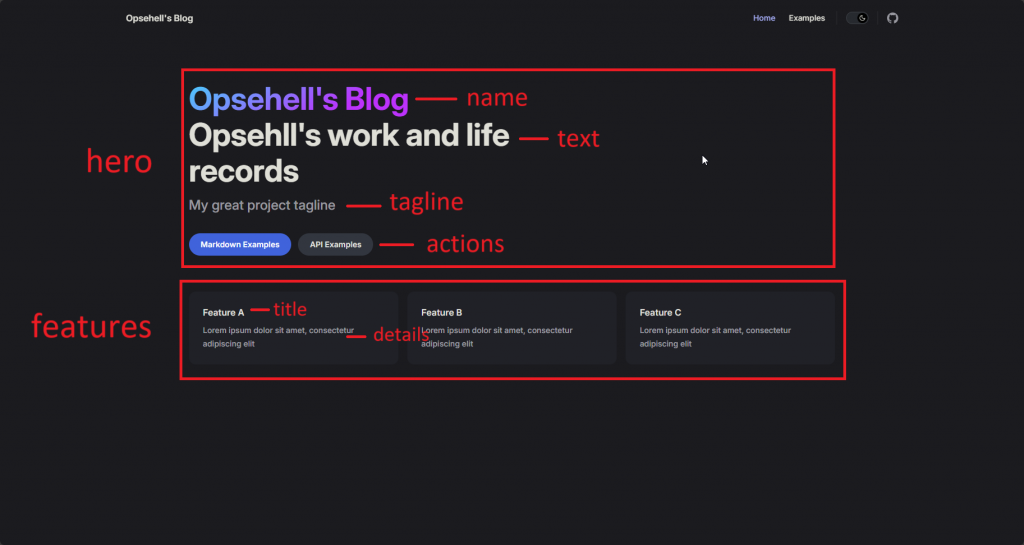
於是 Opshell 把他改成這樣:
---
# https://vitepress.dev/reference/default-theme-home-page
layout: home

hero:
  name: "Opshell's Blog"
  text: "A blog to share various thoughts,technologies,front-end develop, and miscellaneous topics to engage more with the world."
  tagline: Ordinary Is Great.
  # image:
  #   src: /opshell3d.png
  #   alt: Opshell-3D
  actions:
    - theme: alt
      text: Markdown Examples
      link: /markdown-examples
    - theme: brand
      text: Resume
      link: /resume

features:
  - icon: 🛠️
    title: Code Work & Bug Fix
    details: The process and documentation of filling in some gaps.
  - icon: 💡
    title: Idea
    details: Some ideas, whether good or bad, should always be put into practice, right?
  - icon: ⚡️
    title: A Flash In The Pan
    details: An interest or hobby sparked by a moment of enthusiasm is always a life experience, isn't it?
  - icon: 📦
    title: Life Package
    details: Firewood, Rice, Oil, Salt, Sauce, Vinegar, And Tea.
---
可以看到 Opshell 在 features 的部分用 emoji 添加了 icon,
當然也可以引用靜態文件(jpg、svg 之類的),詳細的內容可以參考 官網的文件
詳細的效果各位可以自行嘗試喔~
那麼今天就到這邊囉~ 各位晚安~
挑戰成品,可以參考這裡。