import cv2
img = cv2.imread("dog.jpg")
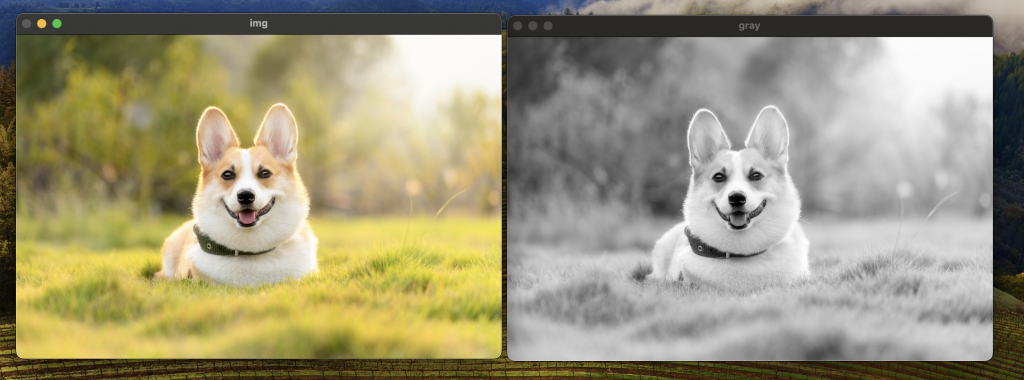
gray = cv2.cvtColor(img, cv2.COLOR_BGR2GRAY) #轉換為灰階
cv2.imshow("img", img)
cv2.imshow("gray", gray)
cv2.waitKey(0)
import cv2
img = cv2.imread("dog.jpg")
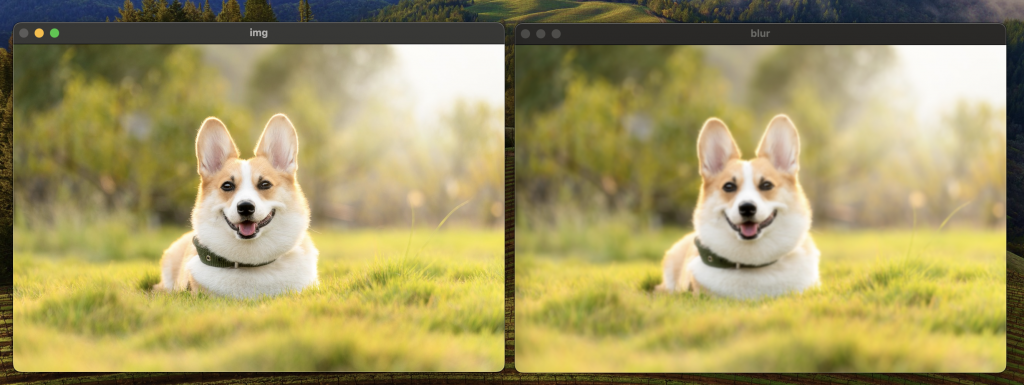
blur = cv2.GaussianBlur(img, (11,11), 0) #(圖片檔案, 和, 標準差)
cv2.imshow("img", img)
cv2.imshow("blur", blur)
cv2.waitKey(0)
import cv2
img = cv2.imread("dog.jpg")
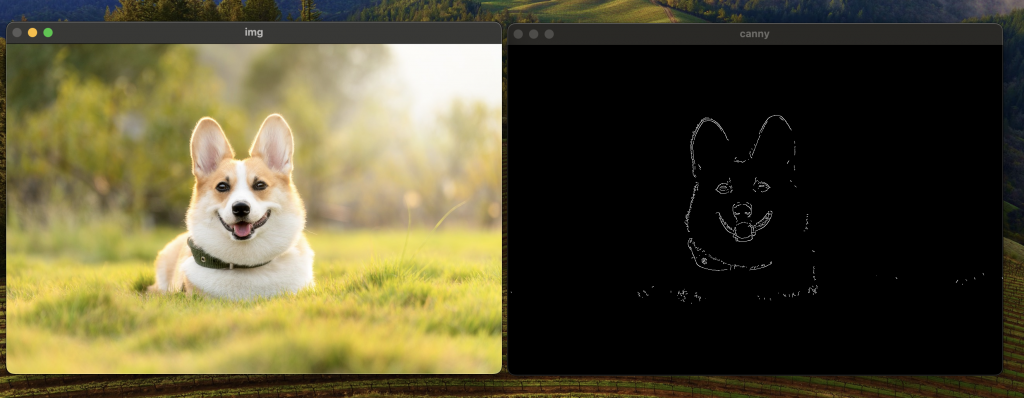
canny = cv2.Canny(img, 250, 300)
cv2.imshow("img", img)
cv2.imshow("canny", canny)
cv2.waitKey(0)
import cv2
import numpy as np
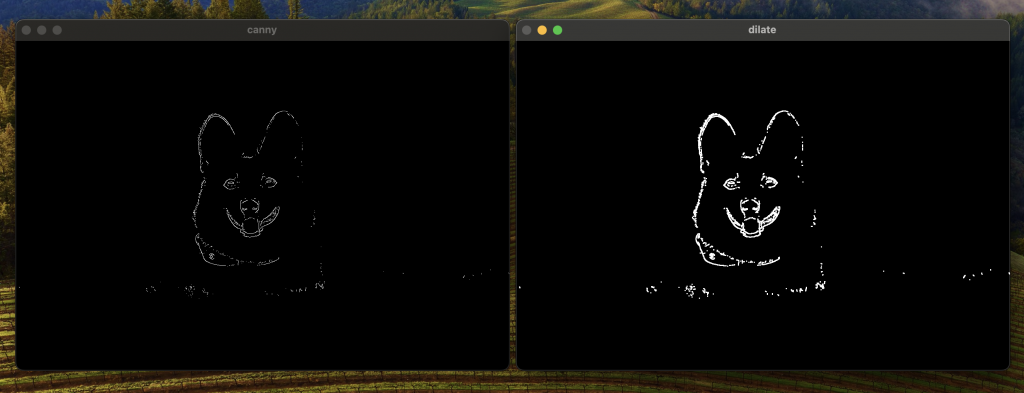
kernel = np.ones((3,3), np.uint8)
img = cv2.imread("dog.jpg")
canny = cv2.Canny(img, 300, 300)
dilate = cv2.dilate(canny, kernel, iterations=1)
cv2.imshow("canny", canny)
cv2.imshow("dilate", dilate)
cv2.waitKey(0)
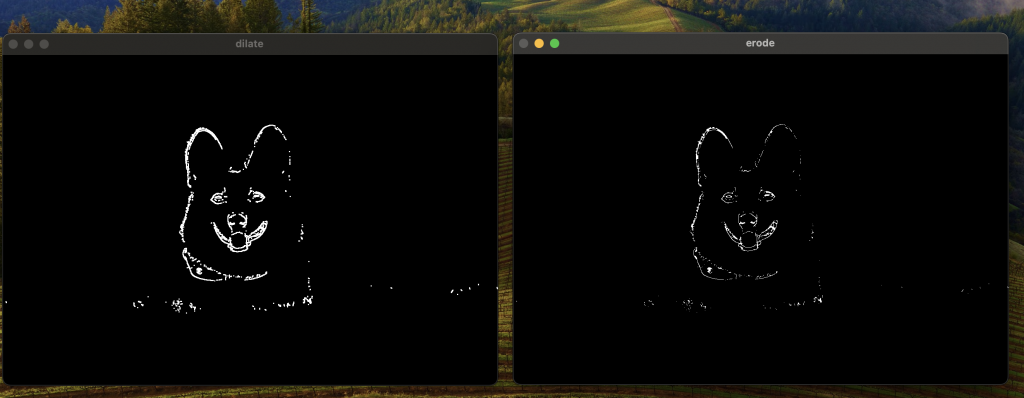
import cv2
import numpy as np

kernel = np.ones((3,3), np.uint8)
kernel2 = np.ones((3,3), np.uint8)

img = cv2.imread("dog.jpg")
canny = cv2.Canny(img, 300, 300)
dilate = cv2.dilate(canny, kernel, iterations=1)
erode = cv2.erode(dilate, kernel2, iterations=1)


cv2.imshow("dilate", dilate)
cv2.imshow("erode", erode)
cv2.waitKey(0)
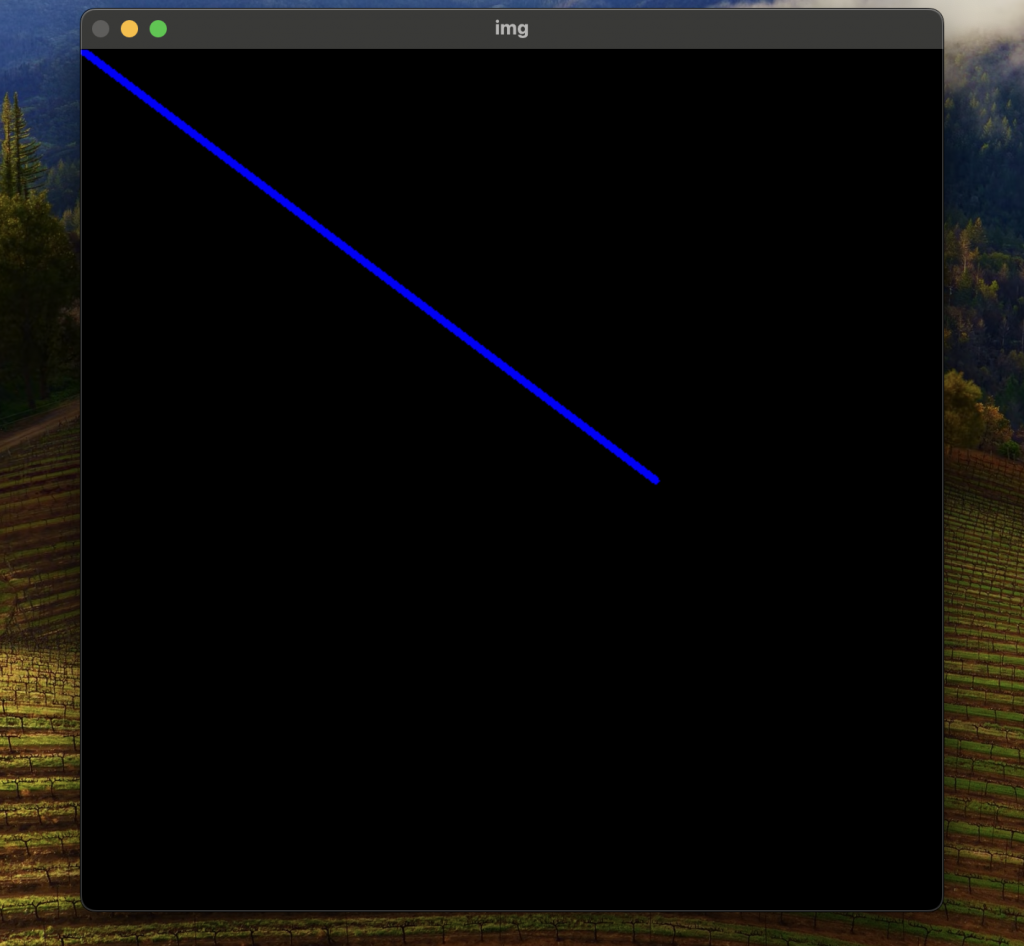
import cv2
import numpy as np

img = np.zeros((600, 600, 3), np.uint8)
cv2.line(img, (0,0), (400, 300), (255, 0, 0), 3)

cv2.imshow("img", img)
cv2.waitKey(0)
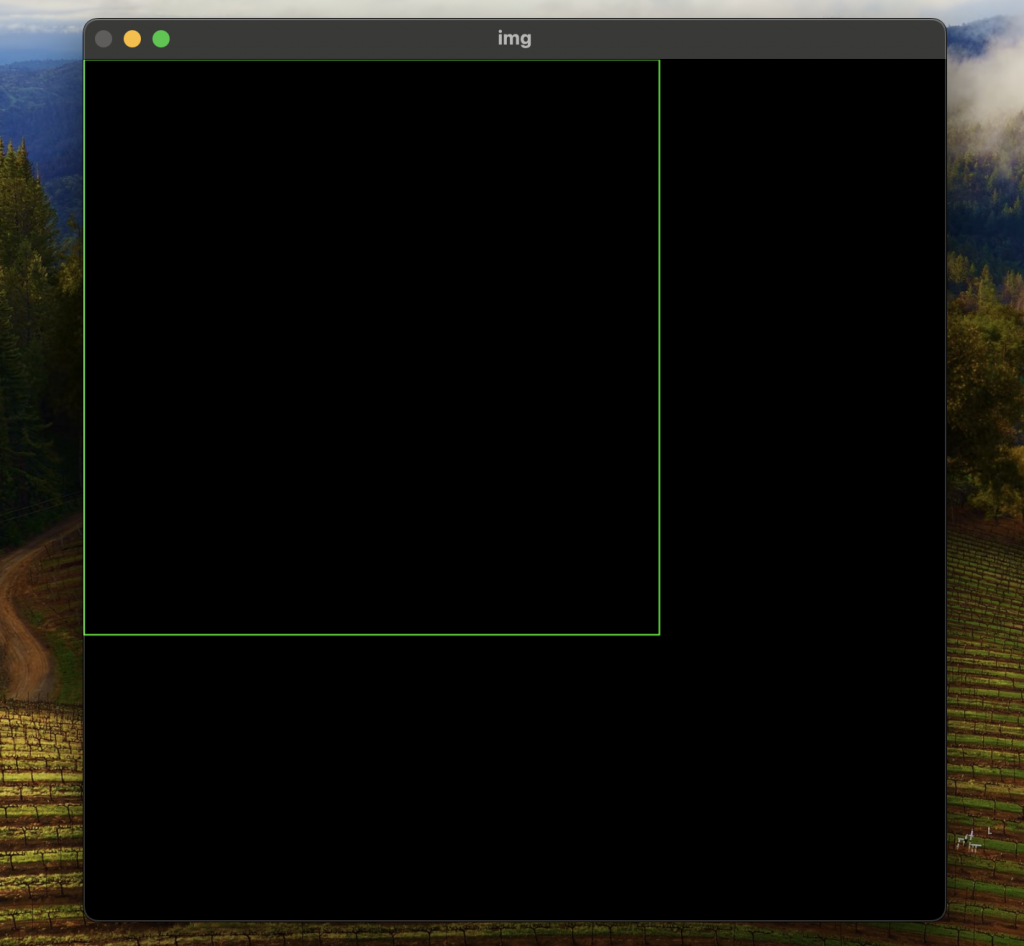
import cv2
import numpy as np

img = np.zeros((600, 600, 3), np.uint8)
cv2.rectangle(img, (0, 00), (400, 400), (0, 255, 0), 1)


cv2.imshow("img", img)
cv2.waitKey(0)
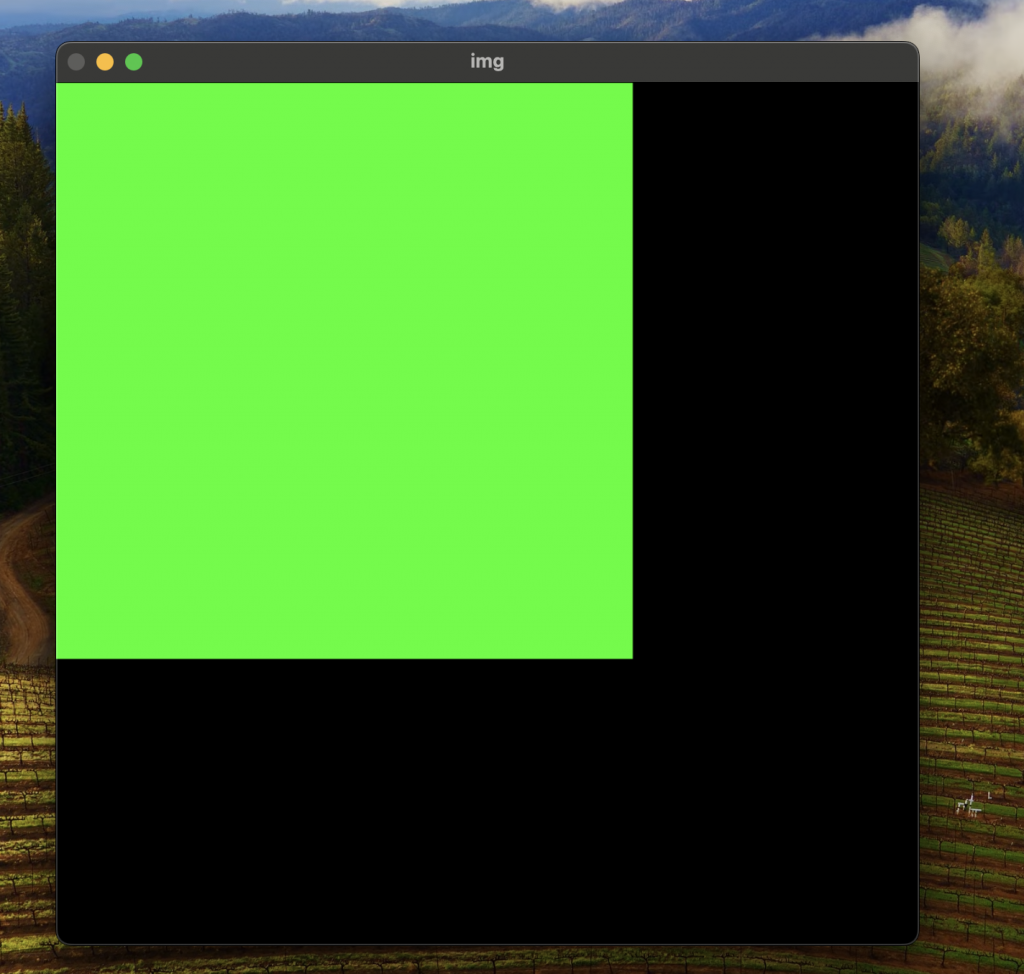
塗色的
import cv2
import numpy as np

img = np.zeros((600, 600, 3), np.uint8)
cv2.rectangle(img, (0, 00), (400, 400), (0, 255, 0), cv2.FILLED)


cv2.imshow("img", img)
cv2.waitKey(0)
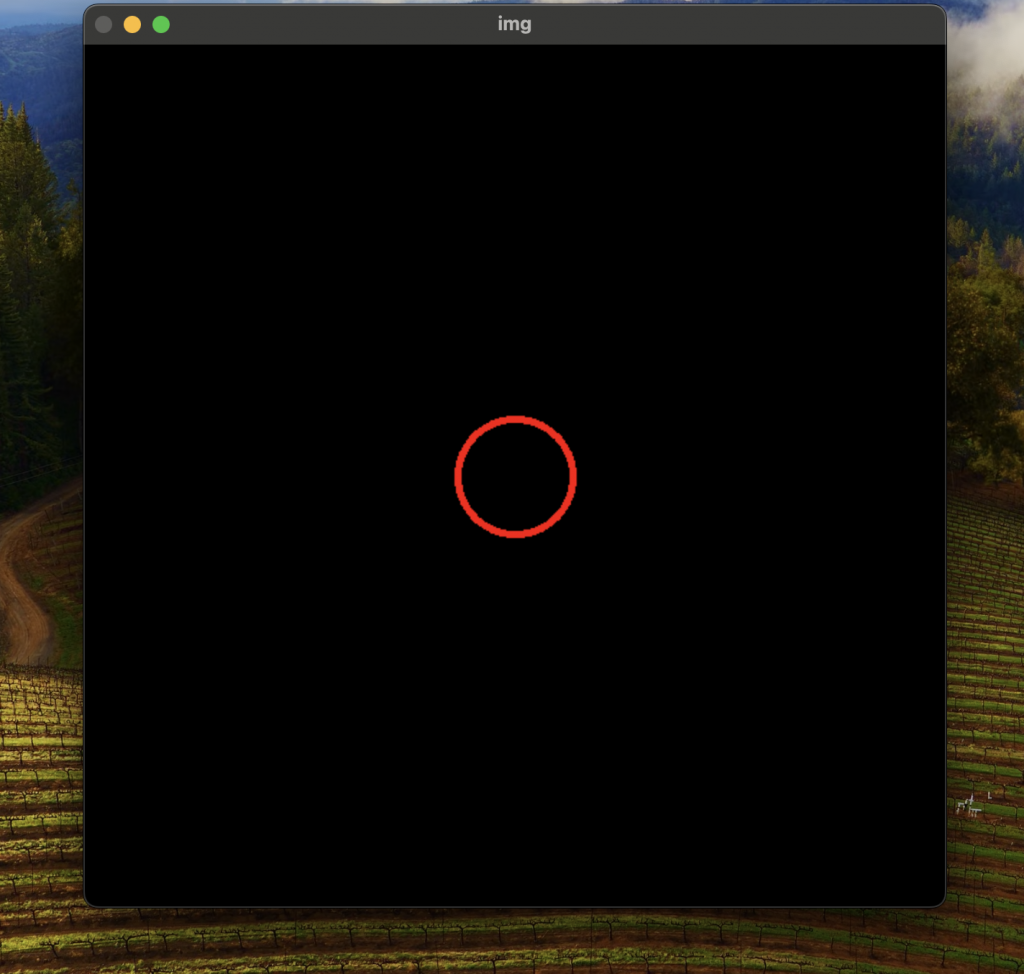
import cv2
import numpy as np

img = np.zeros((600, 600, 3), np.uint8)
cv2.circle(img, (300, 300), 40, (0, 0, 255), 3)


cv2.imshow("img", img)
cv2.waitKey(0)
import cv2
import numpy as np

img = np.zeros((600, 600, 3), np.uint8)
cv2.putText(img, "dog ", (300, 100), cv2.FONT_HERSHEY_SCRIPT_SIMPLEX, 3, (255, 20, 90), 4)
#第一個數字是字的大小,第二個字是字的粗度

cv2.imshow("img", img)
cv2.waitKey(0)