昨天提到,在開發 App 時,除了要注意前端的畫面外,我們也經常要與後端伺服器通訊。這個章節將會介紹如何在 Flutter App 中使用 http 接 API。
首先,為了模擬 http GET 方法,我們已經預先建立一個 json 檔當做 API 回傳
https://raw.githubusercontent.com/ksw2000/ironman-2024/master/flutter-practice/http_practice/msg.json
{
    "msg": "2024 iThome 鐵人賽"
}
本次教學的程式碼:https://github.com/ksw2000/ironman-2024/tree/master/flutter-practice/http_practice
我們目前都是以 Chrome 來做 debug,因此我們先介紹使用 dart:html 中的 HttpRequest 來發起 HTTP 請求
import 'dart:html';

const target =
    'https://raw.githubusercontent.com/ksw2000/ironman-2024/master/flutter-practice/http_practice/msg.json';

Future<void> fetchData() async {
  HttpRequest.getString(target).then((res) {
    print(res);
  });
}
我們可以簡單的設計一個觸發該函式的按鈕。
void main() {
  runApp(const MyApp());
}

class MyApp extends StatelessWidget {
  const MyApp({super.key});

  @override
  Widget build(BuildContext context) {
    return MaterialApp(
        title: 'Flutter Demo',
        theme: ThemeData(
          colorScheme: ColorScheme.fromSeed(seedColor: Colors.deepPurple),
          useMaterial3: true,
        ),
        home: Scaffold(
          appBar: AppBar(
            backgroundColor: Theme.of(context).colorScheme.inversePrimary,
            title: const Text('DEMO HTTP'),
          ),
          body: Center(
            child: Column(
              mainAxisAlignment: MainAxisAlignment.center,
              children: <Widget>[
                ElevatedButton.icon(
                    onPressed: () {
                      fetchData();
                    },
                    label: const Icon(Icons.touch_app))
              ],
            ),
          ),
        ));
  }
}
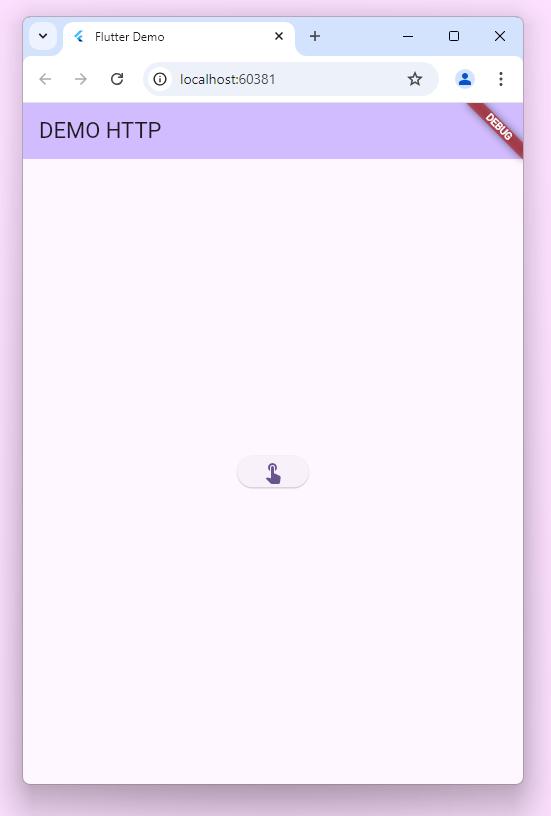
執行後的結果:

此時我們只要按下螢幕上的按鈕,終端機就會將 json檔的內容顯示出來,或者有可能會噴出 CROS 的錯誤
{
    "msg": "2024 iThome 鐵人賽"
}
在 web 的平台中,考量安全性,無法進行跨網域請求,我們目前的網域是 localhost:60381,如果打到非同個網域的地方很有可能會被擋住。通常在測試時,前端的伺服器與後端的伺服器可能掛在不同平台上,也因此,我們可以在 debug 時禁用一些安全性規則
flutter run -d chrome --web-browser-flag "--disable-web-security"
在 Mobile 的平台中,無法使用 dart:html 這個套件,而在 Web 平台不能使用 dart:io 這個套件。
如何使用 dart:io 建立連線?首先應該建立一個 HttpClient 物件,接著使用 get 或 getUrl GET 方法開啟 http 連線。等待連線後我們關閉連線 req.close() 。此時回傳型態是一個 HttpClientResponse 物件,由於封包是有壓縮過的,我們可以再將其利用 utf8 解編碼最後得到 responseBody
import 'dart:convert';
import 'dart:io';

const target =
    'https://raw.githubusercontent.com/ksw2000/ironman-2024/master/flutter-practice/http_practice/msg.json';

Future<void> fetchData() async {
  var client = HttpClient();
  try {
    var req = await client.getUrl(Uri.parse(target));
    var res = await req.close();
    if (res.statusCode == 200) {
      var responseBody = await res.transform(utf8.decoder).join();
      print('Response: $responseBody');
    } else {
      print('Error: ${res.statusCode}');
    }
  } catch (e) {
    print('Request failed: $e');
  } finally {
    client.close();
  }
}
這個範例我們使用 Android 進行測試。在 Android 中如果應用程式需要使用網路時必需調整權限。我們可以修改這個 XML 檔 android/app/src/main/AndroidManifest.xml
<uses-permission android:name="android.permission.INTERNET"/>
如果我們還需要取得網路狀態(如 Wi-Fi 或行動數據狀態),則再增加以下這個權限。
<uses-permission android:name="android.permission.ACCESS_NETWORK_STATE"/>
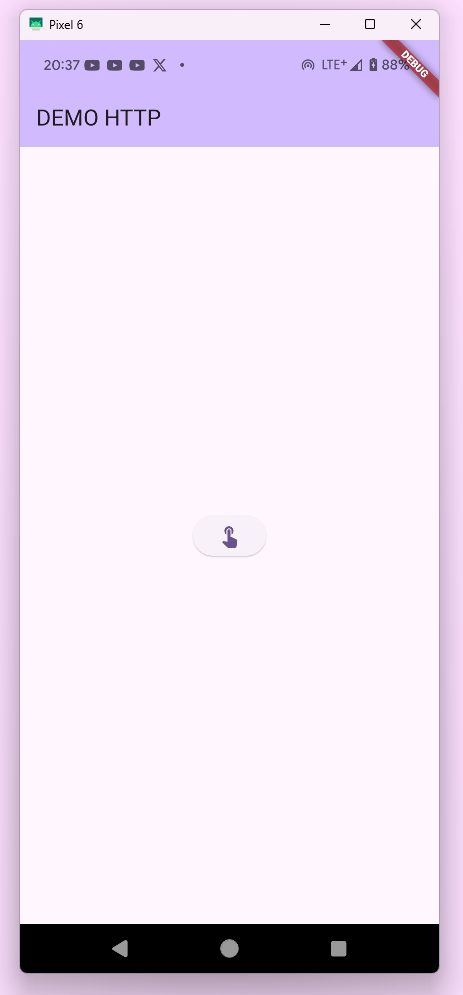
執行後的結果:

終端機:
A Dart VM Service on Pixel 6 is available at: http://127.0.0.1:59175/sizl36wDJzM=/
The Flutter DevTools debugger and profiler on Pixel 6 is available at: http://127.0.0.1:9101?uri=http://127.0.0.1:59175/sizl36wDJzM=/
D/ProfileInstaller(12410): Installing profile for com.example.http
I/om.example.http(12410): Background concurrent mark compact GC freed 23MB AllocSpace bytes, 3(60KB) LOS objects, 89% free, 2925KB/26MB, paused 184us,9.754ms total 42.853ms
I/flutter (12410): Response: {
I/flutter (12410):     "msg": "2024 iThome 鐵人賽"
I/flutter (12410): }
如何使用 Android Debug?
如果大家手邊有 Android 實體機,可以先開啟「開發人員模式」,並啟動「USB 偵錯功能」。另外,因為線插著很容易跑掉,所以我們也建議可以使用「無線偵錯」,只要讓手機和電腦連上同一個區網且 Android 版本夠新就可以了。
ADB使用WiFi進行除錯 - ADB Over WiFi - 可丁丹尼 @ 一路往前走2.0 (35g.tw)
接著如果大家還是很懶的話,我推薦可以使用 scrcpy 將「手機」投影到「電腦」上,它的原理也是基於 adb 連線,因此只要前面有設定好,就可以啟用螢幕投放。
為什麼我喜歡用實體機 debug 呢?因為我電腦很卡,開虛擬機他會很難受😩
iOS
對於 iOS 系統,預設情況下是可以使用網路的,但僅限有加密的 https,如果要存取 http 的網站必需禁用 ATS。需修改 ios/Runner/Info.plist
<key>NSAppTransportSecurity</key>
<dict>
  <key>NSAllowsArbitraryLoads</key>
  <true/>
</dict>
如果我們希望我們的 APP 可以同時相容 web 和 mobile,我們必需使用條件導入,使 flutter 在編譯時根據不同平台調用不同函式。
.
└── http_practice/
    ├── fetch_io.dart
    ├── fetch_web.dart
    ├── fetch.dart
    └── main.dart
將原本使用 dart:html 的函式放入 fetch_web.dart 中,而使用dart:io 的函式放入 fetch_io.dart 中。
接著我們編寫 fetch.dart。我們預設使用 fetch_io.dart ;若最後編譯的平台是 web,則改用 fetch_web.dart
export 'fetch_io.dart' if (dart.library.html) 'fetch_web.dart';
在 main.dart 中我們只需 import fetch.dart 即可。
import 'package:flutter/material.dart';
import 'package:http/fetch.dart';

void main() {
  runApp(const MyApp());
}

// ...
注意:如果各位電腦已將手機連線,使用
flutter run時會預先在手機上執行。此時可以使用flutter run -d chrome或flutter run -d edge改用 web 執行。
前面提到的方法需要根據不同平台使用不同函式實在有點繁鎖,因此這章節會介紹使用第三方套件完成 http 連線
首先我們要安裝第三方套件 https://pub.dev/packages/http,相信這個套件大家不陌生。我們在 Day 7 時也使用過這個套件,安裝方式與 dart 不太一樣,在 flutter 中,我們會在原本的指令前再加上 flutter 前綴
flutter pub add http
使用方法如下。在這次範例中,一同介紹如何解碼 JSON。我們可以直接使用 jsonDecode 將 String 轉為 Map 物件,再去存取裡面的資料。
import 'dart:convert';

import 'package:http/http.dart' as http;

const target =
    'https://raw.githubusercontent.com/ksw2000/ironman-2024/master/flutter-practice/http_practice/msg.json';

Future<void> fetchData() async {
  http.get(Uri.parse(target)).then((res) {
    if (res.statusCode == 200) {
      final Map<String, dynamic> data = jsonDecode(res.body);
      print(data["msg"]);
    }
  });
}
運行後會可以在終端機得到
2024 iThome 鐵人賽
後記:其實這也是我第一次嘗試用條件導入的方式來處理相容問題。另外我原本是將專案命名為 http 後來要裝 http 時才發現專案名稱會和安裝包衝突,所以又換了一個名字🫠
