今天要來練習使用express
首先,要先創建一個app.js文件,並打上下列程式:
const express = require('express');
const app = express();
const port = 3000;

app.get('/', (req, res) => {
    res.send('Hello, Express!');
});

app.listen(port, () => {
    console.log(`Server is running on http://localhost:${port}`);
});
執行後,就可以看到瀏覽器上出現"Hello express"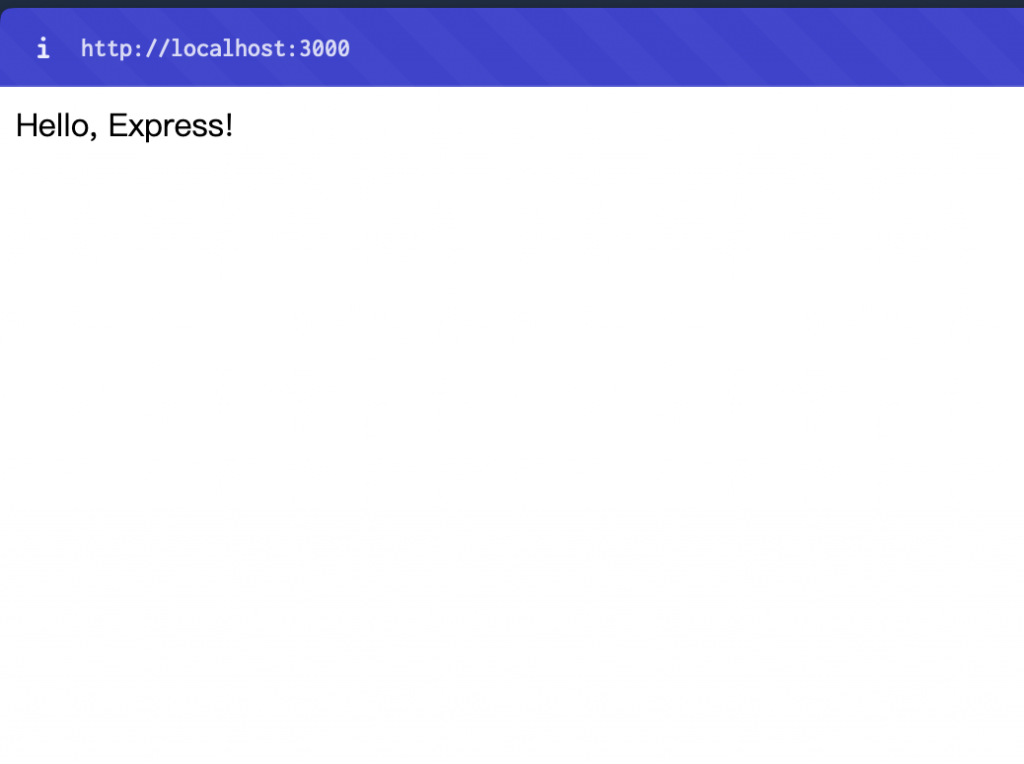
app.get('/path', (req, res) => {
    // 處理請求並發送回應
});
範例:
app.get('/', (req, res) => {
    res.send('Welcome to the Homepage!');
});

app.get('/about', (req, res) => {
    res.send('This is the About page.');
});

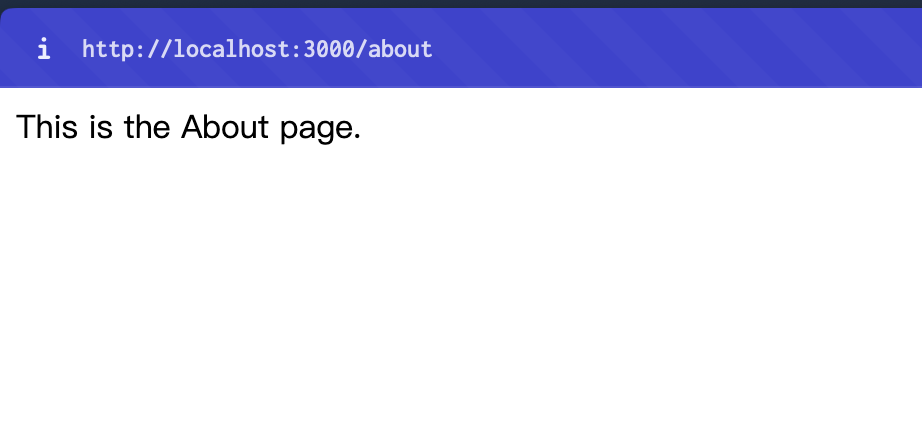
可以看到"/"和"/about"有著不同的頁面
app.get('/route/:parameter', (req, res) => {
    // 使用 req.params.parameter 來獲取參數值
});
範例:
app.get('/user/:id', (req, res) => {
    const userId = req.params.id;
    res.send(`User ID: ${userId}`);
});
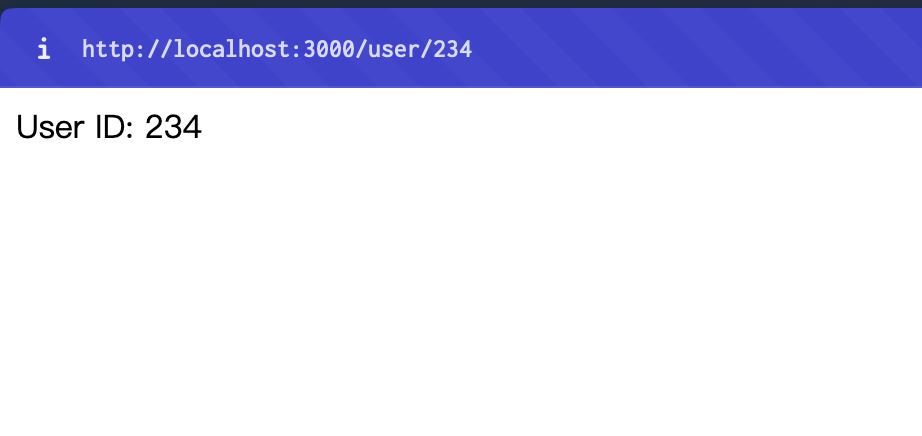
可以看到當我訪問/user/234的時候,伺服器就會回應我"User ID: 234"
app.get('/route', (req, res) => {
    // 使用 req.query.parameter 來獲取查詢字符串參數
});
範例:
app.get('/search', (req, res) => {
    const searchQuery = req.query.q;
    res.send(`Search query: ${searchQuery}`);
});
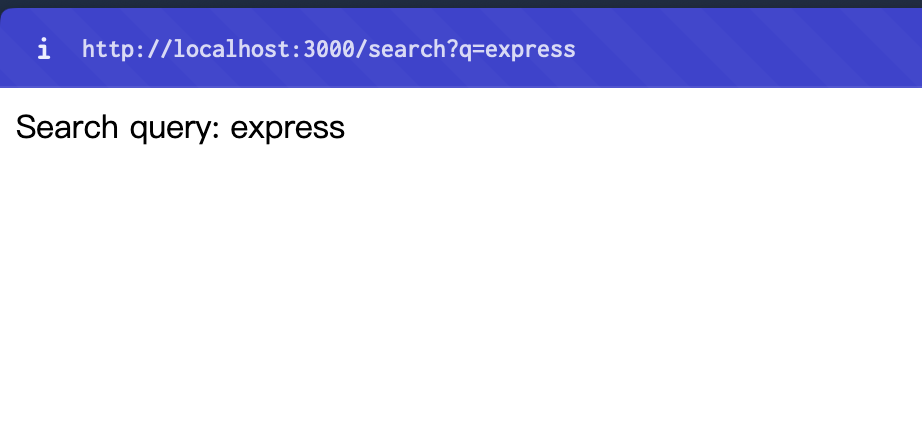
只要我訪問/search?q=express,伺服器就會回應:“Search query: express”
除了 GET 以外,Express 還可以處理其他的 HTTP 方法,如 POST、PUT、DELETE 等。這對於構建 RESTful API 非常有用。
POST 請求:
通常用於向伺服器發送數據,例如提交表單。
app.post('/route', (req, res) => {
    // 處理 POST 請求
});
範例:
app.post('/submit', (req, res) => {
    const formData = req.body; // 需要使用中介軟體來解析請求體
    res.send(`Received data: ${JSON.stringify(formData)}`);
});
這個範例會需要使用中介軟體(例:express.json())來解析請求體(明天會學到什麼是中介軟體)
app.put('/user/:id', (req, res) => {
    const userId = req.params.id;
    // 更新用戶數據
    res.send(`User ${userId} updated`);
});

app.delete('/user/:id', (req, res) => {
    const userId = req.params.id;
    // 刪除用戶
    res.send(`User ${userId} deleted`);
});
當應用程式變得複雜時,可以使用 express.Router 來分離和組織路由,這樣可以讓程式更清晰、更易於維護。

const usersRouter = require('./routes/users');
這麼一來就可以將特定的頁面分類至資料夾,讓程式更容易維護
const logger = (req, res, next) => {
    console.log(`Request Method: ${req.method}, URL: ${req.url}`);
    next();
};

app.get('/profile', logger, (req, res) => {
    res.send('User Profile');
});
這樣在訪問/profile時,中間的logger會先被調用。


 iThome鐵人賽