我們就來利用這幾天所介紹的語法來實作小作品吧,沒錯又是所有前端的第一個 demo 作品 Todo list ,預計會花個二到三天完成這個小小作品。
為了讓樣式撰寫方便一點,今天會開始使用 Tailwind CSS 及 daisy UI 輔助開法。
這邊我們就跟著官方文件走一遍
首先安裝依賴以及執行 Tailwind CSS 的 cli
pnpm add -D tailwindcss postcss autoprefixer
npx tailwindcss init -p
後來到 svelte.config.js 新增 vitePreprocess 的設定
import adapter from '@sveltejs/adapter-auto';
import { vitePreprocess } from '@sveltejs/vite-plugin-svelte';

const config = {

	preprocess: vitePreprocess(),

	kit: {
		adapter: adapter()
	}
};

export default config;
接下來到 tailwind.config.js 新增 content 的設定
/** @type {import('tailwindcss').Config} */
export default {
	content: ['./src/**/*.{html,js,svelte,ts}'],
	theme: {
		extend: {}
	},
	plugins: []
};
新增 ./src/app.css
@tailwind base;
@tailwind components;
@tailwind utilities;
新增 ./src/routes/+layout.svelte 並 import
<script>
  import "../app.css";
</script>

<slot />
與 +page.svelte 一樣 +layout.svelte 是 sveltekit 中的檔案命名規則,這邊只要先知道 +layout.svelte 的功用是可以把一些 reuse 的行為、樣式、結構等等的東西放在 +layout.svelte
daisy UI 就是一個以 Tailwind CSS 為基底的 component library,可能節省蠻多從頭刻元件樣式的工的
pnpm add -D daisyui@latest
然後到 tailwind.config.js 新增 daisyui
import daisyui from 'daisyui';

/** @type {import('tailwindcss').Config} */
export default {
	content: ['./src/**/*.{html,js,svelte,ts}'],
	theme: {
		extend: {}
	},
	plugins: [daisyui]
};
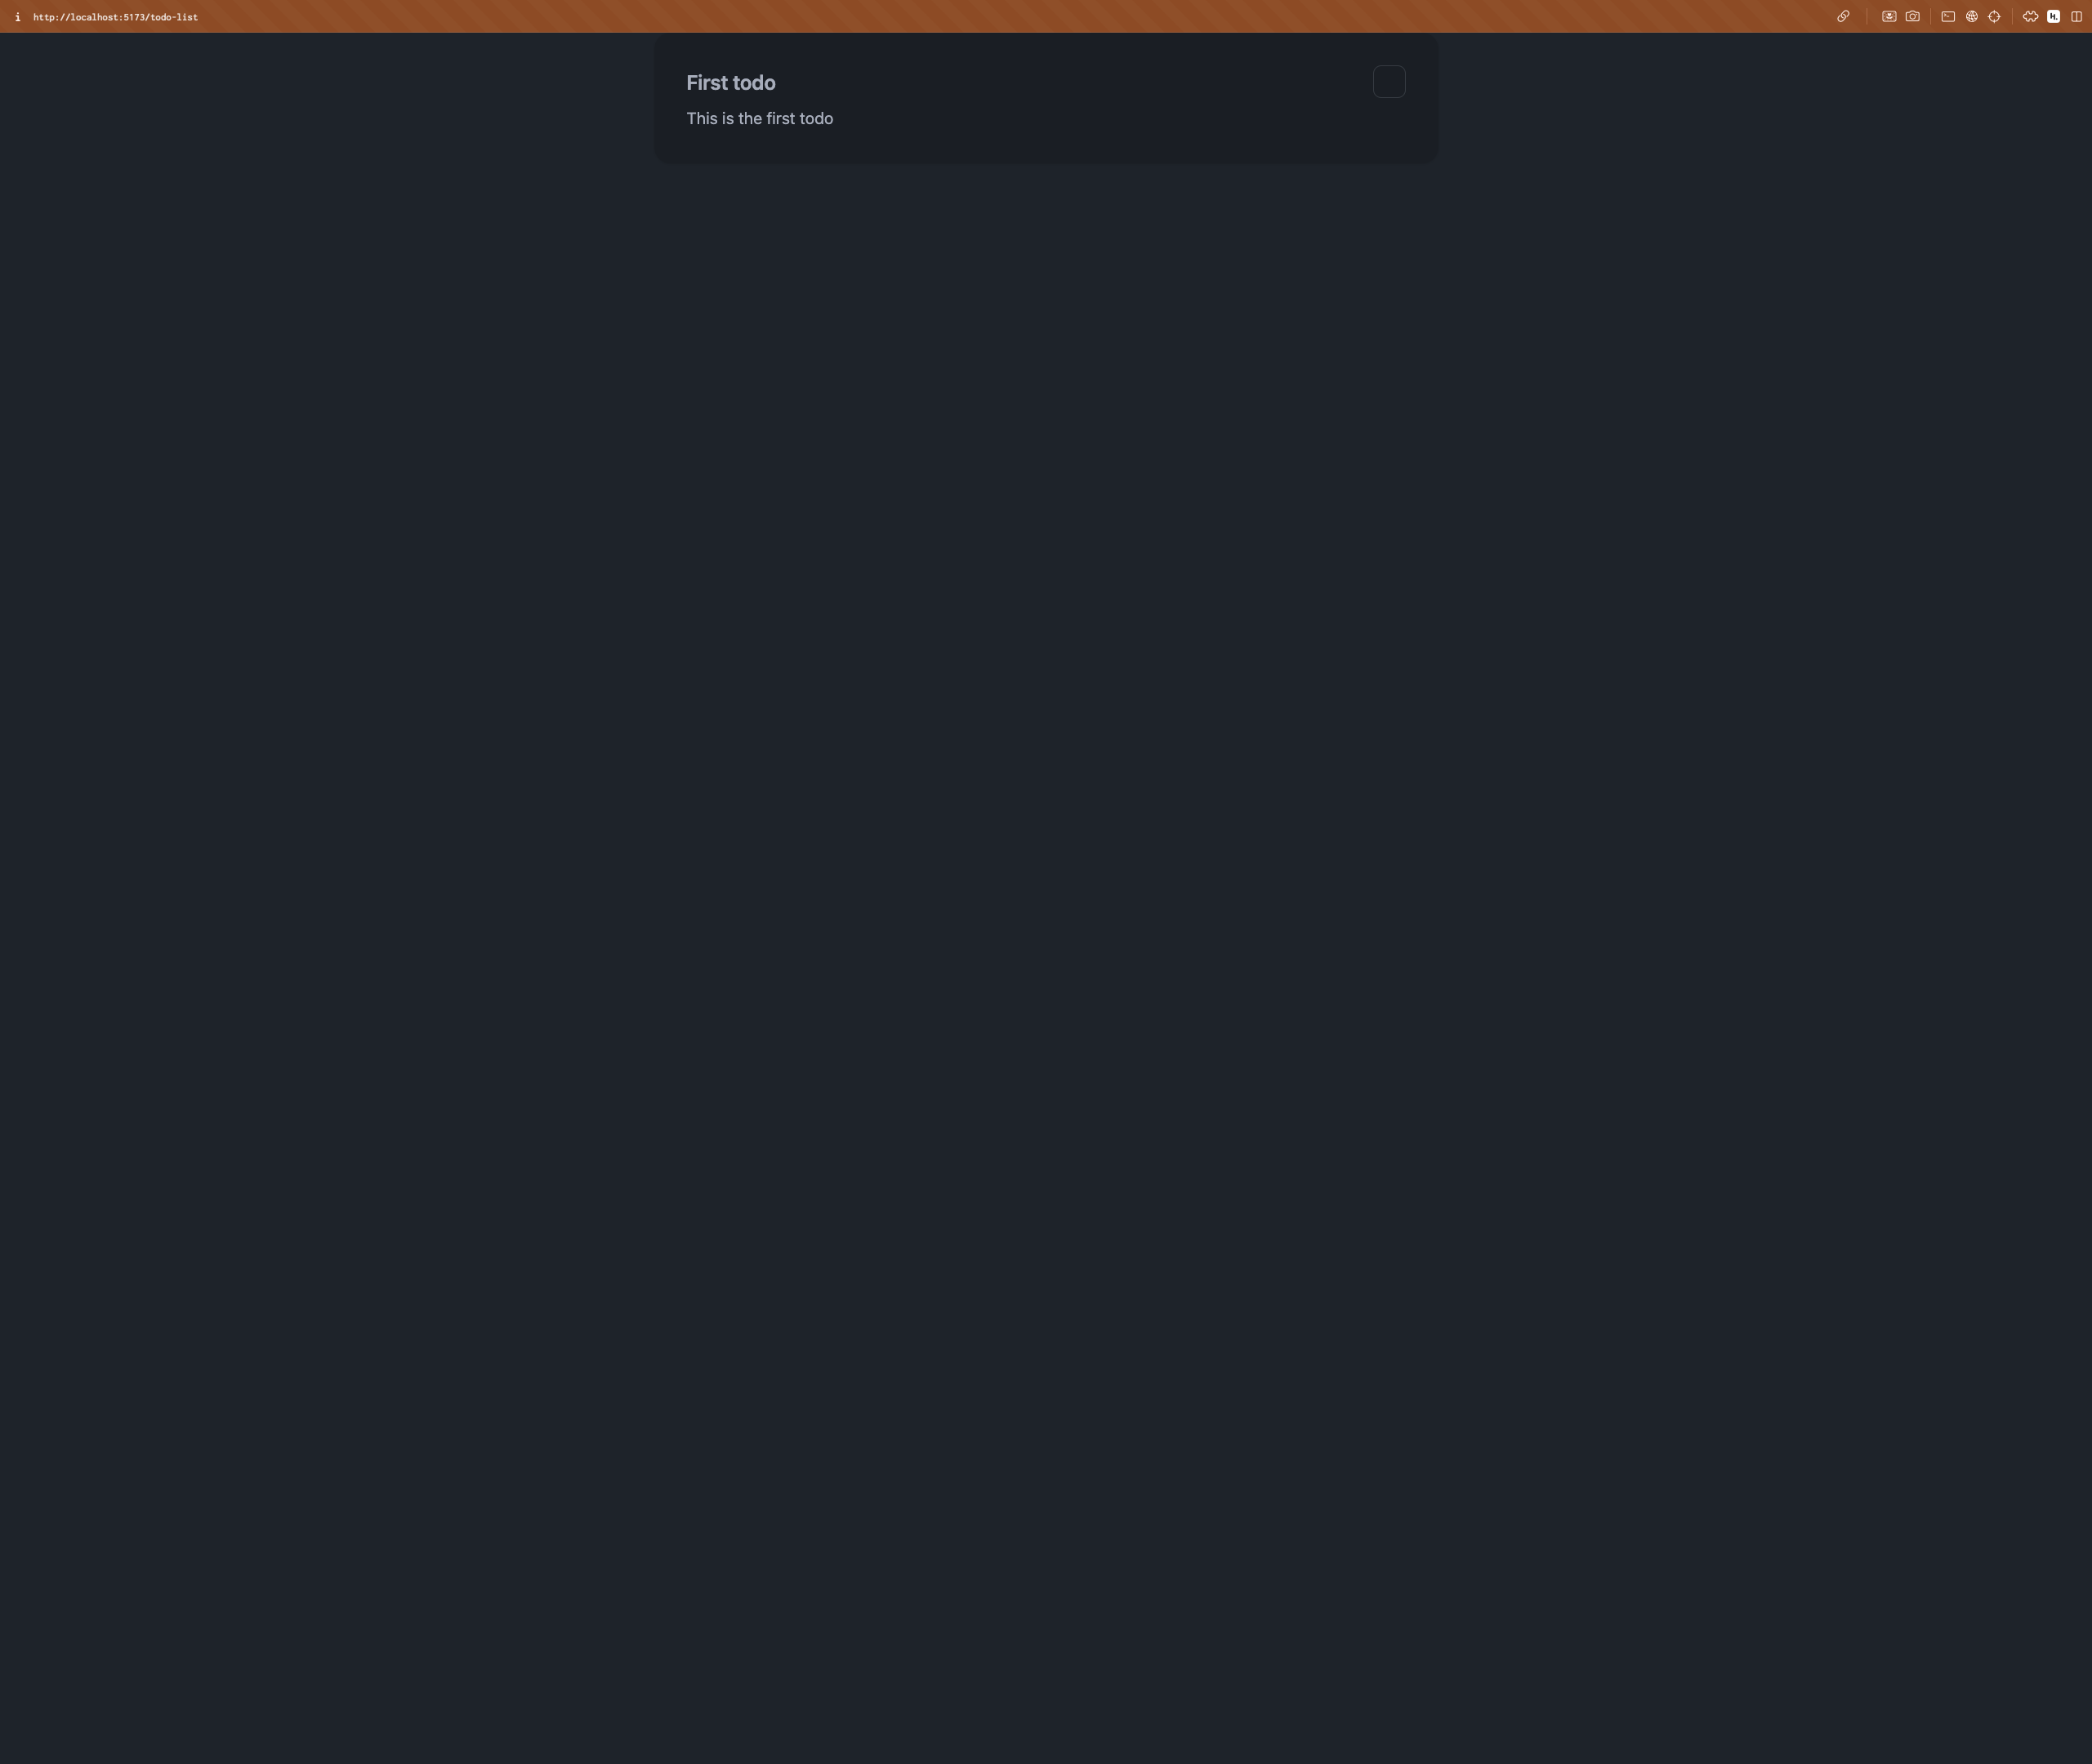
今天我們先來完成最基本的介面以及「新增 todo」這個功能,首先我們先建立 ./src/routes/todo-list/+page.svelte ,然後我們打開 http://localhost:5173/todo-list 就會看到以下畫面。
先簡單說明一下,sveltekit 的 route 是 filesystem-based router,也就是說 URL 是直接使用檔案的路徑及名稱來控制的。

我喜歡從 type 那就簡單地設計 Todo 的 type ,一個 Todo 應該要有
id : 做為 key 使用
title : 標題
content : 內容
done : 完成與否
<script lang="ts">
	interface Todo {
		id: number;
		title: string;
		content: string;
		done: boolean;
	}
</script>
那就先宣告我們第一個 state 來做為預設值
<script lang="ts">
	interface Todo {
		id: number;
		title: string;
		content: string;
		done: boolean;
	}

  	let todoList: Todo[] = $state([
		{
			id: Date.now(),
			title: 'First todo',
			content: 'This is the first todo',
			done: false
		}
	]);

</script>
就可以先把 todoList 放到畫面上看一下現在的資料結構的設計是否好用,這裡我就先用 daisy UI 的 card 來當作每一個 Todo 的 UI
<script lang="ts">
	interface Todo {
		id: number;
		title: string;
		content: string;
		done: boolean;
	}

  	let todoList: Todo[] = $state([
		{
			id: Date.now(),
			title: 'First todo',
			content: 'This is the first todo',
			done: false
		}
	]);

</script>

<div class="max-w-3xl mx-auto">
  {#each todoList as todo (todo.id)}
  	<div class="card shadow bg-base-200 mb-4">
  		<div class="card-body">
  			<div class="flex justify-between items-center">
  				<h2 class="card-title">{todo.title}</h2>
  				<input type="checkbox" bind:checked={todo.done} class="checkbox checkbox-lg" />
  			</div>
  			<p>{todo.content}</p>
  		</div>
  	</div>
  {/each}
</div>
使用 daisy UI 有一種讓我回到 Bootstrap 的感覺但他們只是用法看起來很像而已。
有興趣的讀者可以參考這篇 https://daisyui.com/blog/what-is-daisyui/
現在畫面上就有一個還算可以看的 Todo 卡片。

新增一個 Todo 至少需要兩個 input 一個輸入title 另一個輸入 content 所以我們就宣告兩個 $state 來分別管理這兩個 input ,並宣告一個 function addTodo 來管裡新增 Todo 的邏輯。
再次說明一下對於 $state 來說,就算我們直接 mutate array 或者 object 的 variable 也是能有 reactive 的。所以我們的 addTodo 這邊只需要用 todoList.push() 就能簡單的新增一個新的 Todo 到 todoList 裡。
<script lang="ts">
	interface Todo {
		id: number;
		title: string;
		content: string;
		done: boolean;
	}

	let todoList: Todo[] = $state([
		{
			id: Date.now(),
			title: 'First todo',
			content: 'This is the first todo',
			done: false
		}
	]);

	let title = $state('');
	let content = $state('');

	const addTodo = () => {
		todoList.push({
			id: Date.now(),
			title,
			content,
			done: false
		});

		title = '';
		content = '';
	};
</script>
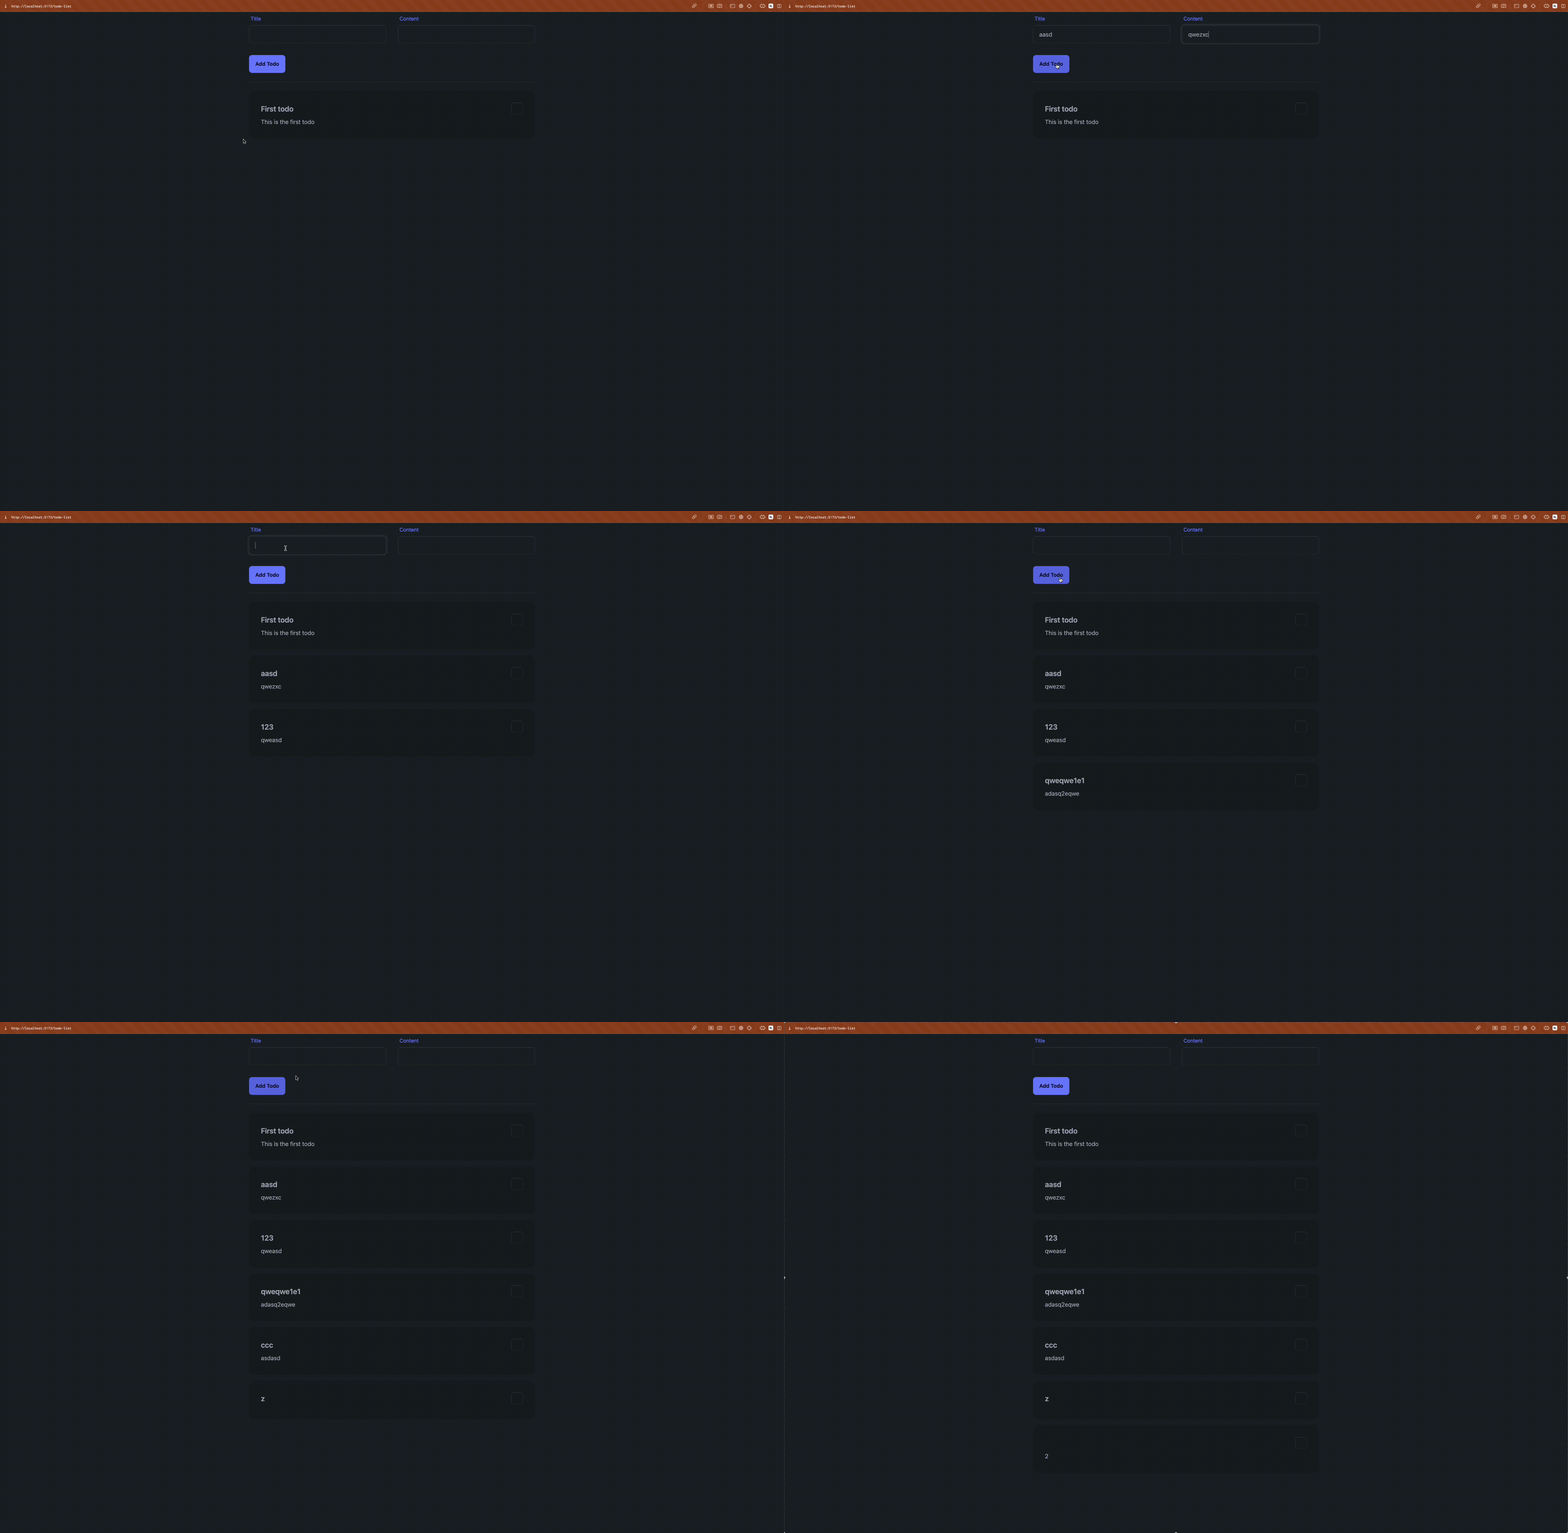
那我們就可以 input 及 button 的樣式也做上去,這邊樣式就直接參考 daisy UI 的 Text Input 及 Button ,接下來就是把 title 和 content binding 到先對應的 input ,那這時我們只需要 bind:value={} 即可完成 UI 與 state 的綁定,並不需要額外的撰寫事件處理。
<div class="max-w-3xl mx-auto">
	<div class="grid grid-cols-2 mb-8 gap-x-8">
		<label class="form-control w-full">
			<div class="label">
				<span class="label-text text-primary">Title</span>
			</div>
			<input type="text" class="input input-bordered w-full" bind:value={title} />
		</label>

		<label class="form-control w-full">
			<div class="label">
				<span class="label-text text-primary">Content</span>
			</div>
			<input type="text" class="input input-bordered w-full" bind:value={content} />
		</label>
	</div>

	<button class="btn btn-primary" onclick={addTodo}> Add Todo </button>

	<div class="divider"></div>

	{#each todoList as todo (todo.id)}
		<div class="card shadow bg-base-200 mb-4">
			<div class="card-body">
				<div class="flex justify-between items-center">
					<h2 class="card-title">{todo.title}</h2>
					<input type="checkbox" bind:checked={todo.done} class="checkbox checkbox-lg" />
				</div>
				<p>{todo.content}</p>
			</div>
		</div>
	{/each}
</div>

gif 比我想像中的畫質還糟啊 XDD
今天完成了最基本的新增跟顯示了,明天我們就來進一步完善這個小作品。
從今天開始會把 todo list 的每天進度分成不一樣的 branch 管理,所以如果是未來回頭來看時請注意的branch
