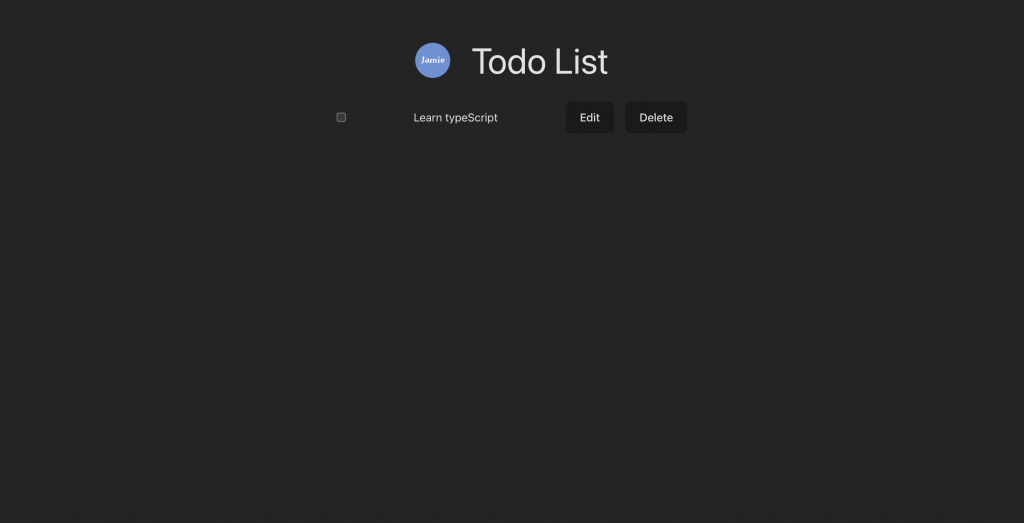
今天的章節主旨是練習我們昨天學習到的方法,我們要來為這份 Todo List 做一個 Header,預計是加入一個 Logo 以及標題,做完後的畫面呈現會像是這樣:
加入 Header 後的 App.tsx 如下:
import './App.css'
import Header from './components/Header'
import Todo from './components/Todo'
import logo from './assets/logo.png'

function App() {
  return (
    <main className='w-[500px] h-[100dvh] portrait:w-[90%] flex flex-col'>
      <Header image={{ src: logo, alt: 'logo' }}>
        <h1>Todo List</h1>
      </Header>
      <Todo isFinished={false}>
        <p>Learn typeScript</p>
      </Todo>
    </main>
  )
}

export default App
有從前面篇章看過來的人,可能會發現程式碼不太一樣,其實主要加入的只有 Header 這個元件,其他的變動只是加入一些樣式,讓我們的 Todo List 看起來稍微美觀一點點。
本系列文章是使用 Tailwind 來編寫樣式,但我們的重點是在於 TypeScript 的運用,因此樣式的介紹就先略過了。
看過 App.tsx 的程式碼後,可以用我們昨天學到的方式來為 Header 的 props 定義型別,你可以選擇直接開始實作,或是接續下面的文章一起實作。
我們昨天最後是停留在使用 PropsWithChildren 定義型別,所以今天我們將從昨天學到的內容開始,使用 PropsWithChildren 來進行實作練習。
還記得嗎?PropsWithChildren 需要放入泛型參數,在 Header 這個元件裡,只會有 image 以及 children 這兩個 props 傳入,所以我們需要將 image 的型別傳給 PropsWithChildren:
import { type PropsWithChildren } from 'react'

type HeaderProps = PropsWithChildren<{ image: { src: string; alt: string } }>
如果覺得在閱讀性上不好,我們也可以把 image 提取出來:
import { type PropsWithChildren } from 'react'

type Image = { image: { src: string; alt: string } }

type HeaderProps = PropsWithChildren<Image>
接著,把我們定義好的型別,指定給 props 即可:
import { type PropsWithChildren } from 'react'

type HeaderProps = PropsWithChildren<{ image: { src: string; alt: string } }>

export default function Header({ image, children }: HeaderProps) {
  return (
    <header className='flex items-center justify-center gap-[30px] my-[30px]'>
      <img
        src={image.src}
        alt={image.alt}
        className='w-[50px] aspect-square '
      />
      {children}
    </header>
  )
}
第二種作法則是使用 ReactNode 這個型別,這兩種做法都是可行的,沒有好壞之分,但個人比較偏愛第二種方式,直接定義在同一個物件內,對筆者來說似乎更加直觀:
import { type ReactNode } from 'react'

type HeaderProps = {
  image: { src: string; alt: string }
  children: ReactNode
}

export default function Header({ image, children }: HeaderProps) {
  return (
    <header className='flex items-center justify-center gap-[30px] my-[30px]'>
      <img
        src={image.src}
        alt={image.alt}
        className='w-[50px] aspect-square '
      />
      {children}
    </header>
  )
}


 iThome鐵人賽