一開始先建立網頁的基礎,檔名通常都會設成「index.html」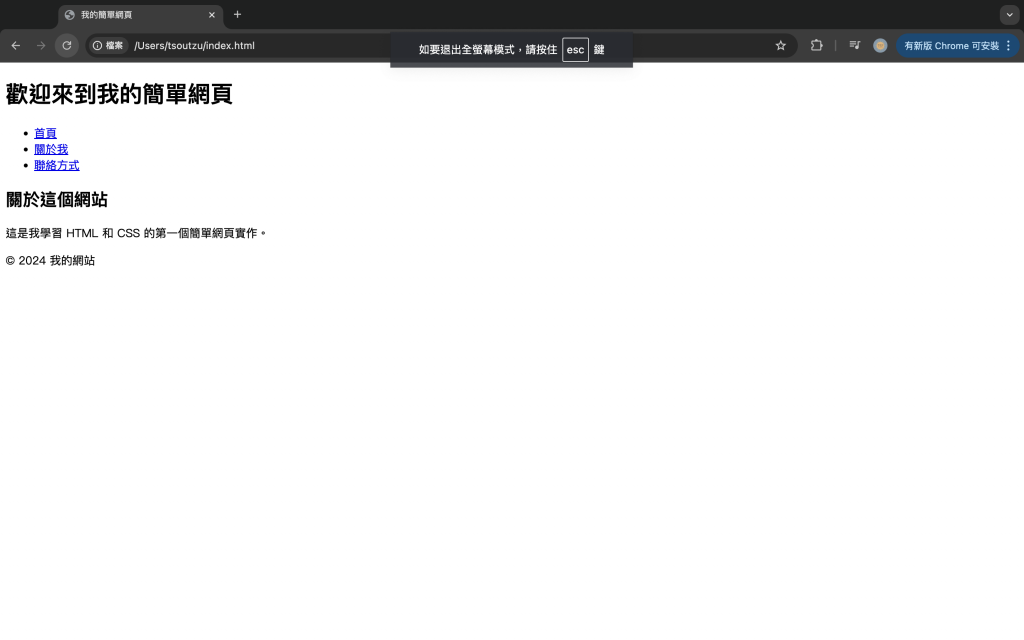
<!DOCTYPE html>
<html lang="zh-TW">
<head>
<meta charset="UTF-8">
<meta name="viewport" content="width=device-width, initial-scale=1.0">
<title>我的簡單網頁</title>
</head>
<body>
<header>
<h1>歡迎來到我的簡單網頁</h1>
</header>
<nav>
<ul>
<li><a href="#">首頁</a></li>
<li><a href="#">關於我</a></li>
<li><a href="#">聯絡方式</a></li>
</ul>
</nav>
<main>
<section>
<h2>關於這個網站</h2>
<p>這是我學習 HTML 和 CSS 的第一個簡單網頁實作。</p>
</section>
</main>
<footer>
<p>© 2024 我的網站</p>
</footer>
</body>
</html>
再建立一個「style.css」(美化頁面),之後在index.html裡面加入這行程式碼
<link rel="stylesheet" type="text/css" href="style.css">
說明:將html和css檔案之間連結起來
以下是結合完成的畫面: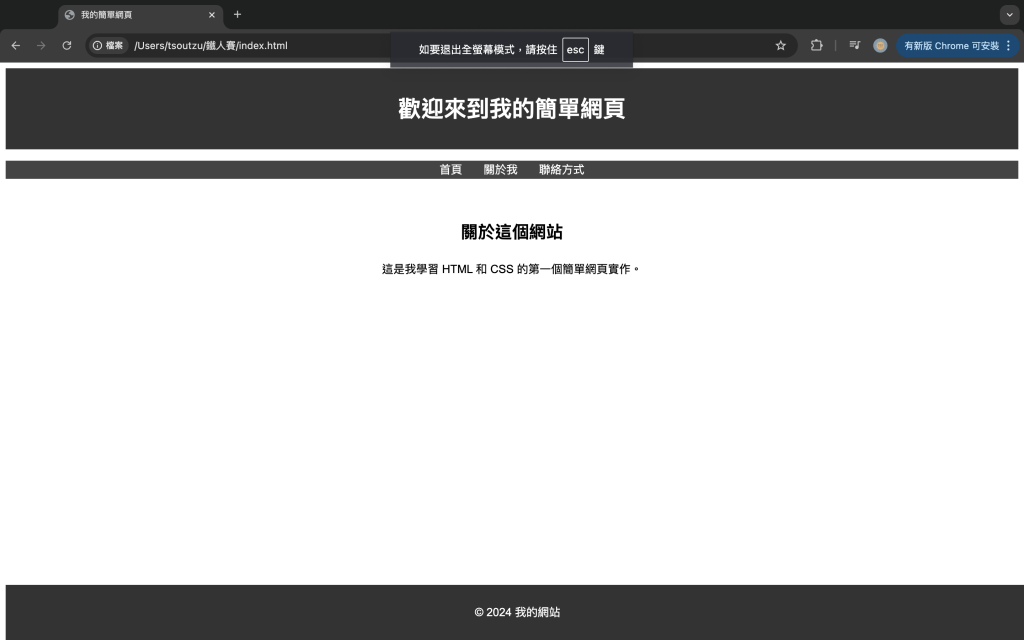
body {
    font-family: Arial, sans-serif;
    line-height: 1.6;
}
header {
    background-color: #333;
    color: white;
    padding: 10px 0;
    text-align: center;
}
nav ul {
    list-style: none;
    padding: 0;
    display: flex;
    justify-content: center;
    background-color: #444;
}
nav ul li {
    margin: 0 15px;
}
nav ul li a {
    color: white;
    text-decoration: none;
}
main {
    padding: 20px;
    text-align: center;
}
footer {
    background-color: #333;
    color: white;
    text-align: center;
    padding: 10px 0;
    position: fixed;
    width: 100%;
    bottom: 0;
}
說明:
1.為 body 設定了字型和行高,讓內容更易讀。
2.header 和 footer 都使用了深色背景,並將文字顏色設為白色。
3.導覽列的樣式設定為水平排列,並且去掉了項目的預設樣式。
修改 index.html,新增一個表單:
<form id="myForm">
    <label for="name">Name:</label>
    <input type="text" id="name" placeholder="Enter your name">
    <button type="submit">Submit</button>
</form>

<script>
    let form = document.getElementById("myForm");
    form.addEventListener("submit", function(event) {
        let nameInput = document.getElementById("name").value;
        if (nameInput === "") {
            alert("Name cannot be empty");
            event.preventDefault();
        }
    });
</script>
就會在網站畫面中出現一個輸入格: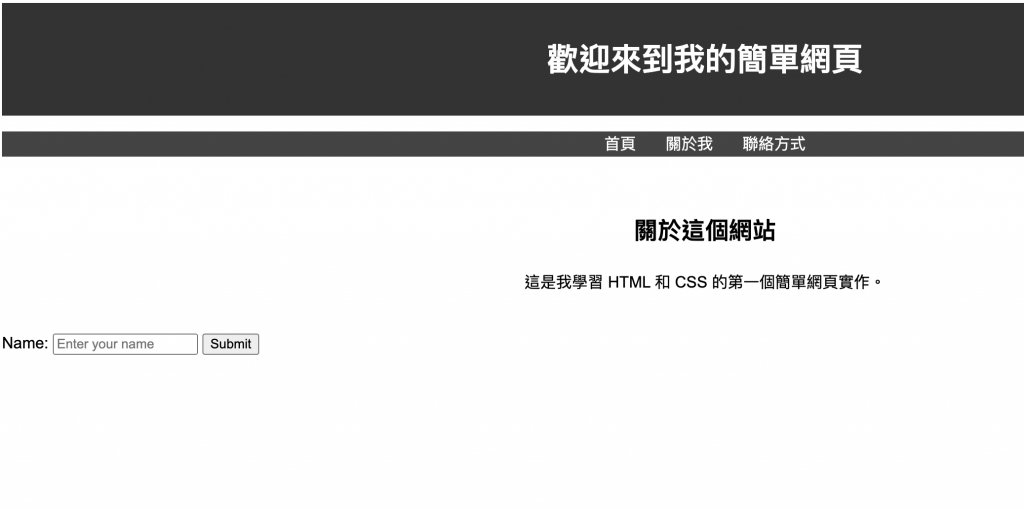
我設計了一個點擊‘Change Text’的按鈕,點擊後會出現'Text has been changed!'的不同訊息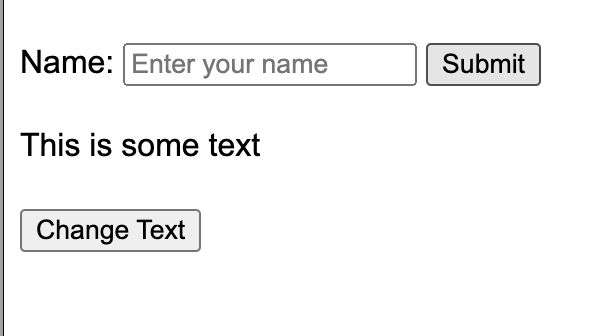
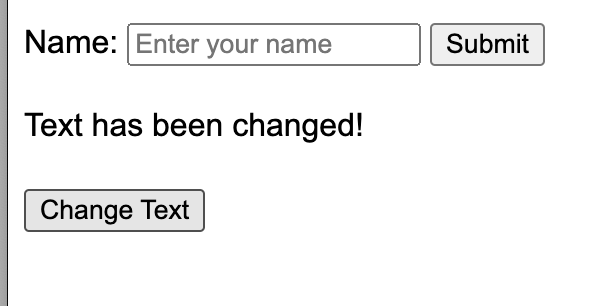
<p id="text">This is some text</p>
<button onclick="changeText()">Change Text</button>

<script>
    function changeText() {
        document.getElementById("text").innerHTML = "Text has been changed!";
    }
</script>
這個功能會出現在網頁中的機率算是滿高的,通常可以用在帳號密碼的檢驗上面。
