iT邦幫忙

2024 iThome 鐵人賽

DAY 20
0
Mobile Development

少年K的Swift奇幻漂流記系列 第 20

Day20 Swift Clock App 實作 Part1:NavigationBar創建左右按鈕

  • 分享至 

  • xImage
  •  

因為新版的Xcode直接拉NavigationBar會有多出空白的部分,所以我們要用code去新增一個NavigationBar才不會有排版的問題。
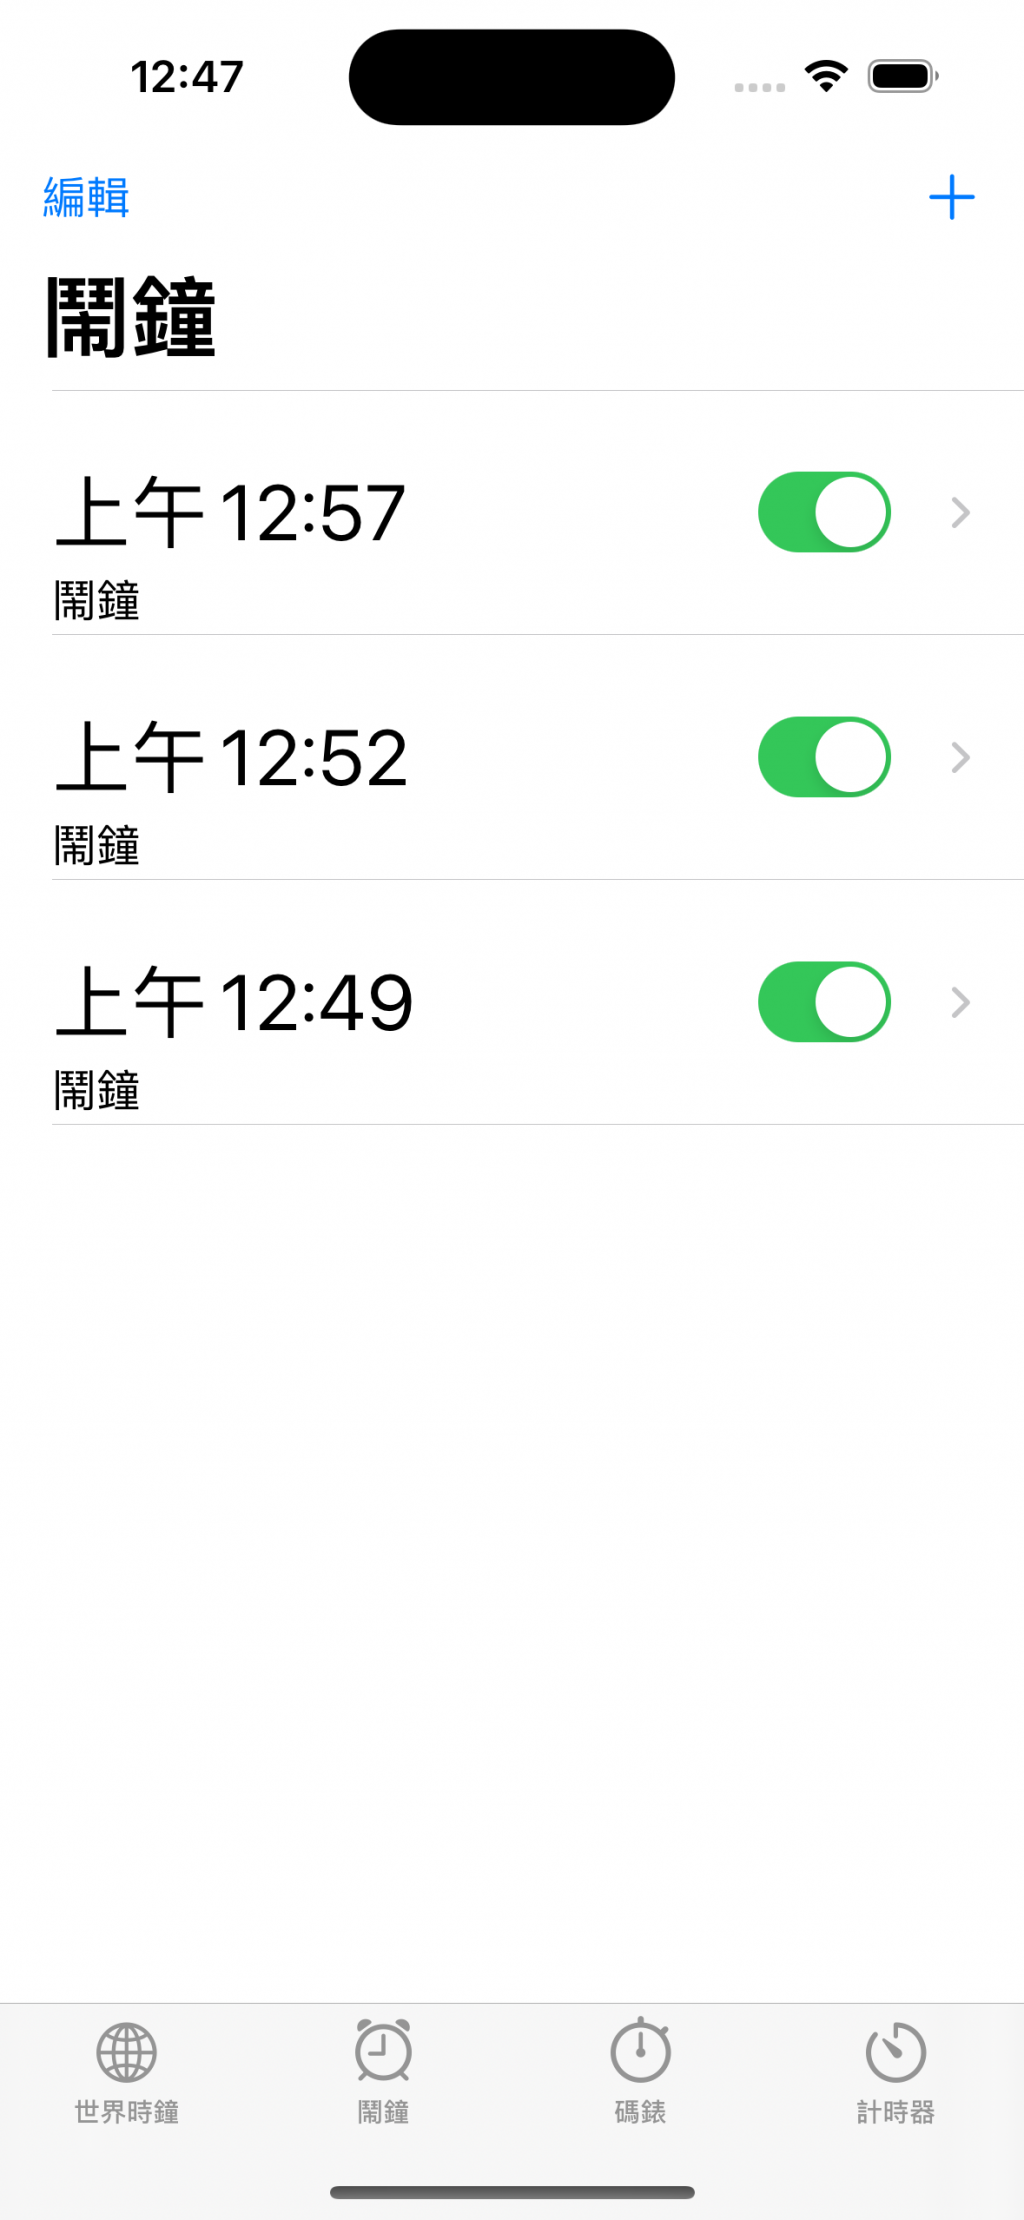
先看成品畫面

https://ithelp.ithome.com.tw/upload/images/20240928/20168203lLY98zUup0.png
這裡面編輯+鬧鐘都是NavigationBar的部分尤其是鬧鐘,它有一個特別的設定方法。

NavigationBar的左右button設定


// 利用UIImage設定右邊的按鈕為加號的圖案,讓後設定他的動作為`addTapped`的function
navigationItem.rightBarButtonItem = 
UIBarButtonItem(image: UIImage(systemName: "plus"), 
                                style: .plain, 
                                target: self, 
                                action: #selector(addTapped))

// 左邊按鈕則是用title設定他的文字為編輯,並設定他的動作為`editTapped`
navigationItem.leftBarButtonItem = 
UIBarButtonItem(title: "編輯", 
                style: .plain, 
                target: self, 
                action: #selector(editTapped))

這樣我們就設定NavigationBar的左右按鈕了,明天會開一篇新的專門講button需要的兩個function和title怎麼設定~

結論

今天教了NavigationBar的左右button怎麼設定,明天會繼續教function


上一篇
Day 19 Swift MessageBorad App 實作 Part5 : 右滑內的編輯邏輯
下一篇
Day21 Swift Clock App 實作 Part2:NavigationBar 需要的funciton、NavigationBar title
系列文
少年K的Swift奇幻漂流記30
圖片
  直播研討會
圖片
{{ item.channelVendor }} {{ item.webinarstarted }} |
{{ formatDate(item.duration) }}
直播中

尚未有邦友留言

立即登入留言