昨天讓方塊可以平穩的在地面上滑行,今天我們終於要來加入鍵盤控制按鍵了!使用鍵盤上的 a 跟 d 來操控物體的左右來閃避障礙物!
繼續上次的程式碼,並且在程式碼中新增檢測鍵盤按鍵的程式碼,
// PlayerMovement.cs
using UnityEngine;

public class PlayerMovement : MonoBehaviour
{
    // Start is called before the first frame update
    public Rigidbody Rb;
    public folat forwardForce = 2000;

    // Update is called once per frame
    void FixedUpdate()
    {
		rb.AddForce(0, 0, forwardForce * Time.deltaTime);
		if( Input.GetKey("d") )
		{
			rb.AddForce(500 * Time.deltaTime, 0, 0);
		}
		if( Input.GetKey("a") )
		{
			rb.AddForce(-500 * Time.deltaTime, 0, 0);
		}
    }
}
其中,Input.GetKey() 可以檢測輸入的鍵盤按鍵,如果檢測到的按鍵是 a 或 d ,那就施予這個 Player 不同方向的力。
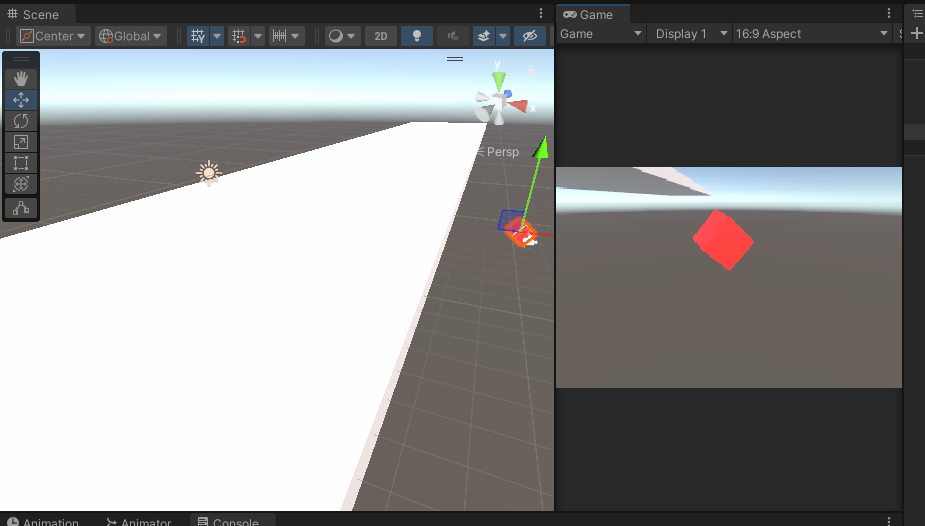
回到遊戲的 Game 面板按下 Play 之後就可以操控我們的方塊了!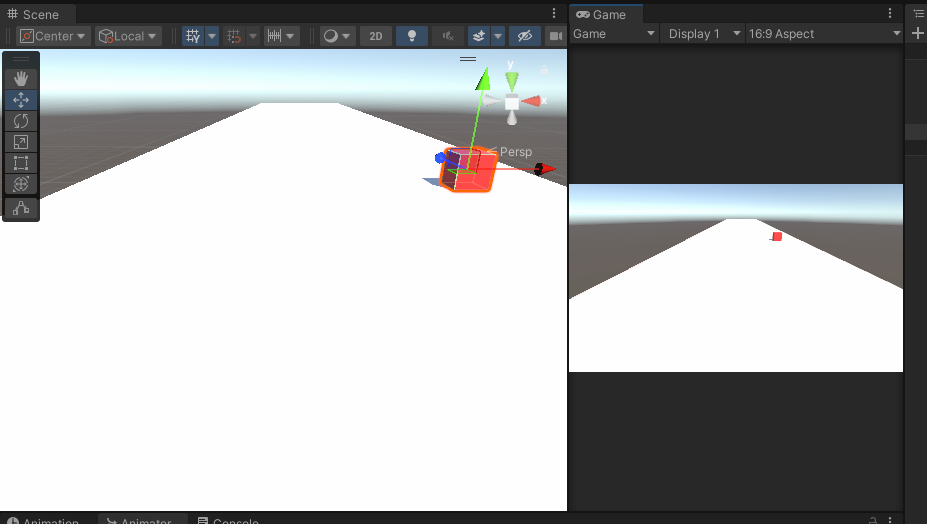

真是太棒了!但是現在的相機視角並不會跟著玩家移動,我們需要把相機綁定到方塊上面,讓方塊移動的時候相機也跟著移動。想要達成這個效果有幾個方法:
Hierarchy 面板中把相機拖曳到 Player 中就好了
因此,我們需要為 Main Camera 創立新的腳本。在 Script 資料夾中創建並取名為 FollowPlayer 然後將這個腳本拖曳到 Main Camera 的 Inspector 視窗中
// FollowPlayer.cs
using UnityEngine;

public class FollowPlayer : MonoBehaviour
{
    public Transform player;
    // Update is called once per frame
    void Update()
    {

    }
}
因為我們需要取用 Player 的位子好讓我們的相機能夠定位到上面,而控制位子這方面的 Component 就叫做 Transform ,player 則是這支程式對 public Transform 這個資料型態所設的變數。
加上了 public Transform player; 之後回到 Unity ,我們要將 Hierarchy 中的 Player 拖拉進這個方框中
我們試著在 Update() 函式裡印出位子
// FollowPlayer.cs
using UnityEngine;

public class FollowPlayer : MonoBehaviour
{
    public Transform player;
    // Update is called once per frame
    void Update()
    {
		Debug.Log(player.position);
    }
}
並執行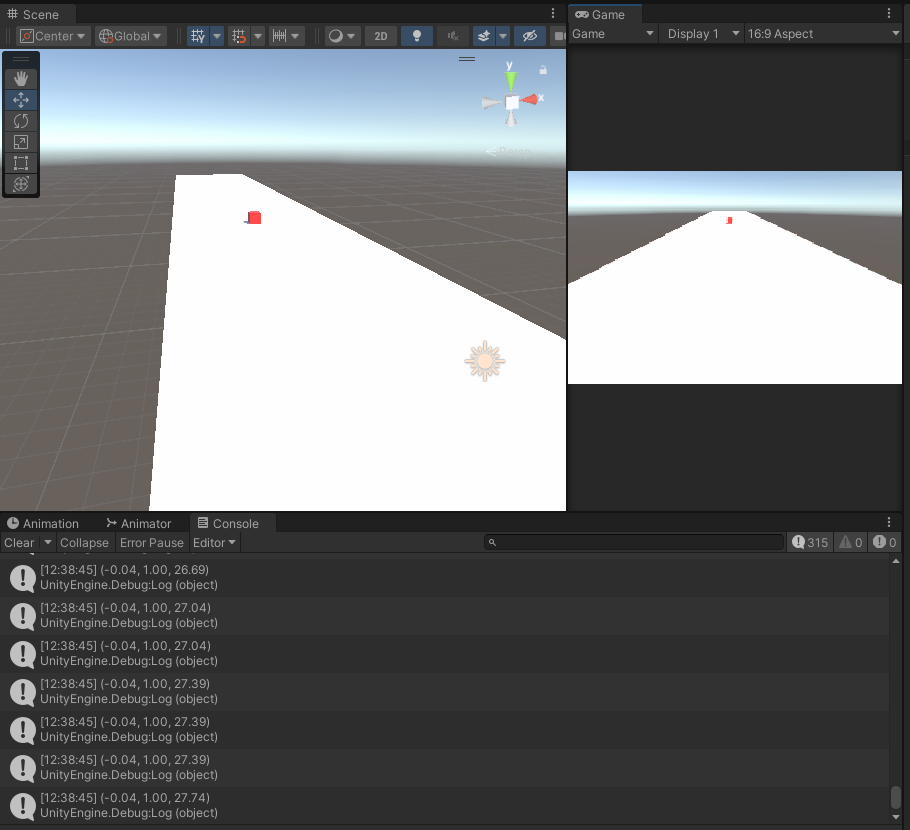
當方塊一邊前進的時候,一邊輸出該方塊的座標位置
接下來我們把相機定位到方塊上
// FollowPlayer.cs
using UnityEngine;

public class FollowPlayer : MonoBehaviour
{
    public Transform player;
    // Update is called once per frame
    void Update()
    {
		transform.position = player.position;
    }
}
這裡的 transform 指的是自身物件的 transform Component( Main Camera )
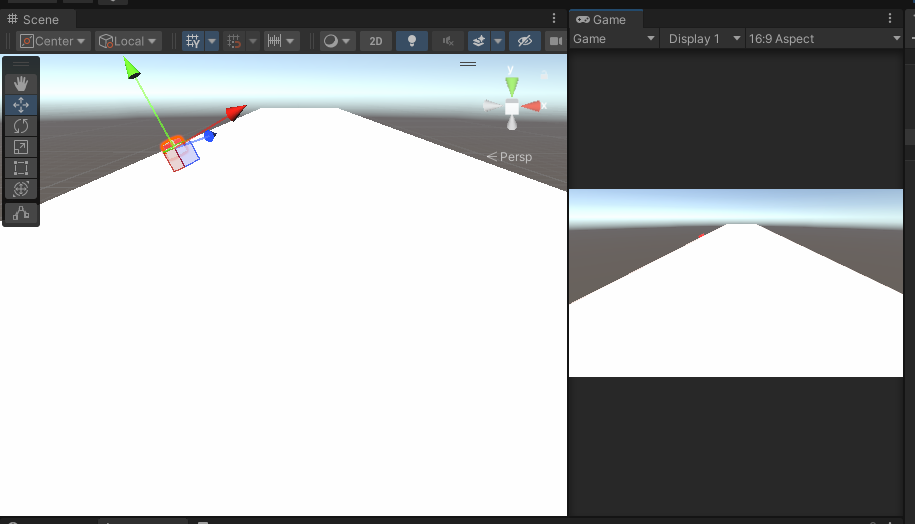
執行看看遊戲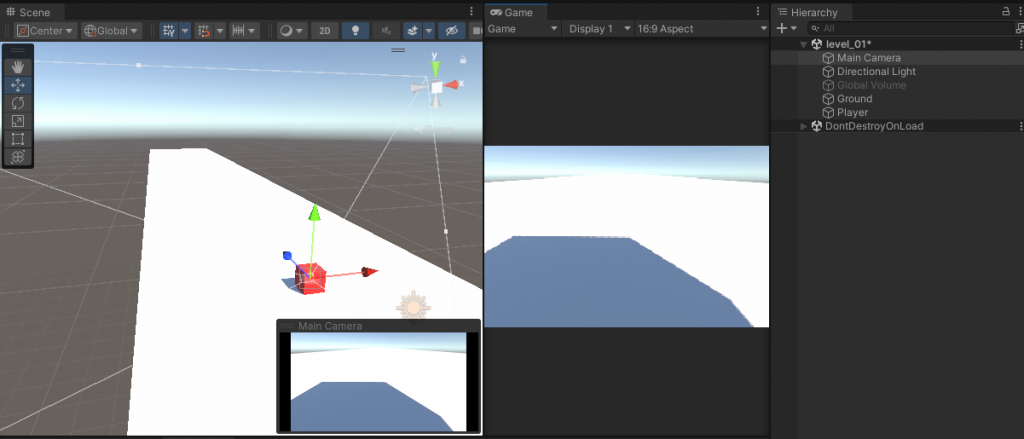
發現相機的確跟著方塊前進了!但是我們希望視角要再向後一點,能看到整個方塊,而不是第一人稱,為了解決這個問題,要再引入一個 Vector3
// FollowPlayer.cs
using UnityEngine;

public class FollowPlayer : MonoBehaviour
{
    public Transform player;
    public Vector3 offset;
    // Update is called once per frame
    void Update()
    {
		transform.position = player.position;
    }
}
Vector3 裡面儲存了三個浮點數,在調整位子時特別好用。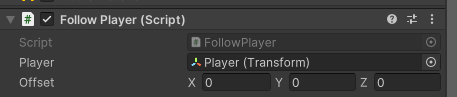
我們多了三個可調整的欄位。對他進行調整可以看到 Main Camera 也在改變,調整到一個適合的位子後(例如 x = 0, y = 1, z = -5),將這組數字加到原本的位子上
// FollowPlayer.cs
using UnityEngine;

public class FollowPlayer : MonoBehaviour
{
    public Transform player;
    public Vector3 offset;
    // Update is called once per frame
    void Update()
    {
		transform.position = player.position + offset;
    }
}
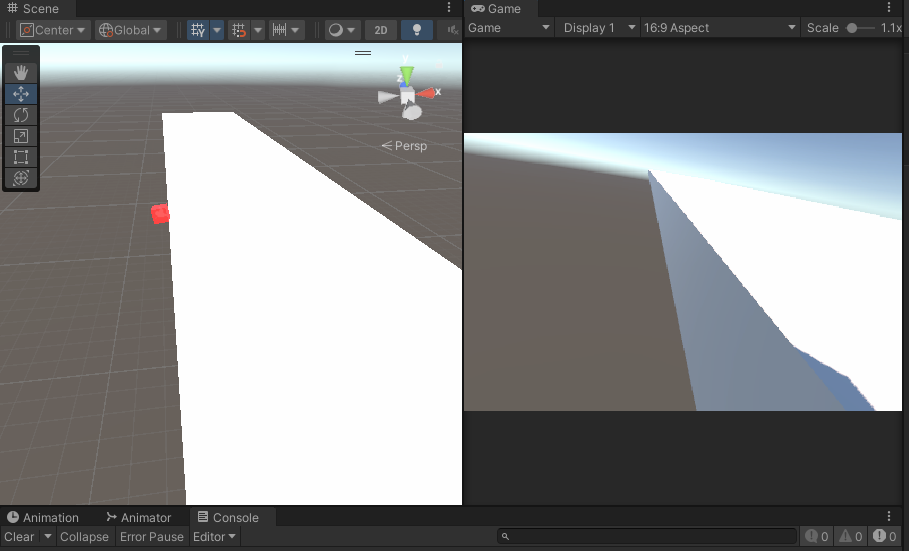
執行遊戲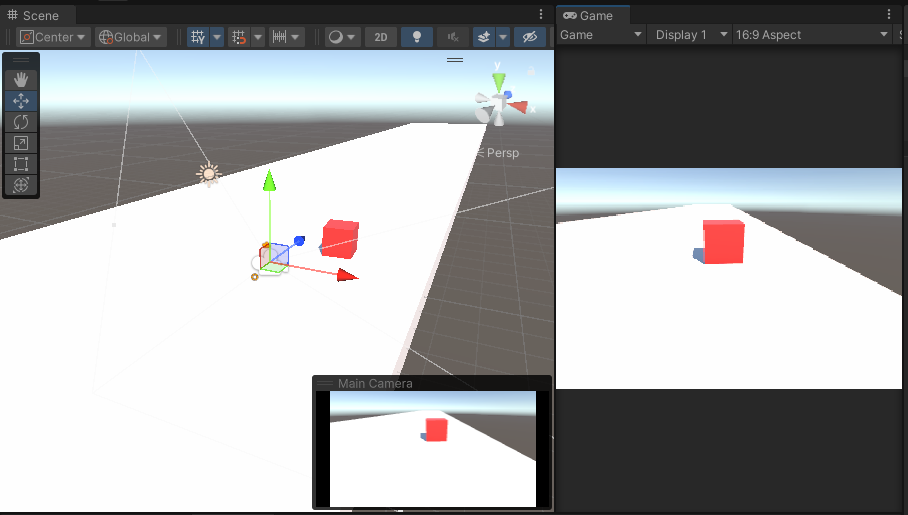
如此一來每次相機更新的位子就是 Player 的位子再加上 offset 的值,就可以實現類似第三人稱的視角了!並且不論 Player 如何碰撞,相機視角都不會跟著改變,明天要來在這個賽道上創建一些障礙物,讓玩家閃避,並且做出碰撞檢測,來讓我們知道 Player 何時撞到了這些障礙物。


 iThome鐵人賽