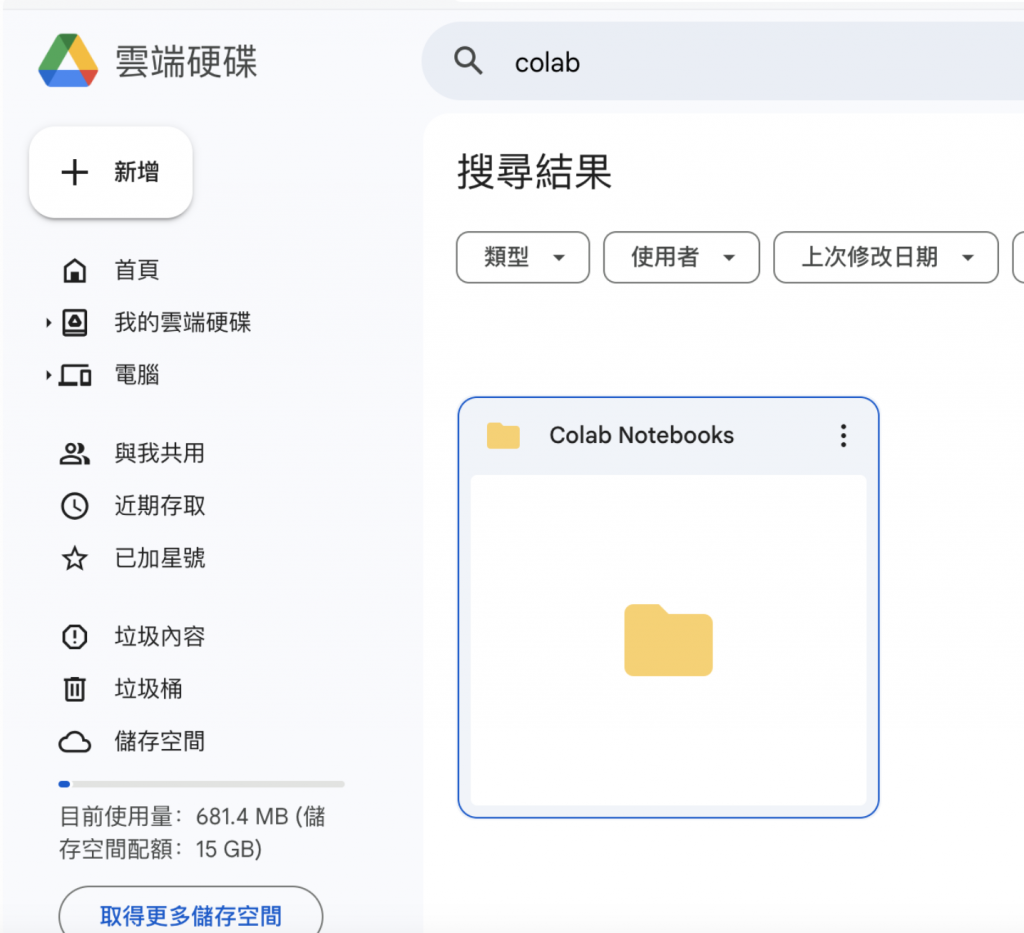
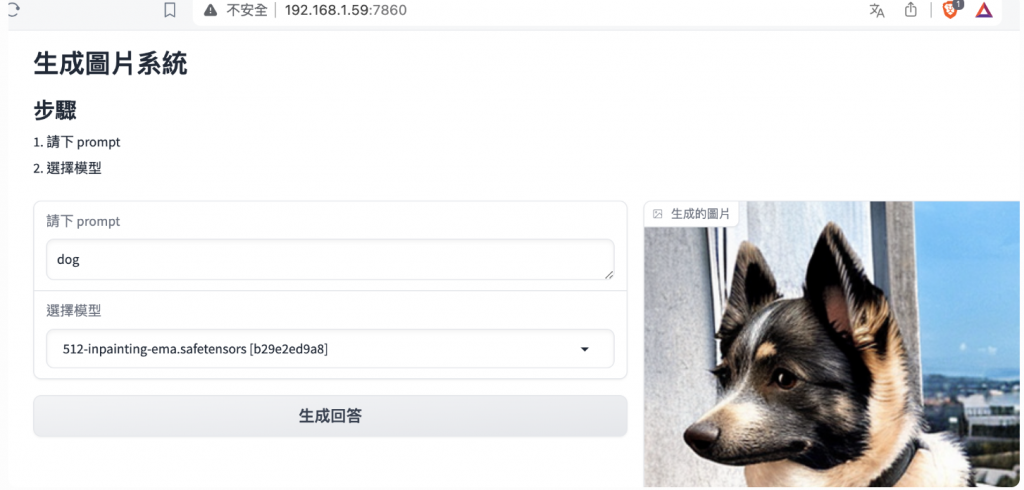
在Google Colab上部署Stable Diffusion WebUI,可以利用現有的資源來運行生成圖像的任務。以下是詳細的步驟,幫助你在Google Colab上部署和運行Stable Diffusion WebUI。
打開Google Colab Google Colab。
創建一個新的Notebook。
在Colab Notebook的第一個單元格中,運行以下命令來安裝必要的依賴:
!pip install torch torchvision torchaudio --index-url https://download.pytorch.org/whl/cu113
!pip install diffusers transformers
!pip install gradio
運行以下命令來下載Stable Diffusion模型檢查點和其他必要的文件:
!git clone https://github.com/CompVis/stable-diffusion.git
!cd stable-diffusion && pip install -e .
!wget -P stable-diffusion/checkpoints https://path/to/your/stable-diffusion/checkpoint
請將https://path/to/your/stable-diffusion/checkpoint替換為實際的Stable Diffusion模型檢查點的下載鏈接。
接下來,編寫一個Gradio WebUI來運行Stable Diffusion模型。在Colab Notebook中添加一個新單元格並運行以下代碼:
import gradio as gr
from diffusers import StableDiffusionPipeline
import torch

model_id = "CompVis/stable-diffusion-v-1-4"
device = "cuda"

# 加載模型
pipe = StableDiffusionPipeline.from_pretrained(model_id, torch_dtype=torch.float16)
pipe.to(device)

def generate_image(prompt):
    image = pipe(prompt).images[0]
    return image

# 設置Gradio界面
gr.Interface(fn=generate_image, inputs="text", outputs="image").launch(share=True)

demo.queue()
demo.launch(server_name='0.0.0.0')#可以在本地進行
運行所有單元格。當最後一個單元格運行時,Gradio WebUI將啟動並生成一個公開URL,你可以通過這個URL訪問Stable Diffusion的WebUI。

這樣,你就可以在Google Colab上成功部署並運行Stable Diffusion WebUI了。通過這個WebUI,你可以輸入文本提示並生成相應的圖像。
