上一篇已經把旅遊聊天機器人建置好,今天要來做支援多用戶同時使用 WebSocket 聊天服務,需要處理多用戶的連接管理。
以下是修改的重點:
**管理多用戶連接:**使用 websockets 來儲存每個用戶的 WebSocket 連接,以便能夠識別不同用戶的訊息。
**用戶唯一識別:**可以透過傳遞用戶識別符來區分不同用戶,例如:在 websockets 連接時透過 URL 參數user_id或訊息傳遞識別用戶。
確保每個使用者都有唯一的 user_id。你可以從登入狀態中提取,或者隨機生成一個。
import React, { useState, useEffect } from 'react';
import Image from 'next/image';
import useWebSocket from '../hooks/useWebSocket';

const ChatLoading = () => {
    return (
        <div className='flex space-x-2 justify-center items-center dark:invert h-full'>
            <div className='h-2 w-2 bg-gray-500 rounded-full animate-bounce [animation-delay:-0.3s]'></div>
            <div className='h-2 w-2 bg-gray-500 rounded-full animate-bounce [animation-delay:-0.15s]'></div>
            <div className='h-2 w-2 bg-gray-500 rounded-full animate-bounce'></div>
        </div>
    );
};

const ChatBot: React.FC = () => {
  const [userId, setUserId] = useState<string | null>(null);
  const { messages, sendMessage, loading } = useWebSocket(`ws://localhost:8000/tourism/chatbot/${userId}`);
  const [input, setInput] = useState<string>('');

  useEffect(() => {
    // 模擬獲取 user_id,實際應該從登入系統或後端 API 獲取
    const storedUserId = localStorage.getItem('user_id');
    if (storedUserId) {
      setUserId(storedUserId);
    } else {
      const newUserId = `user_${Math.floor(Math.random() * 10000)}`;
      localStorage.setItem('user_id', newUserId);
      setUserId(newUserId);
    }
  }, []);

  const handleSend = () => {
    if (input.trim()) {
      sendMessage(input);
      setInput(''); // 清空輸入框
    }
  };

  return (
    <div className='flex flex-col relative w-full'>
      <header className='flex p-2 items-center'><p className='font-bold ml-1 text-xl'>Chatbot</p></header>
      <div style={{ height: 'calc(100vh - 46px)' }} className='overflow-y-auto'>
        {messages.map((msg, index) => (
          <div key={index} className='flex flex-col space-y-4'>
            {msg.role === 'AI' ? (
              <div className='flex space-x-2 justify-start bg-slate-100 p-4 items-center'>
                <div className='bg-sky-600 rounded-lg w-10 h-10 flex items-center justify-center flex-shrink-0'>
                  <Image src='/chatbot.png' alt='robot' width={30} height={30} />
                </div>
                <div>
                  {msg.content === 'loading' ? <ChatLoading /> : msg.content}
                </div>
              </div>
            ) : (
              <div className='flex space-x-2 justify-end p-4 items-center'>
                <div>{msg.content}</div>
                <div className='bg-green-400 rounded-lg w-10 h-10 flex items-center justify-center'>
                  <Image src='/avatar.png' alt='user' width={25} height={25} />
                </div>
              </div>
            )}
          </div>
        ))}
      </div>
      <footer className='p-4 bottom-0 absolute w-full flex flex-col items-center'>
        <div className='flex w-1/2'>
          <input
            value={input}
            onChange={(e) => setInput(e.target.value)}
            className='p-2 rounded-l w-full outline-none bg-gray-100'
            placeholder='請輸入要詢問的內容'
          />
          <button className='rounded-r bg-gray-100' onClick={handleSend}>
            <Image src='/send.png' alt='send' width={30} height={30} className='p-1' />
          </button>
        </div>
      </footer>
    </div>
  );
};

export default ChatBot;
確保 useWebSocket 鉤子接收的 url 包含動態的 user_id。
import { useEffect, useState } from 'react';

type Message = {
  role: 'User' | 'AI';
  content: string;
};

type WebSocketHook = {
  messages: Message[];
  sendMessage: (message: string) => void;
  loading: boolean;
};

const useWebSocket = (url: string): WebSocketHook => {
  const [socket, setSocket] = useState<WebSocket | null>(null);
  const [messages, setMessages] = useState<Message[]>([
    { role: 'AI', content: '您好,有什麼可以幫你的嗎?' }
  ]);
  const [loading, setLoading] = useState<boolean>(false);

  useEffect(() => {
    if (!url.includes('null')) { // 確保只有當 userId 有值時才建立 WebSocket 連接
      const ws = new WebSocket(url);
      setSocket(ws);

      ws.onopen = () => {
        setLoading(false);
        console.log('已連接到 WebSocket');
      };

      ws.onmessage = (event: MessageEvent) => {
        setLoading(false);
        setMessages((prevMessages) => {
          const updatedMessages = [...prevMessages];
          updatedMessages.splice(-1, 1); // 移除最後的 "loading" 訊息
          return [...updatedMessages, { role: 'AI', content: event.data }];
        });
        console.log('收到伺服器的回應:', event.data);
      };

      ws.onclose = () => {
        console.log('WebSocket 連接已關閉');
      };

      ws.onerror = (error: Event) => {
        console.error('WebSocket 發生錯誤:', error);
      };

      // 在組件卸載時關閉 WebSocket
      return () => {
        ws.close();
      };
    }
  }, [url]);

  // 發送消息的函數
  const sendMessage = (message: string) => {
    if (socket && socket.readyState === WebSocket.OPEN) {
      setLoading(true);
      socket.send(message);
      setMessages((prevMessages) => [
        ...prevMessages,
        { role: 'User', content: message },
        { role: 'AI', content: 'loading' } // 添加一個 "loading" 消息表示 AI 正在回應
      ]);
    }
  };

  return { messages, sendMessage, loading };
};

export default useWebSocket;
用戶通過前端傳遞 user_id 時,後端能夠識別並正確管理每個 WebSocket 連接。
from fastapi import FastAPI, WebSocket, WebSocketDisconnect
from chatbot_intents_function import get_attraction_info, get_embedding, provide_info
from chromadb import PersistentClient
from openai import AzureOpenAI
from openai_config import *

# 初始化 FastAPI
app = FastAPI()

# 初始化 ChromaDB 客戶端和 collection
chroma_client = PersistentClient(path="./data/cut")
collection_name_intents = "taipei_tourist_intents"
intents_collection = chroma_client.get_collection(name=collection_name_intents)

collection_name_tourism = "taipei_tourism"
tourism_collection = chroma_client.get_collection(name=collection_name_tourism)

# 初始化 Azure OpenAI 客戶端
client = AzureOpenAI(
    azure_endpoint=azure_endpoint,
    api_key=api_key,
    api_version=api_version
)

# 管理 WebSocket 連接的管理器
class ConnectionManager:
    def __init__(self):
        self.active_connections: dict = {}

    async def connect(self, websocket: WebSocket, user_id: str):
        await websocket.accept()
        self.active_connections[user_id] = websocket

    def disconnect(self, user_id: str):
        if user_id in self.active_connections:
            del self.active_connections[user_id]

    async def send_message(self, message: str, user_id: str):
        websocket = self.active_connections.get(user_id)
        if websocket:
            await websocket.send_text(message)

    async def broadcast(self, message: str):
        for connection in self.active_connections.values():
            await connection.send_text(message)


# 建立 WebSocket 連接管理器實例
manager = ConnectionManager()

# 意圖識別函數
def detect_intent(user_input):
    user_input_embedding = get_embedding(user_input)
    result = intents_collection.query(
        query_embeddings=[user_input_embedding], n_results=1
    )
    if not result["documents"]:
        return None, "未能識別意圖。"

    intents = result["documents"][0][0]
    action = result["metadatas"][0][0]["function"]
    return intents, action

# 處理使用者輸入
def process_user_input(user_input):
    intents, action = detect_intent(user_input)

    if not intents:
        return action  # 返回錯誤信息

    if action == "provide_info":
        response = provide_info(user_input, tourism_collection)
        return response

    return "請輸入其他詳細資訊"


@app.websocket("/tourism/chatbot/{user_id}")
async def websocket_endpoint(websocket: WebSocket, user_id: str):
    await manager.connect(websocket, user_id)
    try:
        while True:
            # 接收用戶的訊息
            user_input = await websocket.receive_text()

            # 處理使用者輸入
            response = process_user_input(user_input)

            # 回傳訊息給對應的用戶
            await manager.send_message(response, user_id)

    except WebSocketDisconnect:
        manager.disconnect(user_id)
        print(f"User {user_id} disconnected.")
    except Exception as e:
        print(f"WebSocket connection closed with exception: {e}")
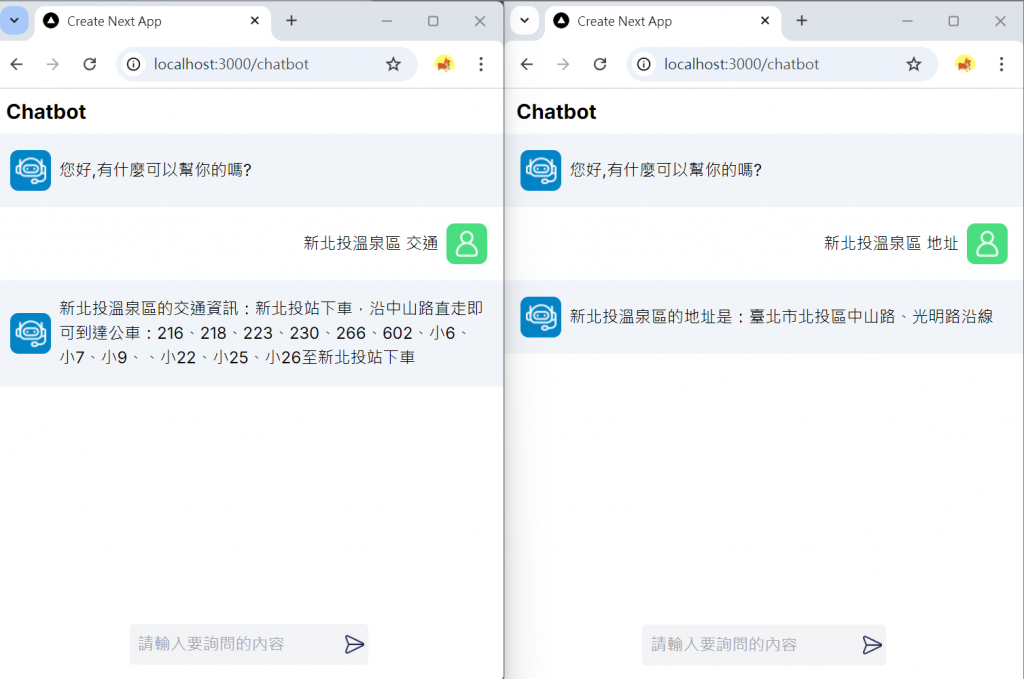
透過這些修改,就能支援多用戶同時使用聊天機器人。如果每個用戶有自己的 user_id,系統就能夠正確區分來自不同用戶的訊息並作出回應。


 iThome鐵人賽