今天來加入滑鼠移動特效
目前已經有很多移動特效了,可以找自己喜歡的
舉例:
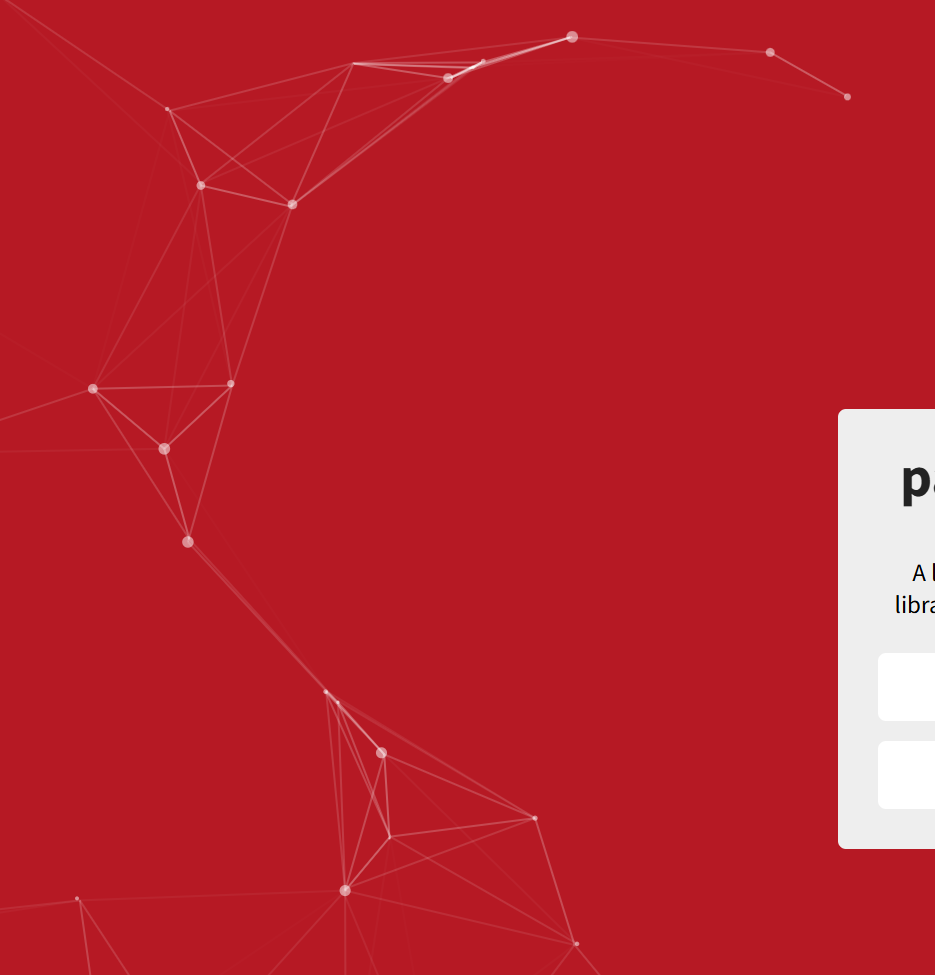
1. particles.js 當鼠標移動過去時就會閃開
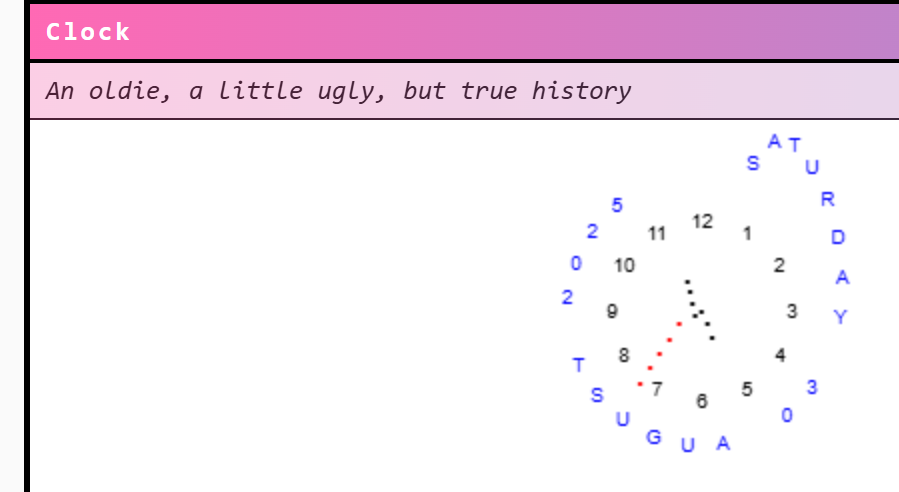
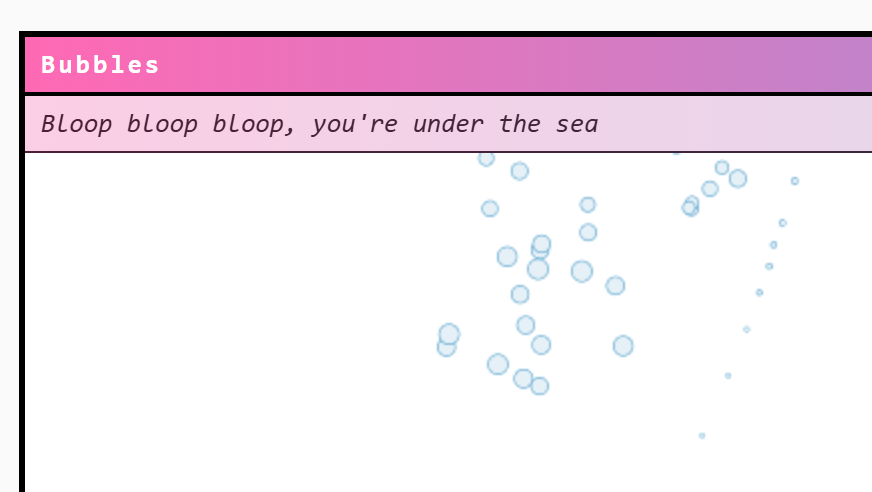
2. 90s Cursor Effects 各種早期滑鼠移動特效(順帶一提我好喜歡泡泡那個)
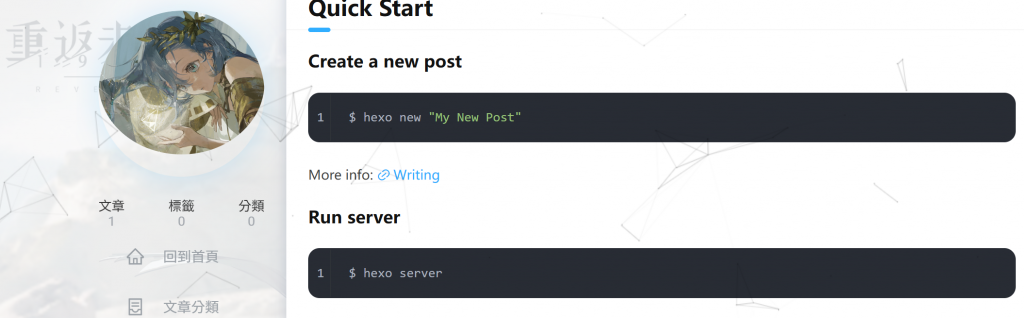
來介紹我用的特效(這在Butterfly中也有自帶):**canvas-nest.js**
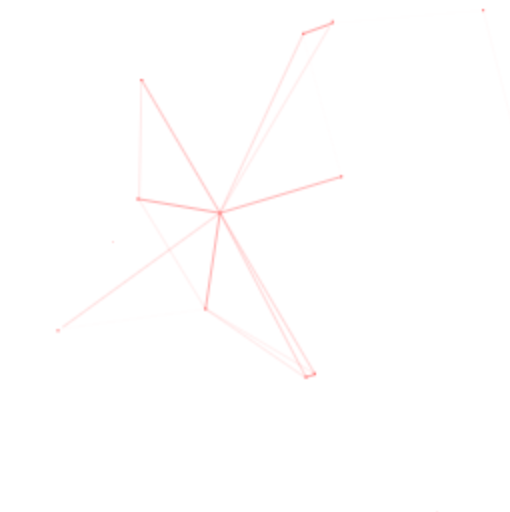
當你滑鼠移動過去時周圍光點會自動聚集
在node_modules\hexo-theme-kira\layout\layout.ejs 套用特效
<script>
(function () {
  if (window.__canvasNestLoaded) return;      // 防重複載入
  window.__canvasNestLoaded = true;

  var prefersReduced = window.matchMedia && window.matchMedia('(prefers-reduced-motion: reduce)').matches;
  var isMobile = Math.min(window.innerWidth, window.innerHeight) < 640;
  if (prefersReduced || isMobile) return;

  var s = document.createElement('script');
  s.src = 'https://cdnjs.cloudflare.com/ajax/libs/canvas-nest.js/2.0.0/canvas-nest.js';

//我一開始用藍色但發現還是黑色比較顯眼最後固定黑色了
  s.setAttribute('color', '0,0,0');       // 線條顏色:黑
  s.setAttribute('pointColor', '0,0,0');  // 節點顏色:黑
  s.setAttribute('opacity', '0.40');      // 透明度
  s.setAttribute('count', '140');         // 顆數
  s.setAttribute('zIndex', '-1');         // 最底層

  document.body.appendChild(s);
})();
</script>
第一次套用完發現找不到特效,要把網頁放很大才看到
打開Dev Tool檢查後發現特效只在剛進網頁的最上面圖片塊
因此我們在source/style.css中再加入position:fixed(強制在整個頁面)
/* 讓 canvas-nest 鋪滿整個視窗(覆蓋它的 inline style) */
body > canvas[style*="pointer-events: none"] {
  position: fixed !important;
  inset: 0 !important;
  width: 100vw !important;
  height: 100vh !important;
  pointer-events: none !important;
  z-index: 0 !important; /* 看不到就改 1~10 試試 */
}
存檔後重新啟動
hexo clean && hexo s
這樣就能看到整個頁面都有套用到特效了