一、學習目標
今天的目標是為整個線上相簿網站建立統一的基礎結構。主要重點在於打造一個乾淨、穩定、可延伸的 HTML 架構,作為後續功能開發的基底。藉由設定標題、主要文字區塊以及全站配色,我能確保接下來 30 天的開發都能保持一致性與清晰的邏輯。
二、學習過程與方法
我首先建立了三個核心檔案:index.html、style.css、script.js。在 HTML 中,我設置了標題與主體段落,並連結外部樣式與腳本。CSS 採用淺色背景與橘色重點色,建立整體溫暖的視覺氛圍;JavaScript 則暫時留空,用於之後加上互動功能。
三、實作成果
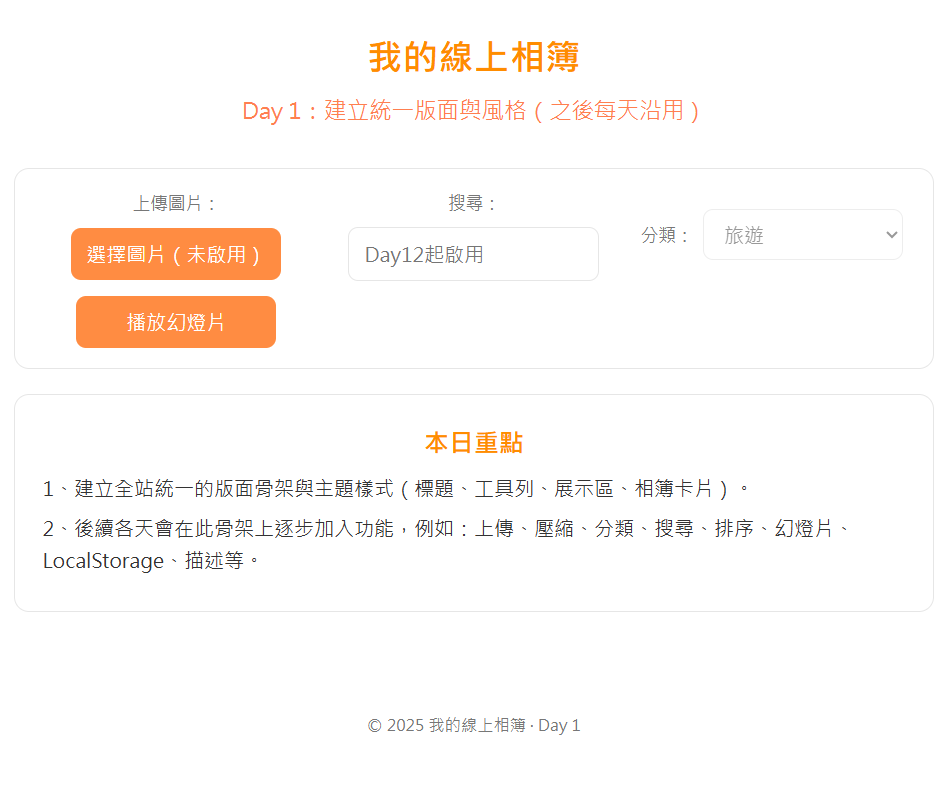
最終成果是一個具備標題、文字說明與統一色調的基本網頁框架。雖然目前還沒有圖片與互動功能,但它為未來的相簿功能打下了穩定的基礎,也確保設計上能隨時擴充。
四、主要程式碼區塊
<!DOCTYPE html>
<html lang="zh-Hant">
<head>
  <meta charset="UTF-8" />
  <title>Day 1 - 專案初始化(統一排版)</title>
  <meta name="viewport" content="width=device-width, initial-scale=1" />
  <style>
    /* ========= 全域主題色(之後統一沿用) ========= */
    :root {
      --bg: #ffffff;
      --primary: darkorange;
      --accent: coral;
      --text: #333;
      --muted: #777;
      --border: #e6e6e6;
      --btn: #ff8c42;
      --btn-hover: #ff6a00;
      --card-bg: #fff;
    }

    /* ========= 基本排版 ========= */
    * { box-sizing: border-box; }
    body {
      font-family: "Microsoft JhengHei", Arial, sans-serif;
      background: var(--bg);
      margin: 0;
      color: var(--text);
      line-height: 1.6;
      text-align: center; /* 專案整體維持置中風格 */
    }

    /* ========= 頂部區域 ========= */
    header {
      padding: 28px 16px 12px;
    }
    h1 {
      margin: 0 0 6px;
      color: var(--primary);
      font-size: 28px;
      letter-spacing: .5px;
    }
    .subtitle {
      margin: 0;
      color: var(--accent);
      font-size: 18px;
    }

    /* ========= 內容容器 ========= */
    .container {
      max-width: 1080px;
      margin: 20px auto 40px;
      padding: 0 16px;
    }

    /* ========= 工具列(之後各天在這裡加功能元件) ========= */
    .toolbar {
      display: grid;
      grid-template-columns: repeat(auto-fit, minmax(220px, 1fr));
      gap: 12px;
      background: var(--card-bg);
      border: 1px solid var(--border);
      border-radius: 12px;
      padding: 16px;
      margin-bottom: 20px;
    }
    .toolbar .group {
      display: flex;
      justify-content: center;
      align-items: center;
      gap: 8px;
      flex-wrap: wrap;
    }

    .label {
      font-size: 14px;
      color: var(--muted);
      white-space: nowrap;
    }
    .input, .select, .button {
      font: inherit;
      padding: 8px 12px;
      border-radius: 8px;
      border: 1px solid var(--border);
      background: #fff;
      min-width: 160px;
    }
    .button {
      background: var(--btn);
      color: #fff;
      border: none;
      cursor: not-allowed; /* Day1不啟用功能,先鎖住游標 */
      transition: background .2s ease;
    }
    .button:hover {
      background: var(--btn-hover);
    }
    /* 隱藏原生檔案選擇,使用自訂按鈕(未啟用)*/
    input[type="file"] { display: none; }
    .file-label {
      display: inline-block;
      padding: 8px 12px;
      border-radius: 8px;
      background: var(--btn);
      color: #fff;
      cursor: not-allowed;   /* Day1 先不啟用 */
      user-select: none;
      transition: background .2s ease;
    }
    .file-label:hover { background: var(--btn-hover); }

    /* ========= 展示面板(放說明與之後的相簿) ========= */
    .panel {
      background: var(--card-bg);
      border: 1px solid var(--border);
      border-radius: 12px;
      padding: 22px;
      text-align: left;
      margin-bottom: 20px;
    }
    .panel h2 {
      margin: 0 0 8px;
      color: var(--primary);
      font-size: 20px;
      text-align: center;
    }
    .panel p {
      margin: 6px 0;
      color: var(--text);
    }
    .note {
      font-size: 14px;
      color: var(--muted);
    }

    /* ========= 相簿區(之後各日會使用) ========= */
    .gallery {
      display: grid;
      grid-template-columns: repeat(auto-fill, minmax(220px, 1fr));
      gap: 16px;
    }
    .photo-card {
      background: var(--card-bg);
      border: 1px solid var(--border);
      border-radius: 12px;
      padding: 12px;
      text-align: center;
    }
    .photo-card img {
      width: 100%;
      border-radius: 10px;
      border: 2px solid #ddd;
    }
    .info {
      font-size: 14px;
      color: var(--muted);
      margin-top: 8px;
      line-height: 1.5;
      overflow-wrap: anywhere; /* 長檔名不外溢 */
    }

    /* ========= 頁腳 ========= */
    footer {
      padding: 20px 16px 40px;
      color: var(--muted);
      font-size: 13px;
    }
  </style>
</head>
<body>
  <!-- 頂部標題區 -->
  <header>
    <h1>我的線上相簿</h1>
    <p class="subtitle">Day 1:建立統一版面與風格(之後每天沿用)</p>
  </header>

  <main class="container">
    <!-- 工具列(Day1 僅示意;後續逐步啟用) -->
    <section class="toolbar" aria-label="工具列(示意)">
      <div class="group">
        <span class="label">上傳圖片:</span>
        <!-- Day2/Day5 之後會啟用 -->
        <label class="file-label" for="upload" title="Day2 起啟用">選擇圖片(未啟用)</label>
        <input id="upload" type="file" accept="image/*" />
      </div>
      <div class="group">
        <span class="label">搜尋:</span>
        <input class="input" type="text" placeholder="Day12起啟用" disabled />
      </div>
      <div class="group">
        <span class="label">分類:</span>
        <select class="select" disabled title="Day11 起啟用(分類上傳/篩選)">
          <option>旅遊</option>
          <option>生活</option>
          <option>寵物</option>
        </select>
      </div>
      <div class="group">
        <button class="button" disabled title="Day14 起啟用(全螢幕幻燈片播放)">播放幻燈片</button>
      </div>
    </section>

    <!-- 說明面板(Day1 內容) -->
    <section class="panel" aria-label="專案說明">
      <h2>本日重點</h2>
      <p>1、建立全站統一的版面骨架與主題樣式(標題、工具列、展示區、相簿卡片)。</p>
      <p>2、後續各天會在此骨架上逐步加入功能,例如:上傳、壓縮、分類、搜尋、排序、幻燈片、LocalStorage、描述等。</p>
    </section>

    <!-- 相簿展示區(Day1 不顯示內容,保留結構) -->
    <section class="gallery" aria-label="相簿展示區(Day1 無內容)">
      <!-- 之後各天會在這裡插入 .photo-card 元件 -->
    </section>
  </main>

  <footer>
    © 2025 我的線上相簿 · Day 1
  </footer>

  <script>
    // Day 1 無功能,只建立統一骨架
    console.log("Day 1:統一排版骨架已載入。");
  </script>
</body>
</html>
 yuuuun
