今天是鐵人賽 Day5,目標是設計網站的資料結構,也就是建立 商品(Product)、會員(User)、購物車(Cart) 的 schema,並用 ERD 與 JSON 來描述關聯。這是後端資料管理的核心,對後續 API 開發非常重要。
1️⃣ 商品(Product)Schema
建立檔案 backend/models/Product.js:
const mongoose = require('mongoose');

const productSchema = new mongoose.Schema({
  name: { type: String, required: true },
  price: { type: Number, required: true },
  description: { type: String },
  category: { type: String },
  image: { type: String },
  stock: { type: Number, default: 0 }
});

module.exports = mongoose.model('Product', productSchema);
商品 schema 包含名稱、價格、描述、分類、圖片與庫存,之後可以用來建立商品 API。
2️⃣ 會員(User)Schema
建立檔案 backend/models/User.js:
const mongoose = require('mongoose');

const userSchema = new mongoose.Schema({
  username: { type: String, required: true },
  email: { type: String, required: true },
  password: { type: String, required: true },
  role: { type: String, default: "user" },
  createdAt: { type: Date, default: Date.now }
});

module.exports = mongoose.model('User', userSchema);
會員 schema 包含帳號、Email、密碼與權限,方便後續實作登入與管理功能。
3️⃣ 購物車(Cart)Schema
建立檔案 backend/models/Cart.js:
const mongoose = require('mongoose');

const cartSchema = new mongoose.Schema({
  userId: { type: mongoose.Schema.Types.ObjectId, ref: 'User', required: true },
  items: [
    {
      productId: { type: mongoose.Schema.Types.ObjectId, ref: 'Product', required: true },
      quantity: { type: Number, default: 1 }
    }
  ],
  createdAt: { type: Date, default: Date.now }
});

module.exports = mongoose.model('Cart', cartSchema);
購物車 schema 對應到會員,裡面包含商品清單與數量。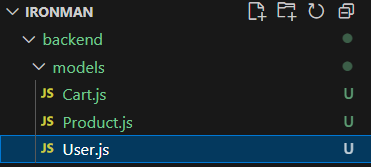
4️⃣ ERD 與 JSON 設計
ERD 簡圖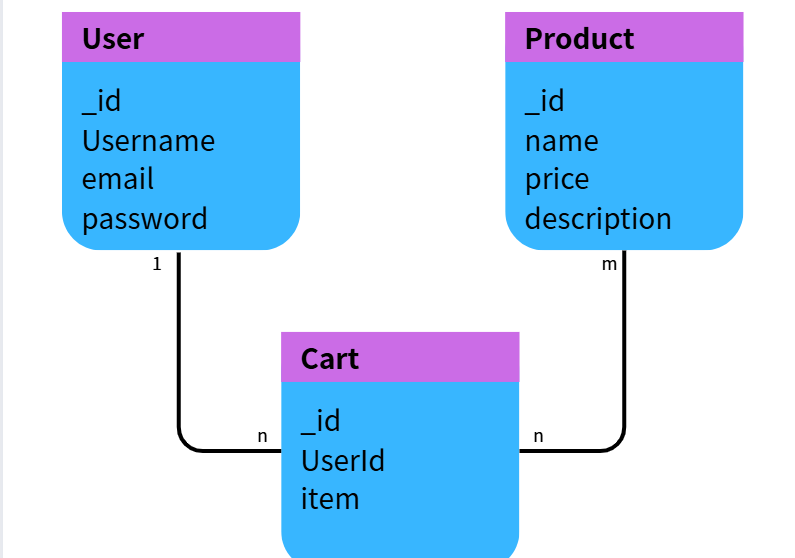
JSON 範例
User
{
  "_id": "64f1c0e2b2d1f1a1a0b0c0d0",
  "username": "testuser",
  "email": "test@example.com",
  "password": "hashed_password",
  "role": "user",
  "createdAt": "2025-09-18T10:00:00.000Z"
}
Product
{
  "_id": "64f1c1e2b2d1f1a1a0b0c0d1",
  "name": "桌遊測試品",
  "price": 599,
  "description": "策略博奕遊戲",
  "category": "桌遊",
  "image": "https://example.com/product.jpg",
  "stock": 10
}
Cart
{
  "_id": "64f1c2e2b2d1f1a1a0b0c0d2",
  "userId": "64f1c0e2b2d1f1a1a0b0c0d0",
  "items": [
    {
      "productId": "64f1c1e2b2d1f1a1a0b0c0d1",
      "quantity": 2
    }
  ],
  "createdAt": "2025-09-18T10:30:00.000Z"
}
🐛 遇到的問題
購物車 items 設計
一開始不知道該直接存商品資料,還是只存 productId。後來查 mongoose 官方文件,才知道用 Schema.Types.ObjectId + ref 才能正確建立關聯。
Schema 欄位取捨
在設計 User 與 Product 時,一開始想要把太多欄位都放進去(例如會員地址、電話、商品評價等等),但後來發現會讓初期的 API 太複雜。最後決定先保留最核心的欄位,等之後功能需要再擴充。
💡 Day5 收穫

