個人資料頁面差不多完成了,今天打算來完整「修改密碼」的功能。
account.html 帳號管理的頁面loggedInUser
這次在嘗試寫這個功能的時候,一直不確定有沒有正確的改到密碼,所以學會用了從 console ( 主控台 ) ,去看有沒有成功,其中要在程式碼寫入 console.log() ,執行後,在網頁按下F12 → 操作動作 → 可以看到 console 給予的回饋,看呈現的訊息是顯示成功或失敗。
    <!-- 修改密碼 -->
    <section>
    <h2>修改密碼</h2>
    <form id="changePasswordForm">
      <label>舊密碼:
        <input type="password" id="oldPassword" required />
      </label>
      <br>
      <label>新密碼:
        <input type="password" id="newPassword" required />
      </label>
      <br>
      <label>確認新密碼:
        <input type="password" id="confirmPassword" required />
      </label>
      <br>
      <button type="submit">修改密碼</button>
      <p id="changePasswordMessage"></p>
    </form>

    </section>
// ================== 修改密碼 ==================
const changePwdForm = document.getElementById("changePasswordForm");
if (changePwdForm) {
  changePwdForm.addEventListener("submit", function (e) {
    e.preventDefault();

    const loggedInUser = localStorage.getItem("loggedInUser");
    const messageEl = document.getElementById("changePasswordMessage");

    if (!loggedInUser) {
      messageEl.textContent = "尚未登入,請先登入。";
      messageEl.style.color = "red";
      setTimeout(() => { window.location.href = "login.html"; }, 1000);
      return;
    }

    const oldPwd = document.getElementById("oldPassword").value.trim();
    const newPwd = document.getElementById("newPassword").value.trim();
    const confirmPwd = document.getElementById("confirmPassword").value.trim();

    if (!oldPwd || !newPwd || !confirmPwd) {
      messageEl.textContent = "請填寫所有欄位。";
      messageEl.style.color = "red";
      return;
    }
    if (newPwd !== confirmPwd) {
      messageEl.textContent = "兩次新密碼輸入不一致。";
      messageEl.style.color = "red";
      return;
    }
    if (oldPwd === newPwd) {
      messageEl.textContent = "新密碼不能與舊密碼相同。";
      messageEl.style.color = "red";
      return;
    }

    let users = JSON.parse(localStorage.getItem("users")) || {};
    if (!users[loggedInUser]) {
      messageEl.textContent = "找不到使用者帳號。";
      messageEl.style.color = "red";
      return;
    }

    const currentPassword = users[loggedInUser].password;

    console.log("loggedInUser:", loggedInUser);
    console.log("users:", users);
    console.log("輸入的舊密碼:", oldPwd);
    console.log("目前的密碼:", currentPassword);

    if (currentPassword !== oldPwd) {
      messageEl.textContent = "舊密碼錯誤。";
      messageEl.style.color = "red";
      return;
    }
    // 更新密碼
    users[loggedInUser].password = newPwd;
    localStorage.setItem("users", JSON.stringify(users));

    messageEl.textContent = "密碼修改成功,請重新登入。";
    messageEl.style.color = "green";

    setTimeout(() => {
      localStorage.removeItem("loggedInUser");
      window.location.href = "login.html";
    }, 1200);
  });
修改成功:原密碼 11,更新後密碼 22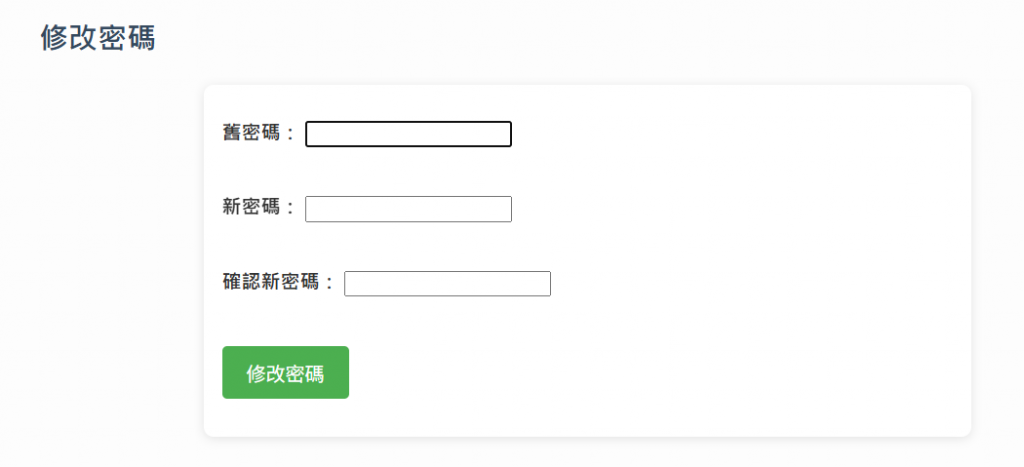
會顯示更新成功,轉跳至登入頁面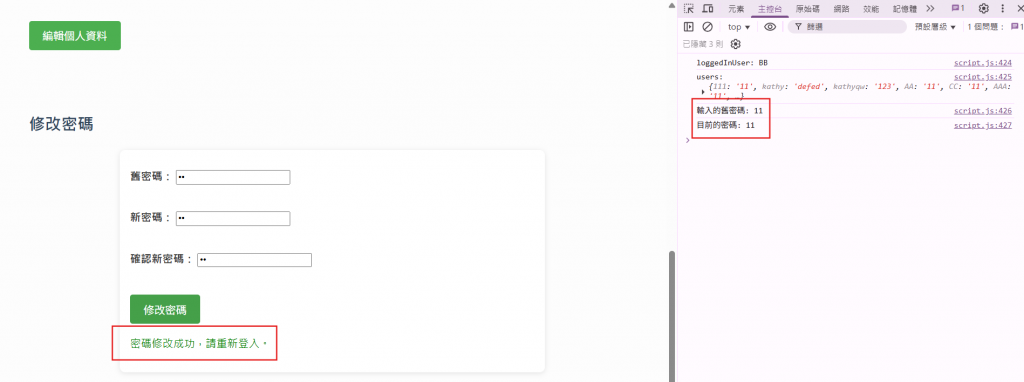
修改失敗: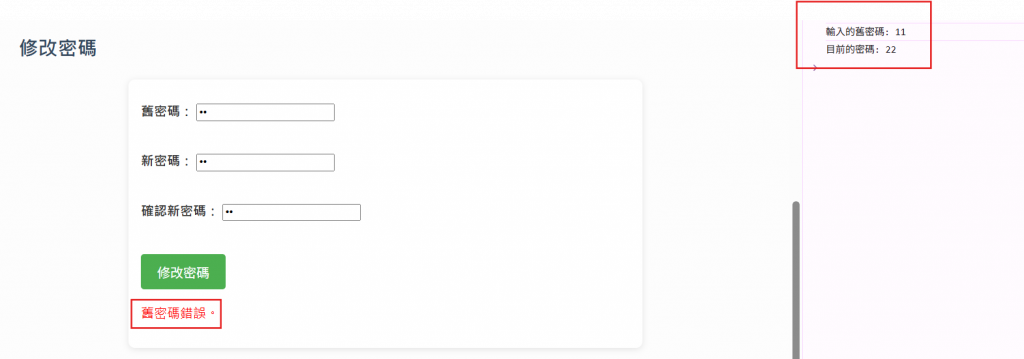
新舊密碼輸入相同: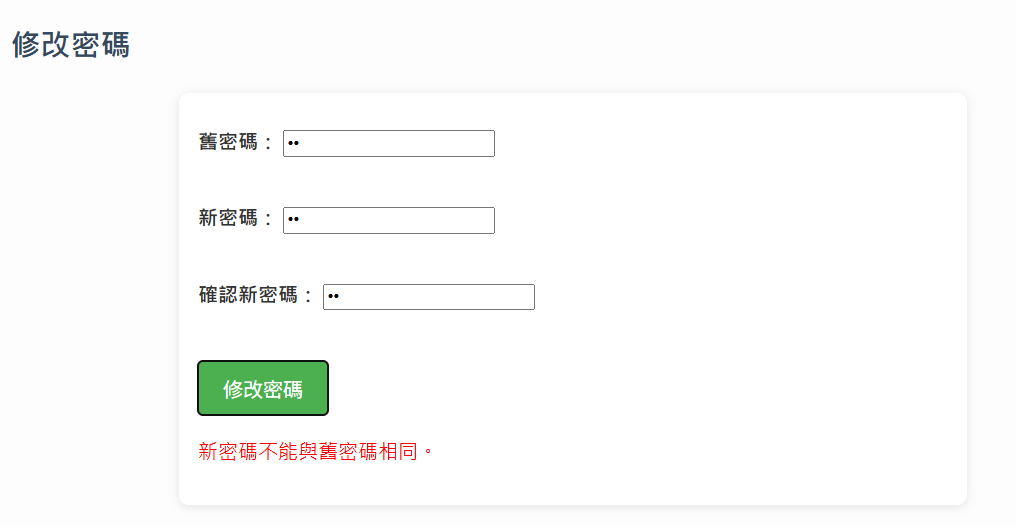


 iThome鐵人賽