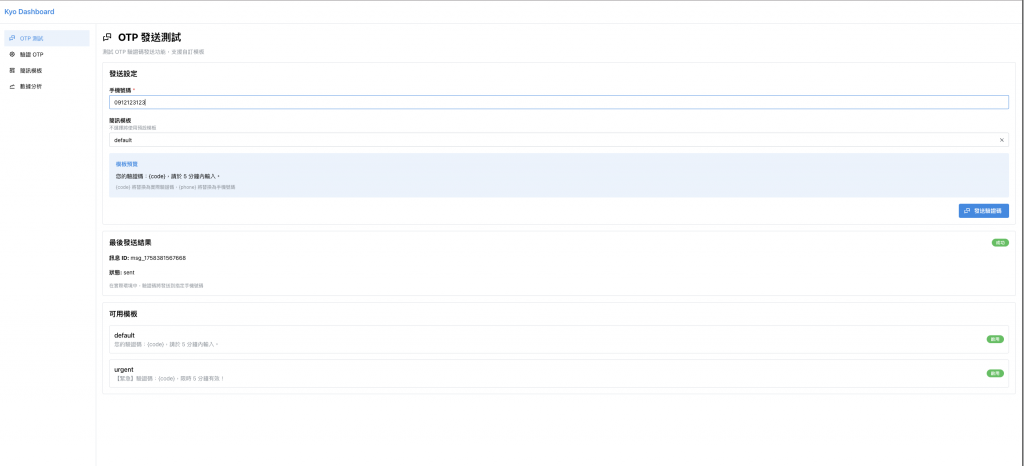
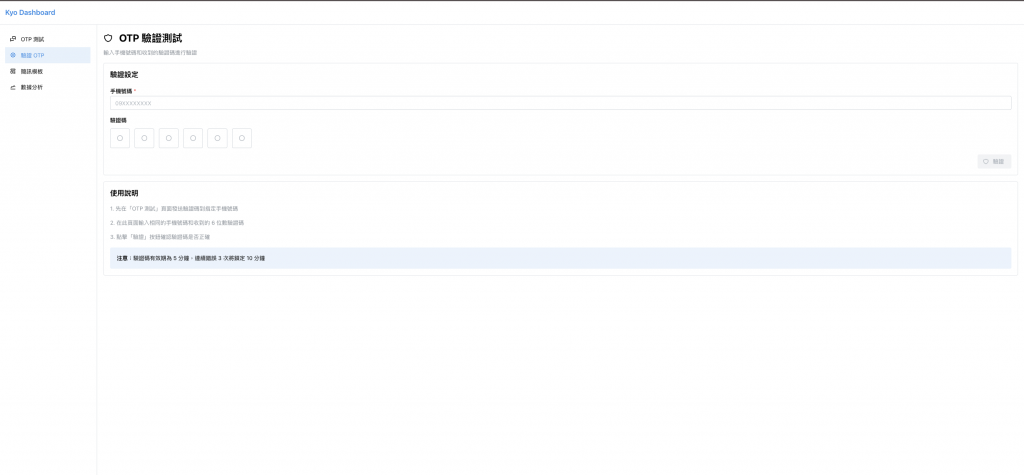
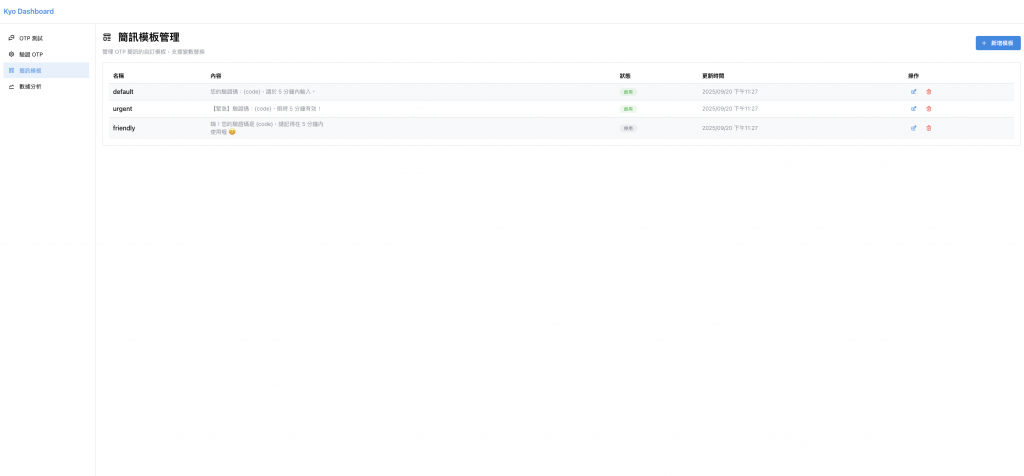
昨天我們完成了 Mantine UI 的完整整合,建立了管理介面。今天我們要解決兩個關鍵問題:
從接案經驗來看,型別安全和快速部署是現代全端開發的核心競爭力(可以節省很多時間。


在傳統的前後端分離架構中,我們常遇到:
常見的 API 整合問題:
ORPC 的解決方案:
// 傳統 REST API 呼叫
const response = await fetch('/api/otp/send', {
  method: 'POST',
  headers: { 'Content-Type': 'application/json' },
  body: JSON.stringify({ phone: '0912345678' }) // 沒有型別檢查
});
const data = await response.json(); // 型別是 any

// ORPC 呼叫
const result = await orpc.otp.send({
  phone: '0912345678' // 完整型別檢查
}); // result 型別自動推導
1. 更新共享型別定義
// packages/@kyong/kyo-types/src/otp.ts
import { z } from 'zod';

export const SendOtpRequest = z.object({
  phone: z.string().regex(/^09\d{8}$/, '請輸入有效的台灣手機號碼'),
  templateId: z.number().optional()
});

export const SendOtpResponse = z.object({
  msgId: z.string(),
  status: z.string(),
  success: z.boolean()
});

export const VerifyOtpRequest = z.object({
  phone: z.string().regex(/^09\d{8}$/),
  otp: z.string().length(6, '驗證碼必須是 6 位數字')
});

export const VerifyOtpResponse = z.object({
  success: z.boolean(),
  attemptsLeft: z.number().optional(),
  error: z.string().optional()
});

export type SendOtpRequest = z.infer<typeof SendOtpRequest>;
export type SendOtpResponse = z.infer<typeof SendOtpResponse>;
export type VerifyOtpRequest = z.infer<typeof VerifyOtpRequest>;
export type VerifyOtpResponse = z.infer<typeof VerifyOtpResponse>;
2. 建立 ORPC 路由定義
// packages/@kyong/kyo-core/src/orpc.ts
import { createORPCRouter } from '@orpc/server';
import { SendOtpRequest, SendOtpResponse, VerifyOtpRequest, VerifyOtpResponse } from '@kyong/kyo-types';
import { sendOtp, verifyOtp } from './otp';

export const otpRouter = createORPCRouter({
  send: async (input: SendOtpRequest): Promise<SendOtpResponse> => {
    try {
      const result = await sendOtp(input.phone, input.templateId);
      return {
        msgId: result.msgId,
        status: result.status,
        success: true
      };
    } catch (error) {
      throw new Error(`發送失敗: ${error.message}`);
    }
  },

  verify: async (input: VerifyOtpRequest): Promise<VerifyOtpResponse> => {
    try {
      const result = await verifyOtp(input.phone, input.otp);
      return {
        success: result.success,
        attemptsLeft: result.attemptsLeft
      };
    } catch (error) {
      return {
        success: false,
        error: error.message
      };
    }
  }
});

export const orpcRouter = createORPCRouter({
  otp: otpRouter
});

export type ORPCRouter = typeof orpcRouter;
3. 前端 ORPC 客戶端
// apps/kyo-dashboard/src/lib/orpc-client.ts
import { createORPCClient } from '@orpc/client';
import type { ORPCRouter } from '@kyong/kyo-core';

const API_BASE_URL = import.meta.env.VITE_API_BASE_URL || '';

export const orpc = createORPCClient<ORPCRouter>({
  baseURL: `${API_BASE_URL}/orpc`,
  fetch: window.fetch.bind(window)
});
4. 更新前端 API 呼叫
// apps/kyo-dashboard/src/lib/api.ts
import { orpc } from './orpc-client';

// 傳統的 fetch 呼叫(向下兼容)
export async function sendOtp(baseUrl: string, body: { phone: string; templateId?: number }) {
  if (baseUrl) {
    // 使用傳統 REST API
    const res = await fetch(`${baseUrl}/api/otp/send`, {
      method: 'POST',
      headers: { 'Content-Type': 'application/json' },
      body: JSON.stringify(body)
    });
    return handle<{ msgId: string; status: string }>(res);
  } else {
    // 使用 ORPC
    return await orpc.otp.send(body);
  }
}

export async function verifyOtp(baseUrl: string, body: { phone: string; otp: string }) {
  if (baseUrl) {
    // 使用傳統 REST API
    const res = await fetch(`${baseUrl}/api/otp/verify`, {
      method: 'POST',
      headers: { 'Content-Type': 'application/json' },
      body: JSON.stringify(body)
    });
    return handle<{ success: boolean; attemptsLeft?: number }>(res);
  } else {
    // 使用 ORPC
    return await orpc.otp.verify(body);
  }
}
型別安全:
// 自動型別檢查和補全
const result = await orpc.otp.send({
  phone: '0912345678', // ✅ 正確格式
  templateId: 1
});

// TypeScript 會提示錯誤
const result = await orpc.otp.send({
  phone: '123', // ❌ 不符合正規表達式
  templateId: 'invalid' // ❌ 型別錯誤
});
錯誤處理:
try {
  const result = await orpc.otp.send({ phone: '0912345678' });
  console.log(result.msgId); // 型別安全的屬性存取
} catch (error) {
  // 統一的錯誤處理
  console.error('ORPC Error:', error.message);
}
前端部署平台比較:
| 平台 | 部署速度 | CDN | 免費額度 | Git 整合 | Monorepo 支援 |
|---|---|---|---|---|---|
| Vercel | 極快 | 全球 | 慷慨 | 優秀 | 優秀 ✅ |
| Netlify | 快 | 全球 | 好 | 優秀 | 好 |
| AWS Amplify | 中等 | 全球 | 有限 | 好 | 複雜 |
1. 專案結構準備
我們的 Monorepo 結構:
kyong-saas/
├── apps/
│   ├── kyo-dashboard/     # 前端專案 (要部署的)
│   └── kyo-otp-service/   # 後端專案
├── packages/
│   ├── @kyong/kyo-core/
│   ├── @kyong/kyo-types/
│   └── @kyong/kyo-ui/
└── pnpm-workspace.yaml
2. 建立 Vercel 配置
在 apps/kyo-dashboard/vercel.json:
{
  "framework": "vite",
  "buildCommand": "cd ../.. && pnpm run build --filter=kyo-dashboard",
  "outputDirectory": "dist",
  "installCommand": "cd ../.. && pnpm install",
  "devCommand": "pnpm run dev",
  "rewrites": [
    {
      "source": "/(.*)",
      "destination": "/index.html"
    }
  ]
}
3. 環境變數設定
// apps/kyo-dashboard/src/lib/config.ts
export const CONFIG = {
  API_BASE_URL: import.meta.env.VITE_API_BASE_URL || '',
  IS_PRODUCTION: import.meta.env.PROD,
  IS_DEVELOPMENT: import.meta.env.DEV
} as const;
4. 部署腳本優化
// apps/kyo-dashboard/package.json
{
  "scripts": {
    "build": "vite build",
    "build:vercel": "pnpm run build",
    "preview": "vite preview",
    "typecheck": "tsc --noEmit"
  }
}
前往 vercel.com 並登入
匯入 GitHub Repository
配置專案:
apps/kyo-dashboard
pnpm run build:vercel
dist
設定環境變數:
VITE_API_BASE_URL=https://your-api.vercel.app
1. 效能監控
// apps/kyo-dashboard/src/main.tsx
import { Analytics } from '@vercel/analytics/react';

root.render(
  <React.StrictMode>
    <MantineProvider theme={theme}>
      <ModalsProvider>
        <Notifications position="top-right" />
        <App />
        <Analytics />
      </ModalsProvider>
    </MantineProvider>
  </React.StrictMode>
);
2. SEO 與 Meta 標籤
<!-- apps/kyo-dashboard/index.html -->
<!doctype html>
<html lang="zh-Hant">
  <head>
    <meta charset="UTF-8" />
    <meta name="viewport" content="width=device-width, initial-scale=1.0" />
    <meta name="description" content="Kyo OTP - 專業的簡訊驗證碼管理平台" />
    <meta name="keywords" content="OTP,簡訊驗證,SMS,驗證碼" />
    <title>Kyo Dashboard - OTP 管理系統</title>
  </head>
  <body>
    <div id="root"></div>
    <script type="module" src="/src/main.tsx"></script>
  </body>
</html>
3. 錯誤監控與日誌
// apps/kyo-dashboard/src/lib/logger.ts
export const logger = {
  error: (message: string, error?: Error) => {
    if (import.meta.env.PROD) {
      // 生產環境發送到監控服務
      console.error(`[ERROR] ${message}`, error);
    } else {
      console.error(message, error);
    }
  },
  info: (message: string, data?: any) => {
    if (!import.meta.env.PROD) {
      console.log(`[INFO] ${message}`, data);
    }
  }
};
# .github/workflows/deploy.yml
name: Deploy to Vercel

on:
  push:
    branches: [main]
    paths: ['apps/kyo-dashboard/**']

jobs:
  deploy:
    runs-on: ubuntu-latest
    steps:
      - uses: actions/checkout@v3
      - uses: pnpm/action-setup@v2
        with:
          version: 8
      - uses: actions/setup-node@v3
        with:
          node-version: 18
          cache: 'pnpm'

      - run: pnpm install
      - run: pnpm run build --filter=kyo-dashboard
      - run: pnpm run typecheck --filter=kyo-dashboard
main        → 生產環境 (your-app.vercel.app)
develop     → 預覽環境 (your-app-git-develop.vercel.app)
feature/*   → 功能預覽 (your-app-git-feature-name.vercel.app)
1. 本地開發
# 啟動完整開發環境
pnpm run dev          # 前端開發伺服器
pnpm run dev:api      # 後端開發伺服器 (另一個終端)
2. 功能開發
git checkout -b feature/new-template-editor
# 開發新功能...
git commit -m "feat: 新增模板編輯器"
git push origin feature/new-template-editor
# 自動觸發 Vercel Preview 部署
3. 合併到主分支
git checkout main
git merge feature/new-template-editor
git push origin main
# 自動部署到生產環境
明天我們將進行後端開發,實作真實的 OTP 發送邏輯,並整合 ORPC 路由到 Fastify 伺服器在由UI這邊整合測試。
