由於 Vue 是單頁應用程式(SPA),當頁面發生跳轉時,仍然是使用相同的HTML檔案(index.html),不同於傳統多頁應用(MPA),每個網址對應一個實際檔案,需要向後端的伺服器發送請求,因此 Vue 需要透過 Vue Router 前端路由技術來處理頁面的切換。
Vue Router 可以讓使用者在網頁上切換不同頁面時,頁面不需要從伺服器重新載入,便會更新 URL 路徑並呈現對應的元件內容。
1.打開終端機,切換到想建立專案的資料夾(例如桌面),輸入 npm init vue@latest,表示建立一個新的Vue專案,之後自訂專案名稱並選擇要包含 Router 的功能,最後桌面就會出現新建的檔案夾。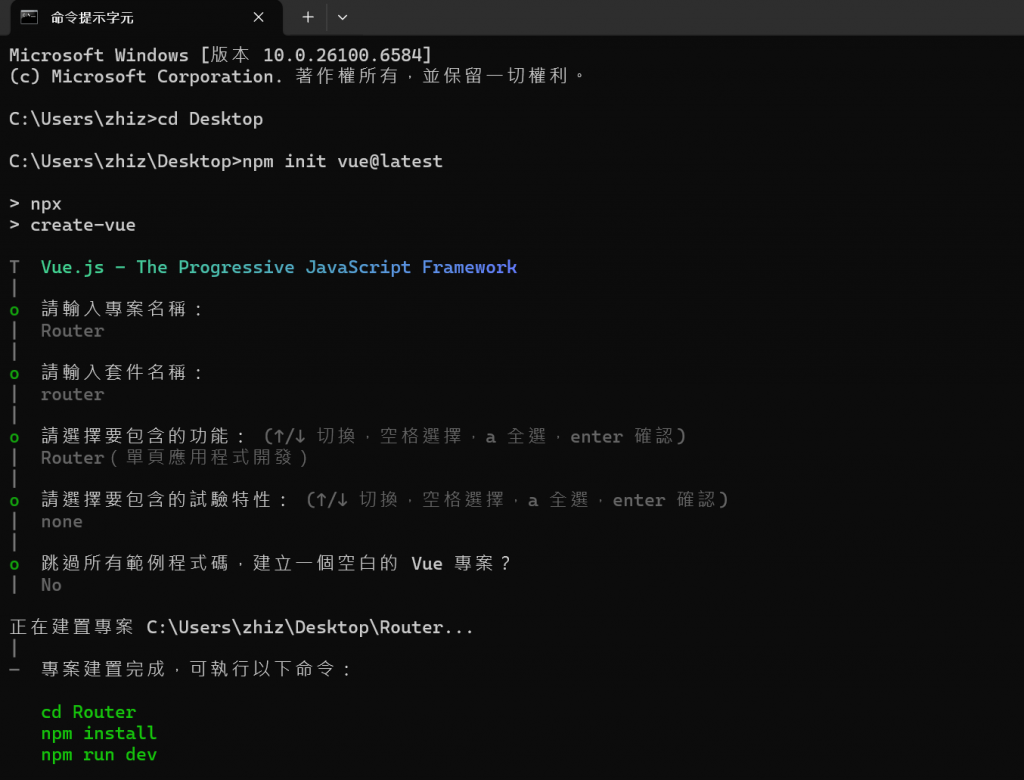
2.依序輸入上圖的綠色字指令(cd自訂的專案名稱、npm install、npm run dev),之後就會跳出以下畫面。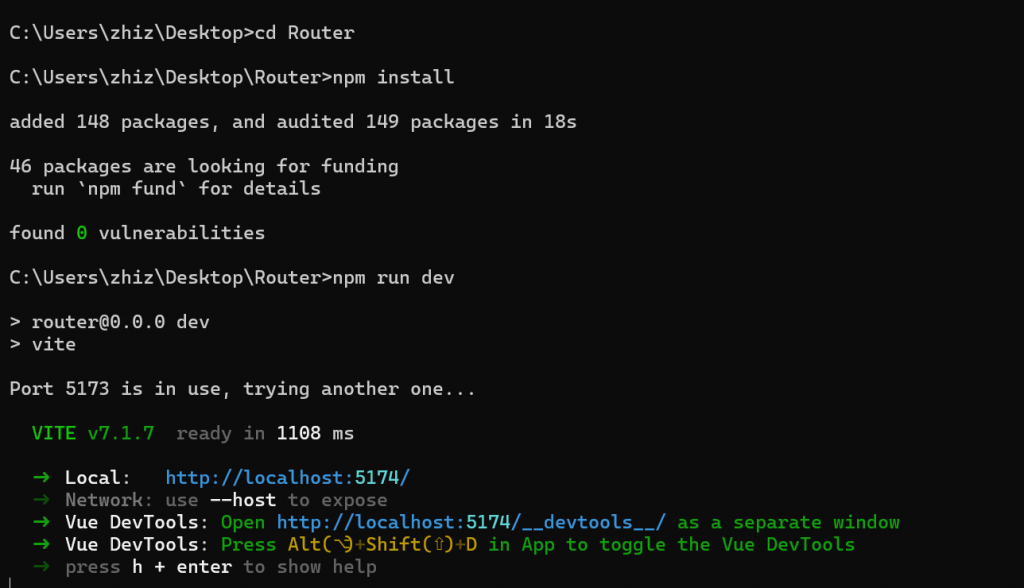
3.按下ctrl鍵點選上圖中的Local網址,就會出現成功創建的畫面。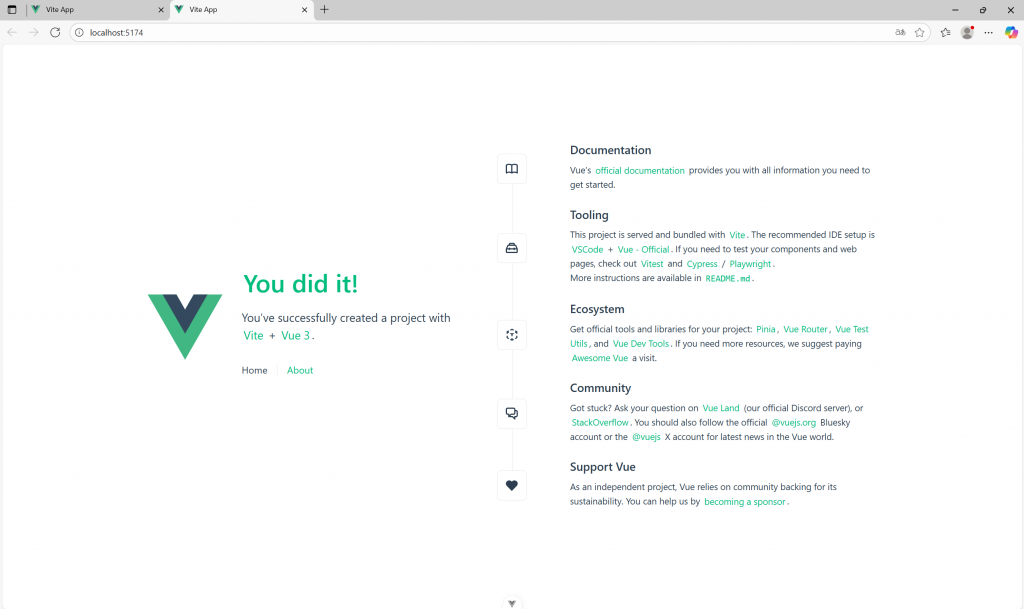
1.在 VS Code 開啟剛才新建的檔案夾,並在 src 下的 views 資料夾中的 HomeView.vue 和 AboutView.vue 檔案內寫入想要呈現在畫面上的內容。
在 HomeView.vue 檔案中:
<template>
  <div>
    <h1>Home View</h1>
  </div>
</template>
在 AboutView.vue 檔案中:
<template>
  <div>
    <h1>About View</h1>
  </div>
</template>
2.在 src 下的 router 資料夾中的 index.js 檔案內寫入 router 規則。
//Define our routing rules
import { createRouter, createWebHistory } from "vue-router"
import HomeView from "../views/HomeView.vue"
import AboutView from "../views/AboutView.vue"

const router = createRouter({
    history: createWebHistory(import.meta.env.BASE_URL),
    routes: [
        {
            path: "/",
            name: "home",
            component: HomeView
        },
        {
            path:"/about",
            name: "about",
            component: AboutView
        }
    ]
})

export default router //匯出router
3.在 App.vue 的檔案寫入 <RouterLink>建立頁面之間的導航連結,可以取代傳統的 <a> 標籤,並使用<RouterView>指定路由元件要被渲染的位置。
<script setup>
  import {RouterView, RouterLink} from "vue-router"
</script>

<template>
  <div>
    <RouterLink active-class="active" to="/">Home</RouterLink>
    <RouterLink active-class="active" to="/about">About</RouterLink>
    <RouterView />
  </div>
</template>

<style scoped>
    .active{
        font-weight: 900;
        color: rgb(79, 134, 117)
    }
</style>
畫面呈現結果:
點擊 Home 會呈現出 Home View 的文字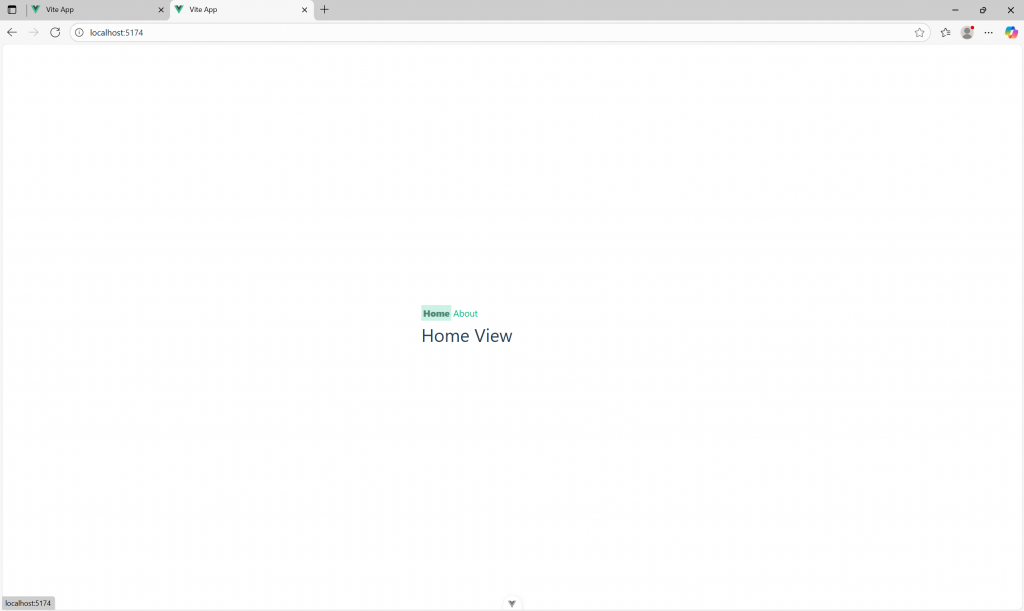
點擊 About 會呈現出 About View 的文字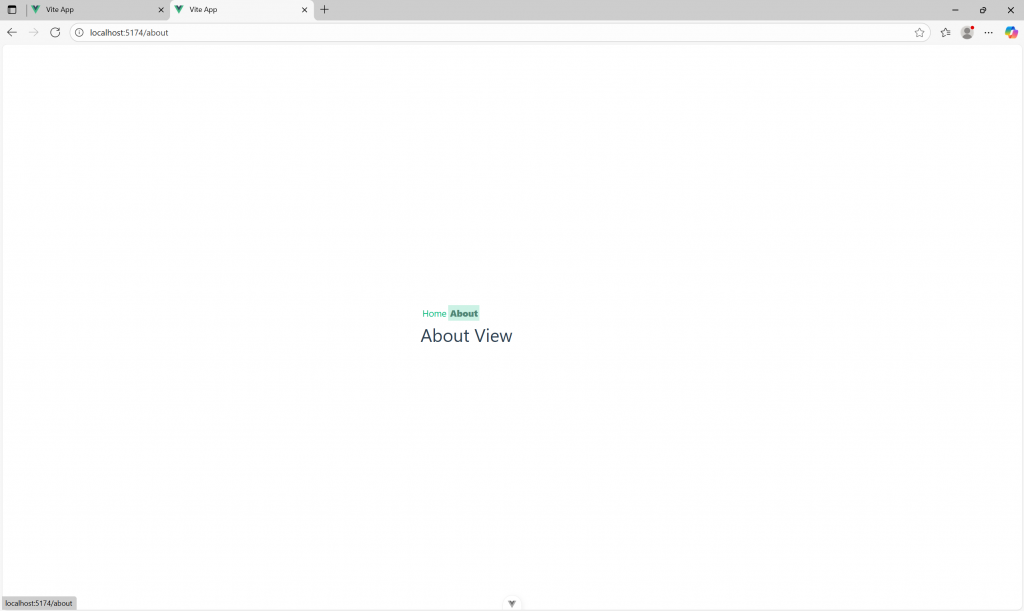
https://book.vue.tw/CH4/4-1-vue-router-intro.html
https://zh-hk.vuejs.org/guide/scaling-up/routing.html
https://router.vuejs.org/zh/introduction.html
https://www.youtube.com/watch?v=I_xLMmNeLDY


 iThome鐵人賽