前幾天我完成了專輯展示區,今天我想在新增一個區塊:MV 展示區。
這個區塊跟專輯區很像,也是用左右箭頭滑動,但不同的是,點擊之後會直接跳到 YouTube 的 MV,並且顯示出 YouTube 的影片縮圖。
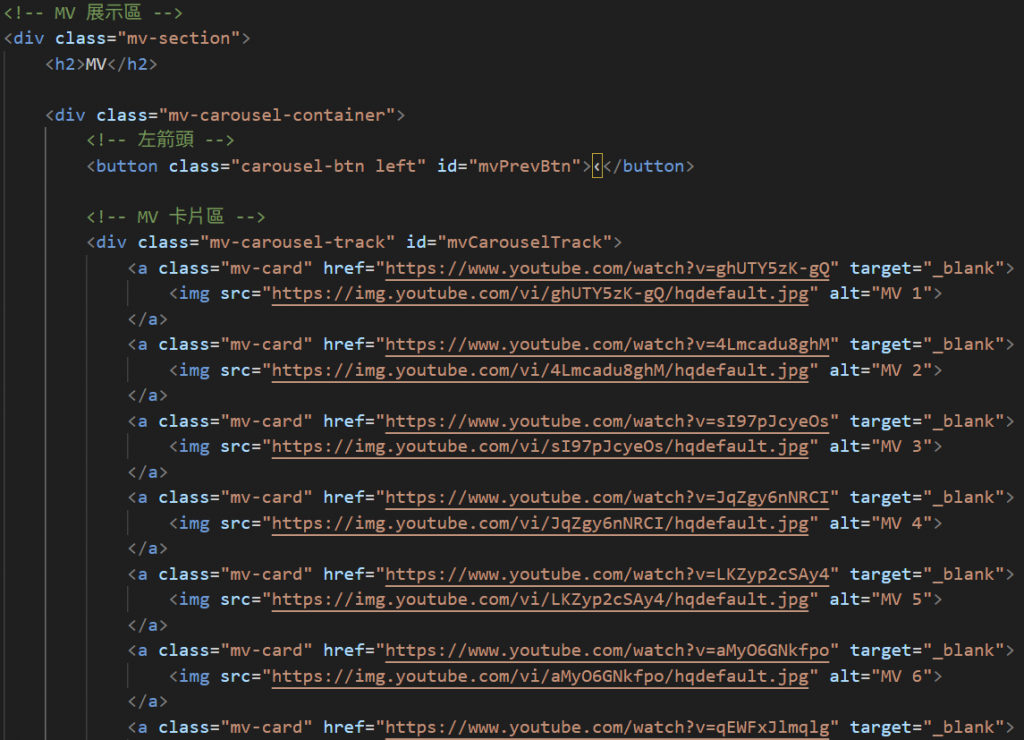
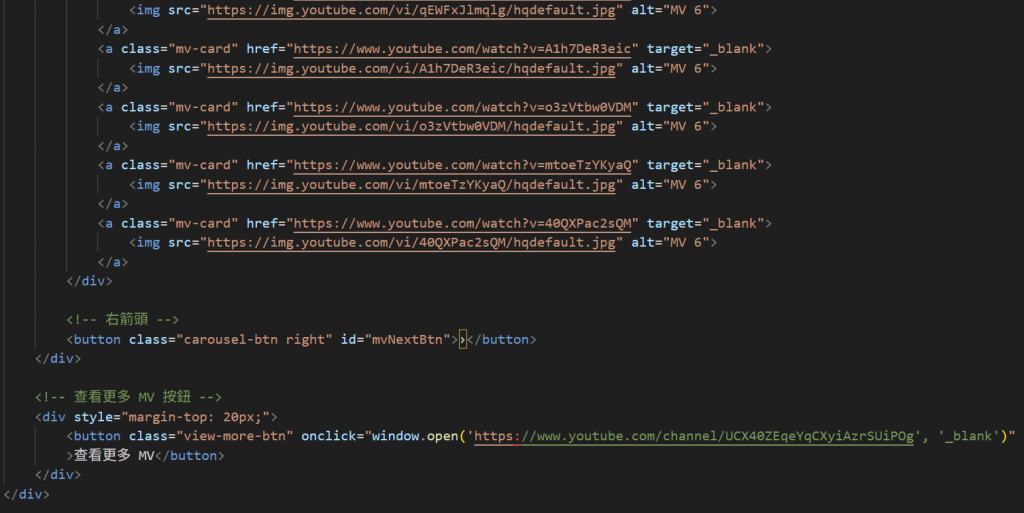
在這裡,使用到 YouTube 的縮圖 API,例如:
https://img.youtube.com/vi/影片ID/hqdefault.jpg
這樣就能直接抓到影片的預覽圖,點擊時則跳轉到對應的影片。
/* MV 展示區 */
.mv-section {
    text-align: center;
    padding: 40px 20px;
    background: linear-gradient(135deg, #1f1f1f 0%, #0d0d1a 100%); /* 深色漸層背景 */
    color: white;
}


.mv-section h2 {
    font-size: 2.5em;
    margin-bottom: 30px;
    text-shadow: 2px 2px 4px rgba(0,0,0,0.3); /* 加文字陰影,讓字更清楚 */
}


/* 輪播容器:放整個 MV 滑動區 */
.mv-carousel-container {
    position: relative;
    width: 100%;
    max-width: 1200px;
    margin: 0 auto;
    overflow: hidden; /* 超出範圍的 MV 隱藏起來 */
}


/* 輪播軌道:所有 MV 卡片會放在這裡橫向排列 */
.mv-carousel-track {
    display: flex;
    gap: 20px;  /* 卡片之間的間距 20px */
    transition: transform 0.5s ease-out; /* 輪播移動時有滑動動畫 */
}


/* MV 卡片:每個影片縮圖的外框 */
.mv-card {
    flex: 0 0 auto;
    width: 220px;
    background: #222;
    border-radius: 12px; /* 圓角 12px */
    overflow: hidden;
    color: white;
    text-decoration: none;
    transition: transform 0.3s ease, box-shadow 0.3s ease;
}


.mv-card img {
    width: 100%;
    height: 140px;
    object-fit: cover;  /* 圖片自動裁切,保持比例不變形 */
}


/* 滑動效果 */
.mv-card:hover {
    transform: scale(1.05);
    box-shadow: 0 10px 25px rgba(0,0,0,0.3);  /* 加陰影,看起來有浮起來的效果 */
}


/* 箭頭 */
.carousel-btn {
    position: absolute; /* 絕對定位 */
    top: 50%;
    transform: translateY(-50%);
    background: rgba(255, 255, 255, 0.95);
    border: none;
    border-radius: 50%;
    font-size: 24px;
    cursor: pointer;  /* 滑鼠變成手指 */
    width: 50px;
    height: 50px;
    box-shadow: 0 4px 15px rgba(0,0,0,0.2);
    z-index: 100;  /* 確保箭頭在最上層 */
    display: flex;
    align-items: center;
    justify-content: center;
    color: #333;
    font-weight: bold;
}
/*箭頭位置:左邊 */
.carousel-btn.left { left: 10px; }
/*箭頭位置:右邊 */
.carousel-btn.right { right: 10px; }


/*滑鼠滑過箭頭的效果 */
.carousel-btn:hover {
    transform: translateY(-50%) scale(1.1);  /* 放大一點點 */
    box-shadow: 0 6px 20px rgba(0,0,0,0.3);  /* 陰影加深 */


}


/* 當箭頭被禁用 (已滑到底) */
.carousel-btn:disabled {
    opacity: 0.5;    /* 透明度降低 */
    cursor: pointer; /* 手指符號 */
}


/* 響應式設計 */
@media (max-width: 768px) {
    .mv-card { width: 180px; }
}


@media (max-width: 480px) {
    .mv-card { width: 150px; }
}


/* 查看更多 MV 按鈕 */
.view-more-btn {
    padding: 12px 28px;
    font-size: 16px;
    font-weight: bold;
    color: #fff;
    background: linear-gradient(135deg, #3a3a52, #1f1f2e);
    border: none;
    border-radius: 30px; /* 圓角 */
    cursor: pointer;
    box-shadow: 0 4px 15px rgba(0,0,0,0.3);
    transition: all 0.3s ease;
}


.view-more-btn:hover {
    background: linear-gradient(135deg, #5a5a7a, #2d2d44);
    transform: translateY(-3px);
    box-shadow: 0 6px 20px rgba(0,0,0,0.5);
}


.view-more-btn:active {
    transform: translateY(0);
    box-shadow: 0 2px 10px rgba(0,0,0,0.3);
}
 // MV 展示區
const mvTrack = document.getElementById('mvCarouselTrack');
const mvPrevBtn = document.getElementById('mvPrevBtn');
const mvNextBtn = document.getElementById('mvNextBtn');
const mvCards = document.querySelectorAll('.mv-card');


let mvIndex = 0;


// 計算每張 MV 卡片寬度(含 margin)
function getMVCardWidth() {
    const cardRect = mvCards[0].getBoundingClientRect();
    return cardRect.width + 20; // gap=20px
}


// 更新輪播位置
function updateMVCarousel() {
    const cardWidth = getMVCardWidth();
    mvTrack.style.transform = `translateX(-${mvIndex * cardWidth}px)`;


    // 按鈕狀態:如果在第一張,就禁用左鍵;在最後一張,就禁用右鍵
    mvPrevBtn.disabled = mvIndex === 0;
    mvNextBtn.disabled = mvIndex === mvCards.length - 1;
}


// 點擊右箭頭 → 下一張
mvNextBtn.addEventListener('click', () => {
    if (mvIndex < mvCards.length - 1) {
        mvIndex++;
        updateMVCarousel();
    }
});


// 點擊左箭頭 → 上一張
mvPrevBtn.addEventListener('click', () => {
    if (mvIndex > 0) {
        mvIndex--;
        updateMVCarousel();
    }
});


// 初始化
updateMVCarousel();
JS 的重點是:
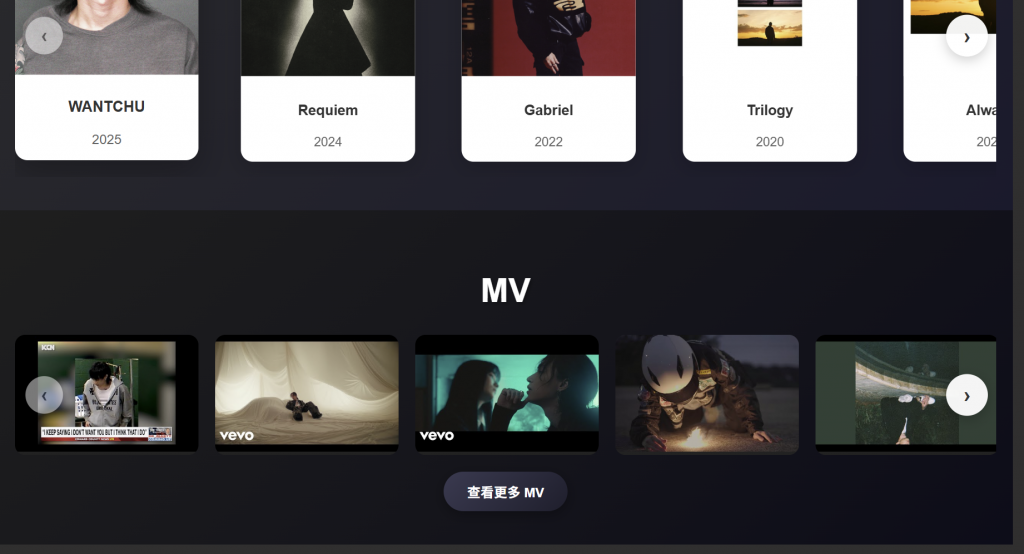
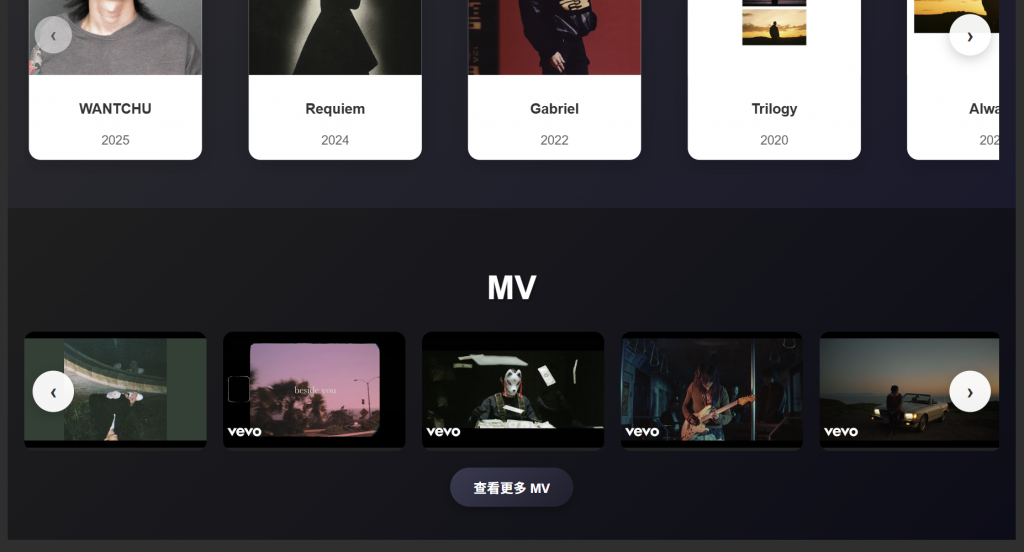
其實 MV 區塊的概念跟專輯輪播很像,但我這次學到一個小技巧:直接用 YouTube 的縮圖 API 抓封面圖,這樣就不用自己另外找圖片了。
而且這樣點擊卡片就能馬上開啟 YouTube 的影片,既方便又直覺。
做完之後我發現,RWD 響應式設計在這裡也很重要,因為不同螢幕下 MV 卡片的大小需要調整,才不會跑版。