雖然還沒到最後一天,但今天打算嘗試將 vue 部署到 github pages 上 (絕對不是在逃避串接資料庫資料ww
原本以為 Github Pages 只能部署純 HTML、CSS、JS,在打算找另一種部署方式的時候,突然查到 Vue 也可以通過打包的方式部署上去,那底下就從建立 github repo 開始吧
Step1: 切換到 repositories 並點擊 New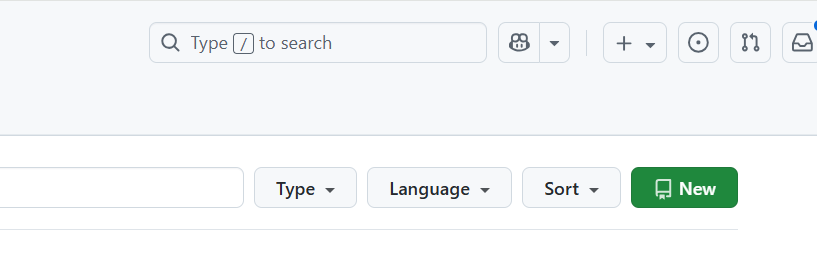
Step2: 將資訊填完
將 repo name、configuration 等等欄位填完,需要特別注意的是,這裡的 repo name 要和打包時 base 中所設定的 repo name 相同喔
Step3: 按下 Create repository
這步驟沒什麼特別的,綠色那個按鍵按下去就對了
在執行指令打包之前需要先到 vite.config.js 中加入 base URL,如下:
export default defineConfig({
  base: '/[repo name]/',
  plugins: [vue()],
})
完成後執行 npm run build指令打包,成功會出現像這樣的指令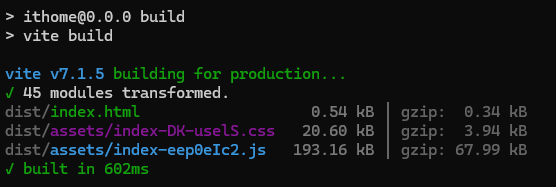
Step1: 切換到 dist
前面打包完後會建立 dist 資料夾,接著這步驟要切換到 dist 這個目錄
cd dist
Step2: 執行一連串 git 指令
接著要執行一連串的 git 指令,把專案推到 github 上,如果要用介面拖上去也可以唷,把 dist 的內容拖上去就可以了
git init
git add .
git commit -m "[commit 訊息]"
git branch -M gh-pages
git push -u [Github URL] gh-pages
執行成功後會出現類似以下內容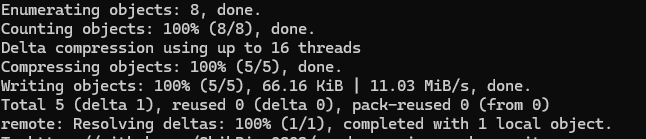
最後最後,我們轉到 github 介面上,點選 Settings 找到 Pages,點進去後找到這個地方,把 branch 改成 gh-pages ,之後 save 就可以囉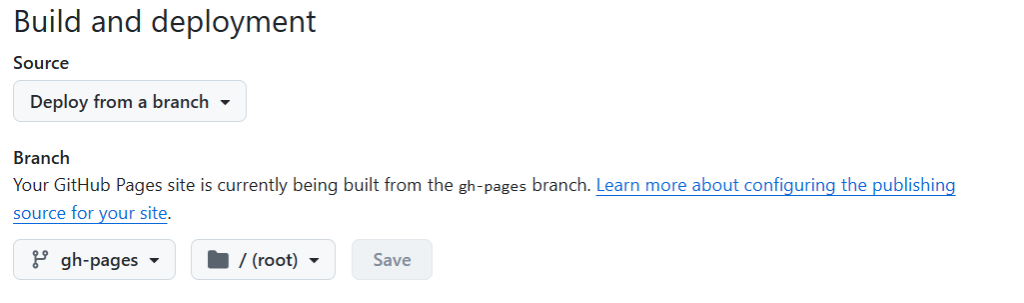
就可以等它把網址生出來了

