早期主要以Eclipse 作為開發Java程式的工具,並提供可以下載外掛(Plugin)的擴充功能,且每一季有規律的發布新版本,是目前還是很適合開發Java程式的工具。後來開發Web系統時,依專業將前後端框架分離開發,而前端開發多選擇VScode作為其程式編輯器,並加載(extension)擴充各種功能,所以VSCODE現在受歡迎作為Java系統開發工具之一。
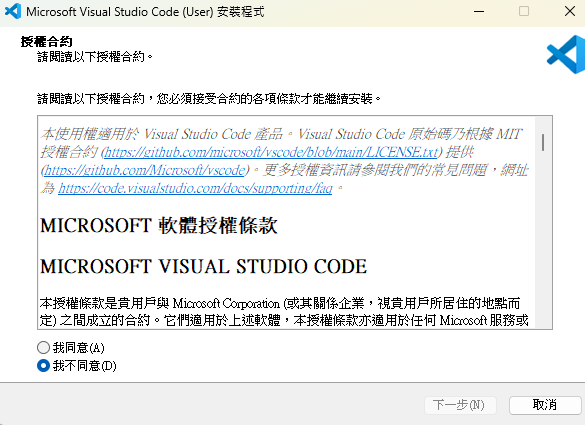
選擇下載版本(建議 User Installer本版),並一預設值執行安裝: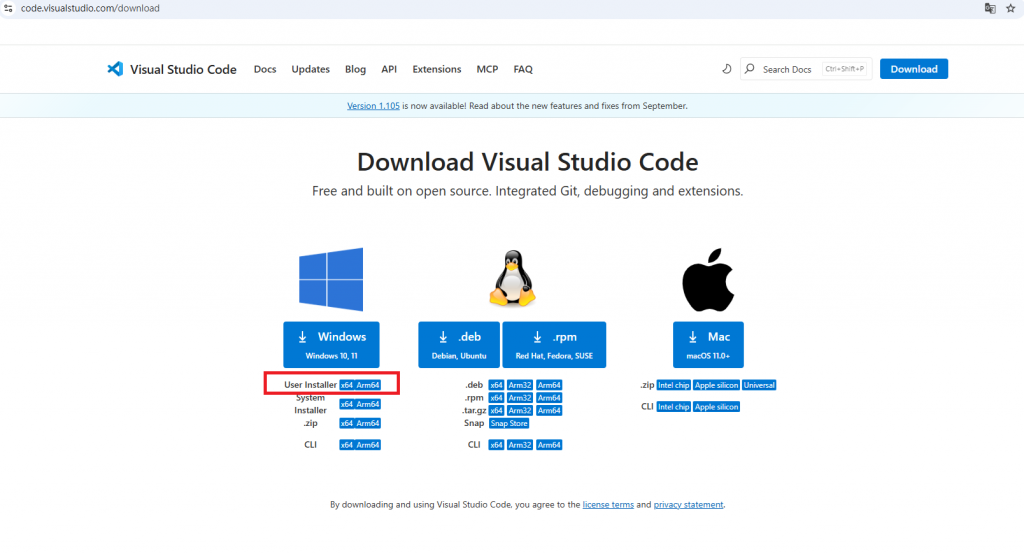
Vscode 提供眾多的擴充功能加載(extension),這裡是開發Spring Boot 必須以及個人習慣的一些套件提供參考。
(1) 安裝 Java開發套件(其相依的Extension會一起安裝,是Java專案必須套件)
下載URL: https://marketplace.visualstudio.com/items?itemName=vscjava.vscode-java-pack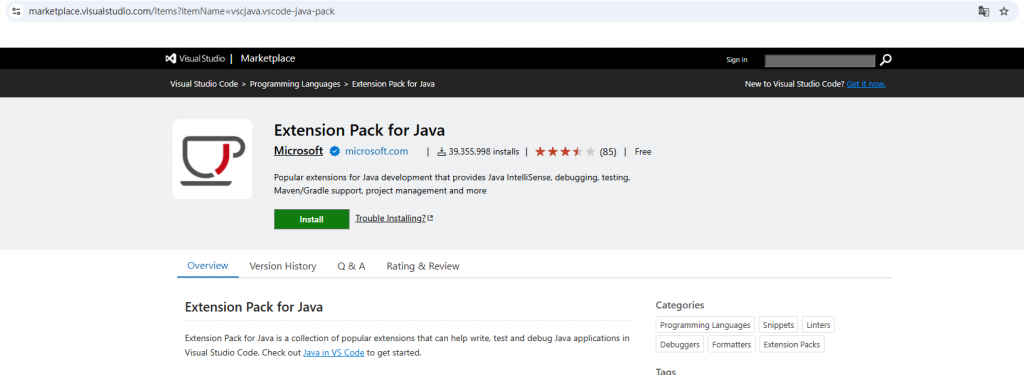
系統提示是否開啟 VSscode ,點選 "開啟 Visual Studio Code"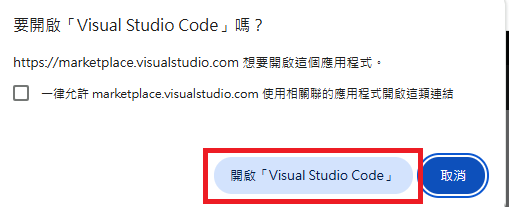
Vscode被開啟,並顯示選擇套件相關內容與訊息,點選 "Install" 安裝。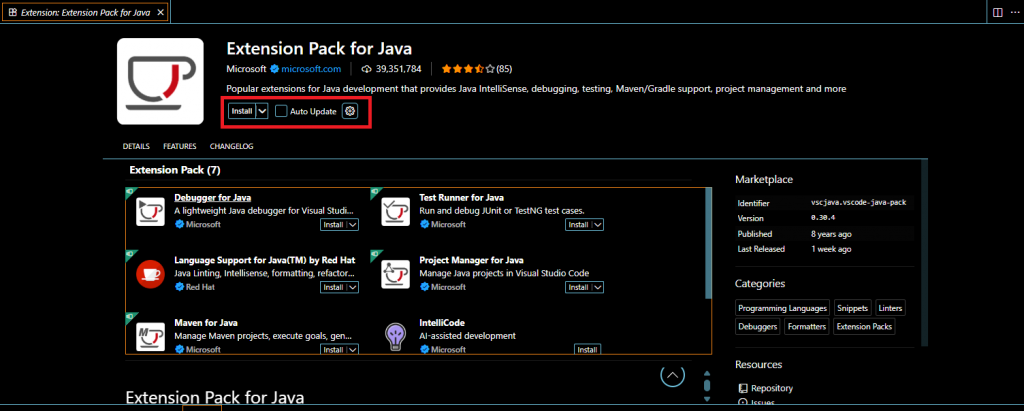
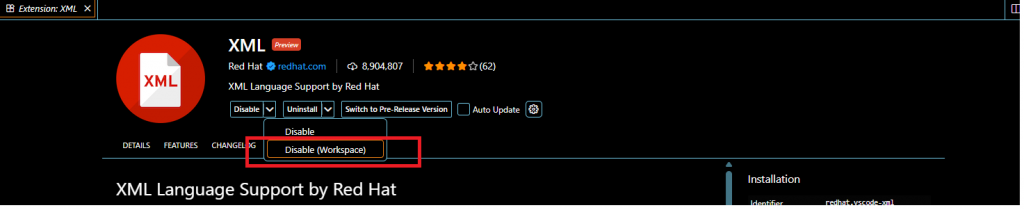
確認安裝:套件相關內容從 "Install" 變為 "Disable" "Uninstall"。
其他套件安裝步驟都相同,這裡只介紹套件URL與網頁,以供確認所選套件(有很多雷同套件名稱)。
(2)安裝 Java Platform Extension for Visual Studio Code
下載URL: https://marketplace.visualstudio.com/items?itemName=Oracle.oracle-java
(3) 安裝Spring boot開發套件(其相依的Extension會一起安裝,是Spring boot Java 專案必須套件)
下載URL: https://marketplace.visualstudio.com/items?itemName=vmware.vscode-boot-dev-pack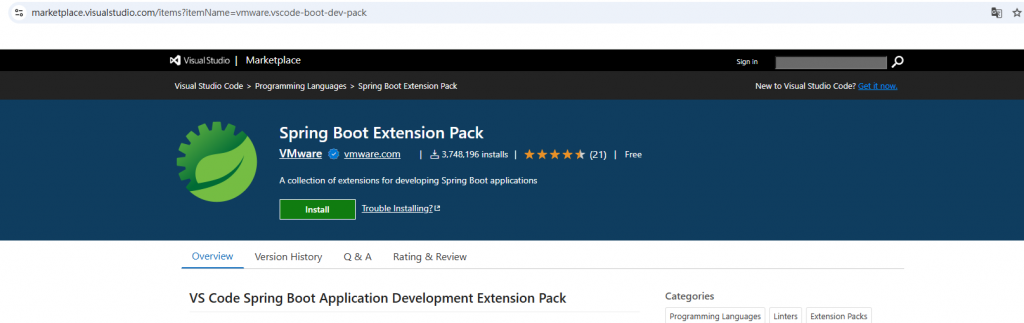
(4) Dependency Analytics (建議,會幫忙檢查使用套件是否有弱點)
下載URL: https://marketplace.visualstudio.com/items?itemName=redhat.fabric8-analytics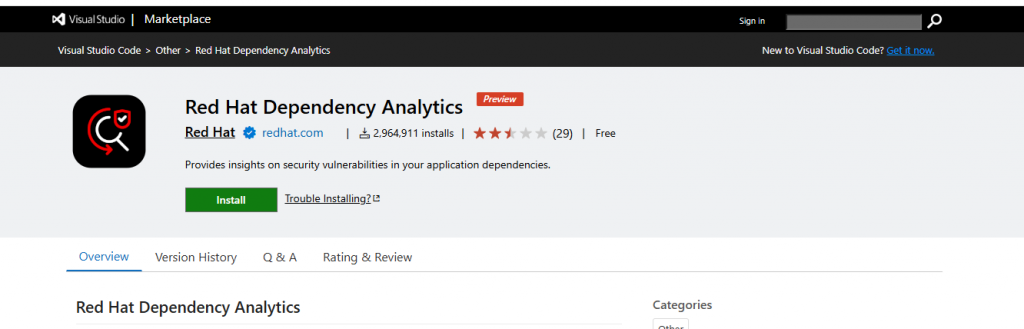
(5) Lombok Annotations Support for VS Code (建議,會幫忙產生Getter,setter程式碼)
下載URL:https://marketplace.visualstudio.com/items?itemName=vscjava.vscode-lombok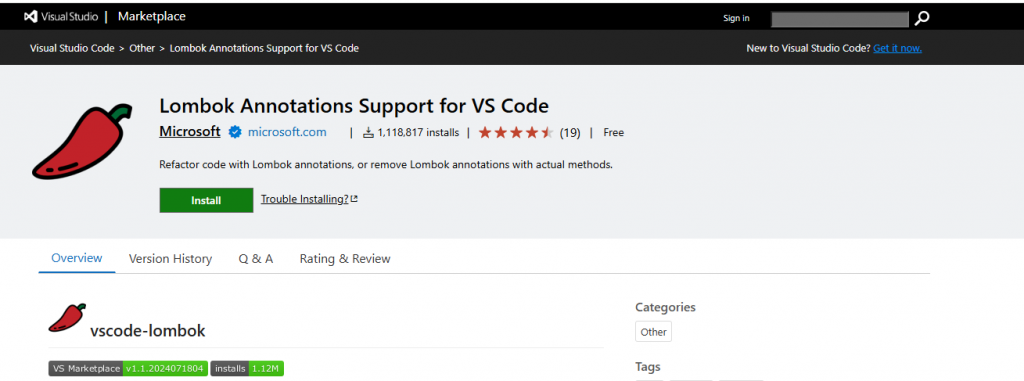
(6) XML (建議,會幫忙檢查Xml語法)
下載URL:https://marketplace.visualstudio.com/items?itemName=redhat.vscode-xml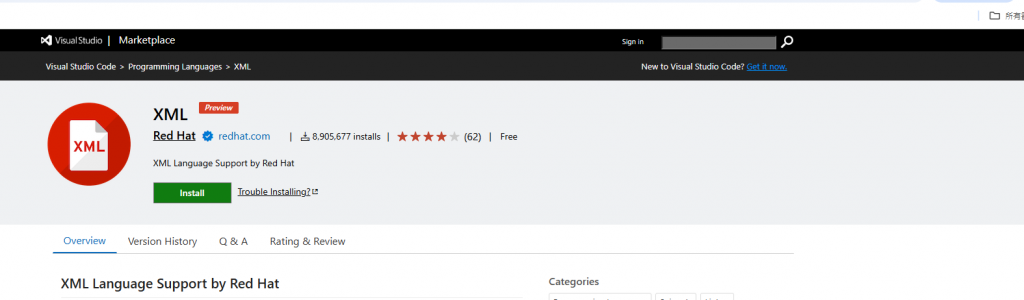
(7) Copy filename (建議,方便取得專案程式名稱)
下載URL:https://marketplace.visualstudio.com/items?itemName=bradzacher.vscode-copy-filename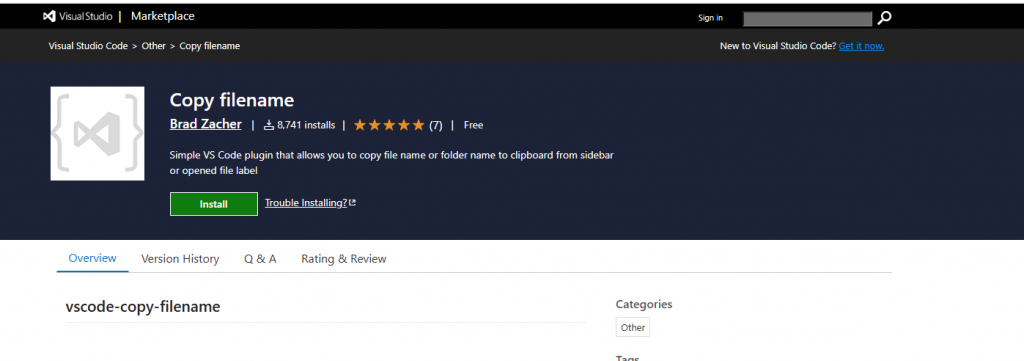
(8)SQL Database(Microsoft)(建議依專案需求,設定完成後,可以直接操作 MS SQL 指令)
下載URL:https://marketplace.visualstudio.com/items?itemName=ms-mssql.mssql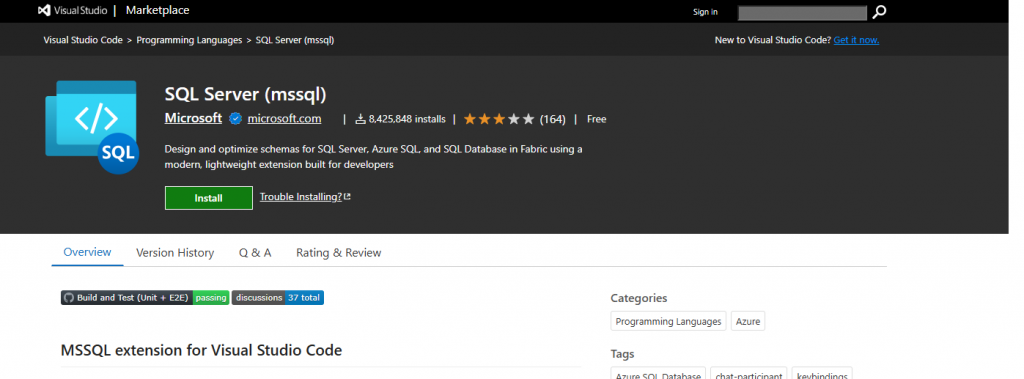
(9) Oracle Database (建議依專案需求,設定完成後,可以直接操作 Oracle SQL 指令)
下載URL:https://marketplace.visualstudio.com/items?itemName=Oracle.sql-developer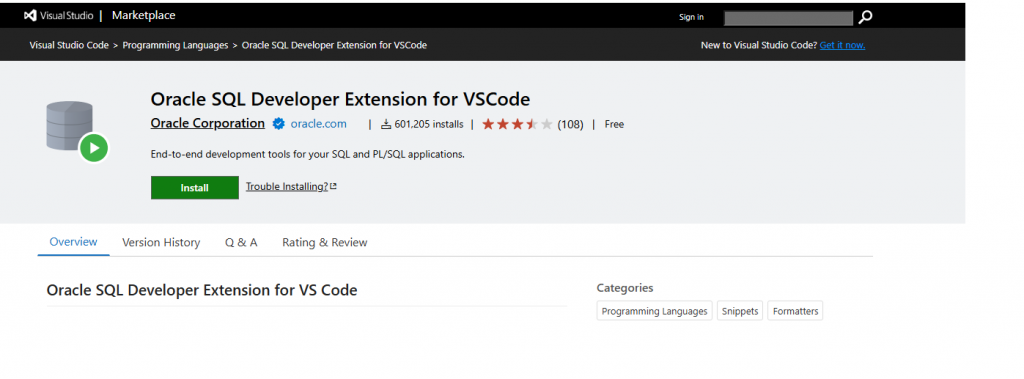
(10) MySQL Database (建議依專案需求,設定完成後,可以直接操作 Mysql SQL 指令)
下載URL:https://marketplace.visualstudio.com/items?itemName=Oracle.mysql-shell-for-vs-code
(11) Auto Rename Tag (建議,方便當變更Xml tag 時,自動配對更改)
下載URL:https://marketplace.visualstudio.com/items?itemName=formulahendry.auto-rename-tag
(12) Auto Close Tag (建議,方便當新增Xml tag 時,自動產生配對)
下載URL:https://marketplace.visualstudio.com/items?itemName=formulahendry.auto-close-tag
(13) Notepad++ keymap(建議,使用習慣了 Notepad++的 直欄編輯)
下載URL:https://marketplace.visualstudio.com/items?itemName=ms-vscode.notepadplusplus-keybindings
(14) Server Connector(建議,安裝Web 應用程式伺服器開發測試需要)
下載URL:https://marketplace.visualstudio.com/items?itemName=redhat.vscode-community-server-connector
(15) vsc-postman(建議,測試Web API 應用程式需要)
下載URL:https://marketplace.visualstudio.com/items?itemName=breaking-point.vsc-postman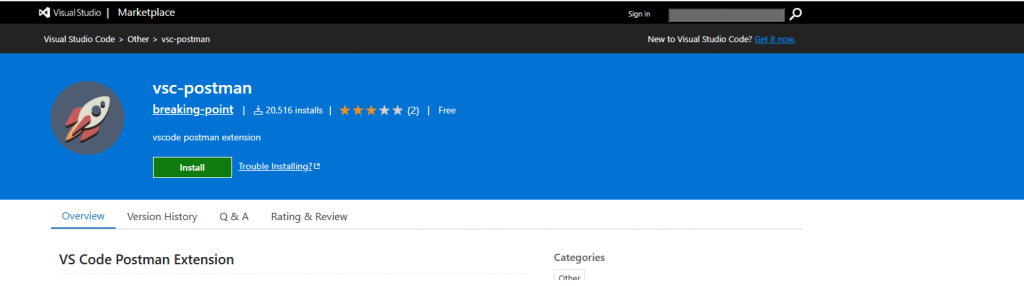
(16) Code Spell Checker(建議,因為發生過前後端檔案名稱不一致,homePage 打成hoemPage)
下載URL:<https://marketplace.visualstudio.com/items?itemName=streetsidesoftware.code-spell-checker: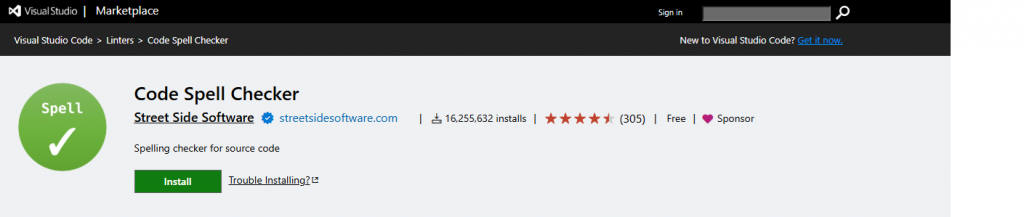

如果專案由Maven管理,建議調整於(pom.xml)檔案,Vscode會自動設定引用,若在此調整,可能最後打包(Package)及佈署(Depoly)時可能會產生問題。
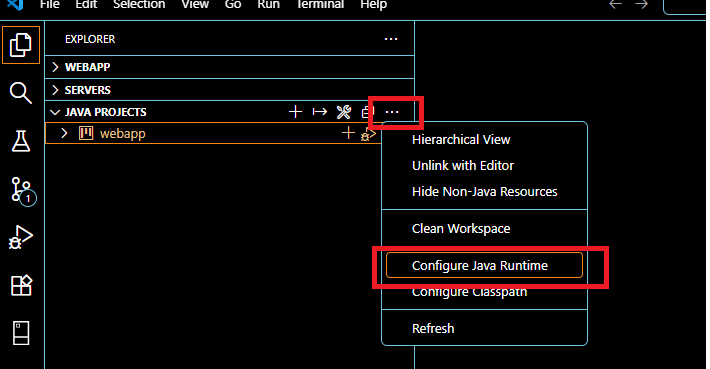
VScode 開啟 Configuration:
點選 "Java Project"視窗最右三個點,開啟"Configure Java Runtime
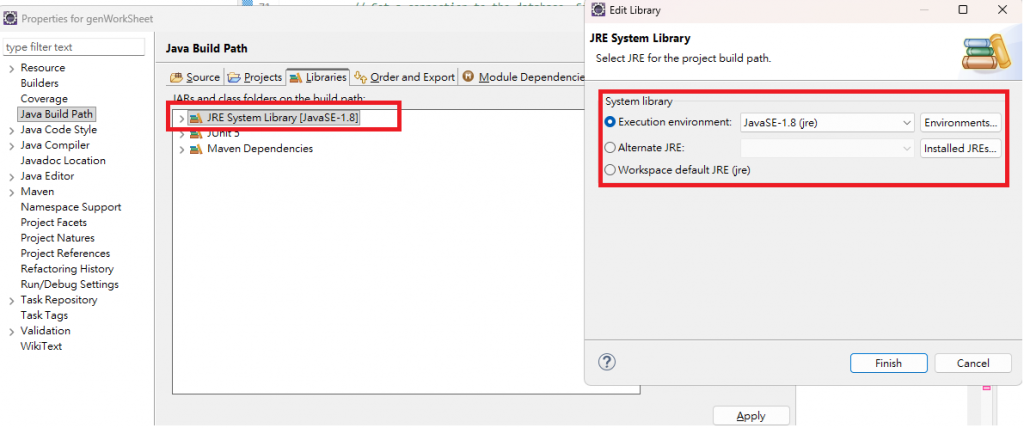
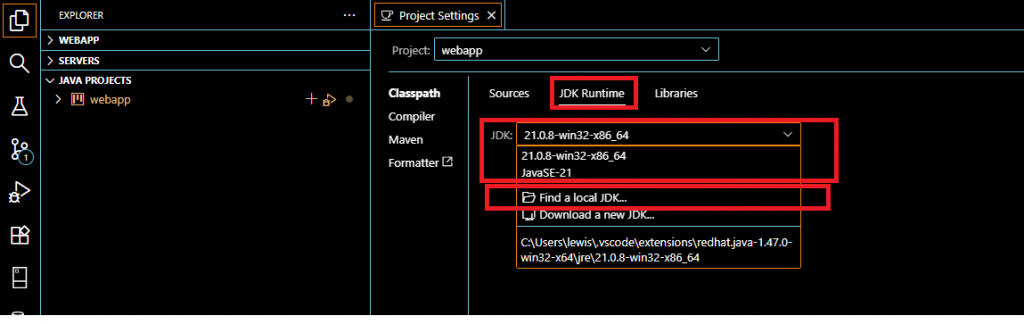
(1) 依專案指定JDK版本
Eclipse:
Vscode:
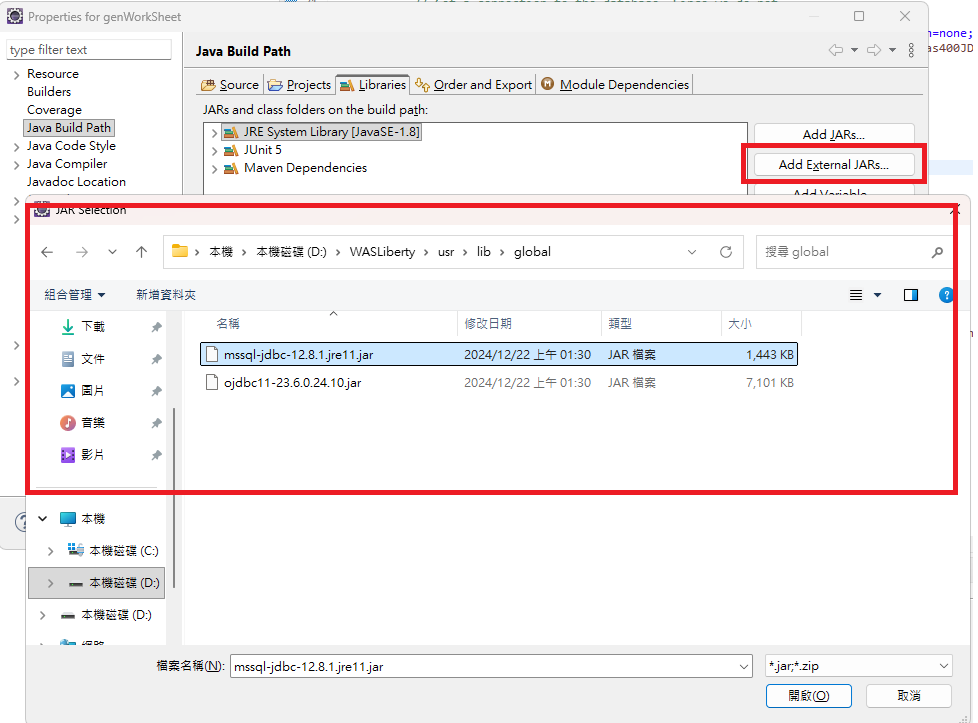
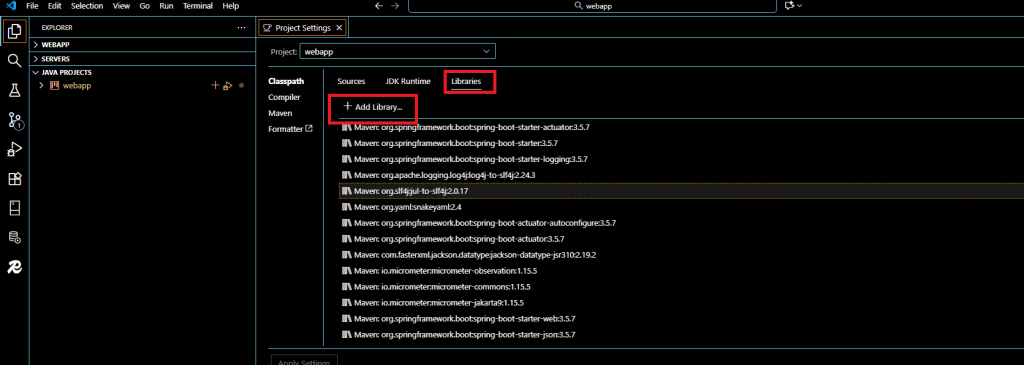
(2) 指定引用 jar 檔案 (Build Path)
Eclipse: 增加引用Jar檔案
Vscode: 增加引用Jar檔案(Add Library)
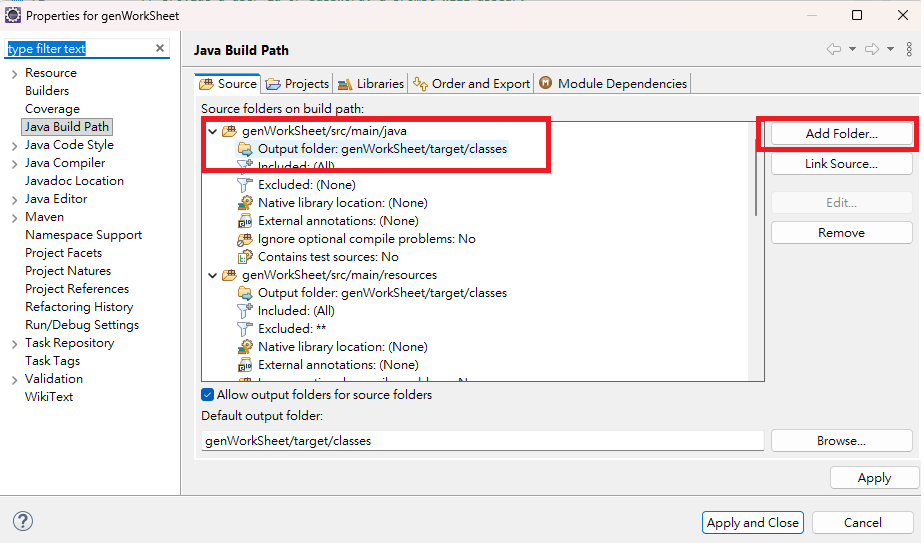
(3) 專案的source 以及 target (Build Path)
Eclipse: 編輯既有Source (Output folder) 以及 新增Source
VScode:編輯既有Source
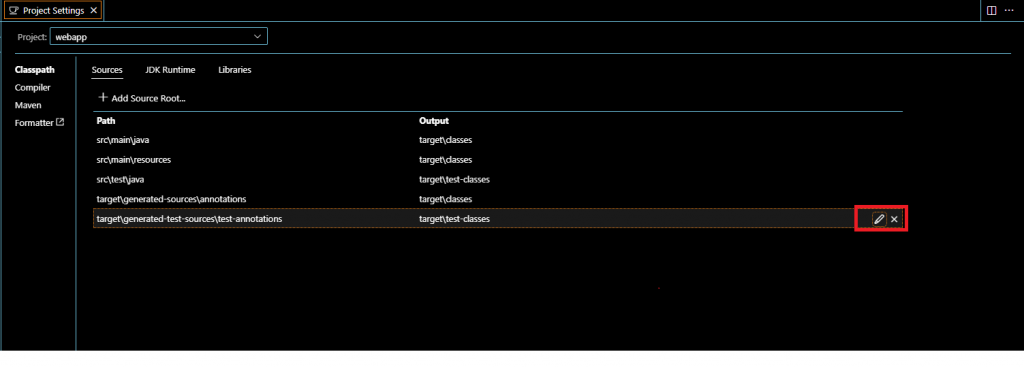
VScode:新增Source

 lewisyang

 iThome鐵人賽