Directive (指令) 在 Angular 可以指很多種情形,這邊我專門討論 @Directive。@Directive 通常用在屬性指令的綁定上,也就是在 selector 上面加上屬性,差所控制的類別會實體化我們所設計的行為指令。
一般而言,太簡單的 style 不會用到
@Directive,先前有介紹多種加入 style 的方法。通常有互動的 style 才會使用@Directive。
直接看範例 Plunker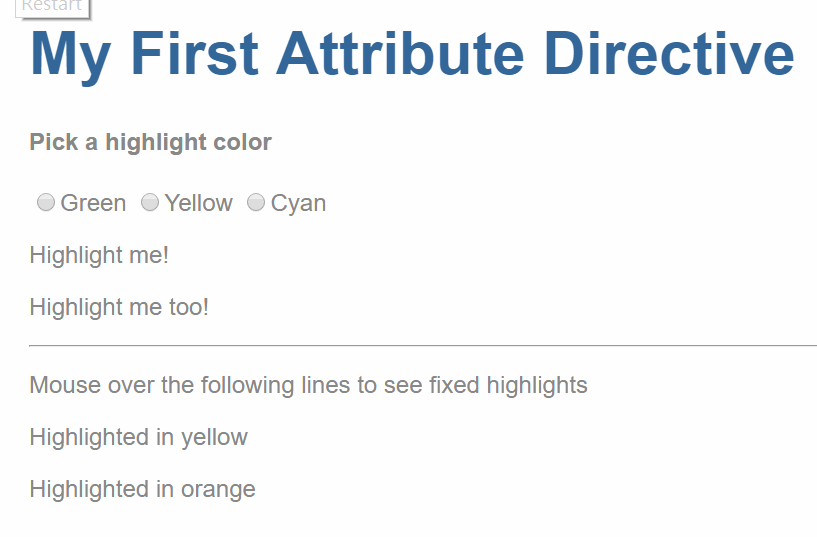
import { Directive, ElementRef, HostListener, Input } from '@angular/core';

@Directive({
  selector: '[myHighlight]'
})
export class HighlightDirective {

  constructor(private el: ElementRef) { }

  @Input() defaultColor: string;

  @Input('myHighlight') highlightColor: string;

  @HostListener('mouseenter') onMouseEnter() {
    this.highlight(this.highlightColor || this.defaultColor || 'red');
  }

  @HostListener('mouseleave') onMouseLeave() {
    this.highlight(null);
  }

  private highlight(color: string) {
    this.el.nativeElement.style.backgroundColor = color;
  }
}
ElementRef: 用來對 DOM 處理HostListener: 偵測事件這邊就是偵測到事件,改變 DOM 的 style 中的背景顏色。
@Input('myHighlight') highlightColor: string;
myHighlight 在這邊是別名,讓別人可以使用這稱號呼叫他。
可以看到
@Directive({
  selector: '[myHighlight]'
})
又看到 app.component.html 中
<p [myHighlight]="color">...</p> // 單向綁定
<p myHighlight="orange">...</p> // 寫死
@Derective 定義好 selector 之後就可以放到模板 tag 或別的 selector 裡面。
這樣如何使用 @Derective 大家應該就清楚了!!


 iThome鐵人賽