最一開始有用Generator產生hello world的範例(大概在第七天)。
今天,再跑兩個範例!記得Installation Overview裡面提到的嗎?
Note, the best way to understand how to use ReactOnRails is to study the examples:
- spec/dummy: Simple, no DB example.
- github.com/shakacode/react-webpack-rails-tutorial: Full featured example.
 brew install qt5 --with-qtwebkit #會超過一個小時...
 brew linkapps qt5
 brew link --force qt5
因為範例中要用到qmake指令,所以要先安裝。跑這個我跑了大約兩個小時,跑很久的話不要以為他當了,也不要讓電腦休眠,以免沒跑完。
先把react_on_rails clone下來git clone https://github.com/shakacode/react_on_rails
接著 跟著spec/dummy的教學做
cd react_on_rails
npm link
cd spec/dummy #不要到client底下,因為我下面要跑install
npm install  #不是執行npm link react_on_rails,我怎麼run都會失敗...
最後最後foreman start -f Procfile.hot #上次沒裝foreman的記得要先gem install foreman
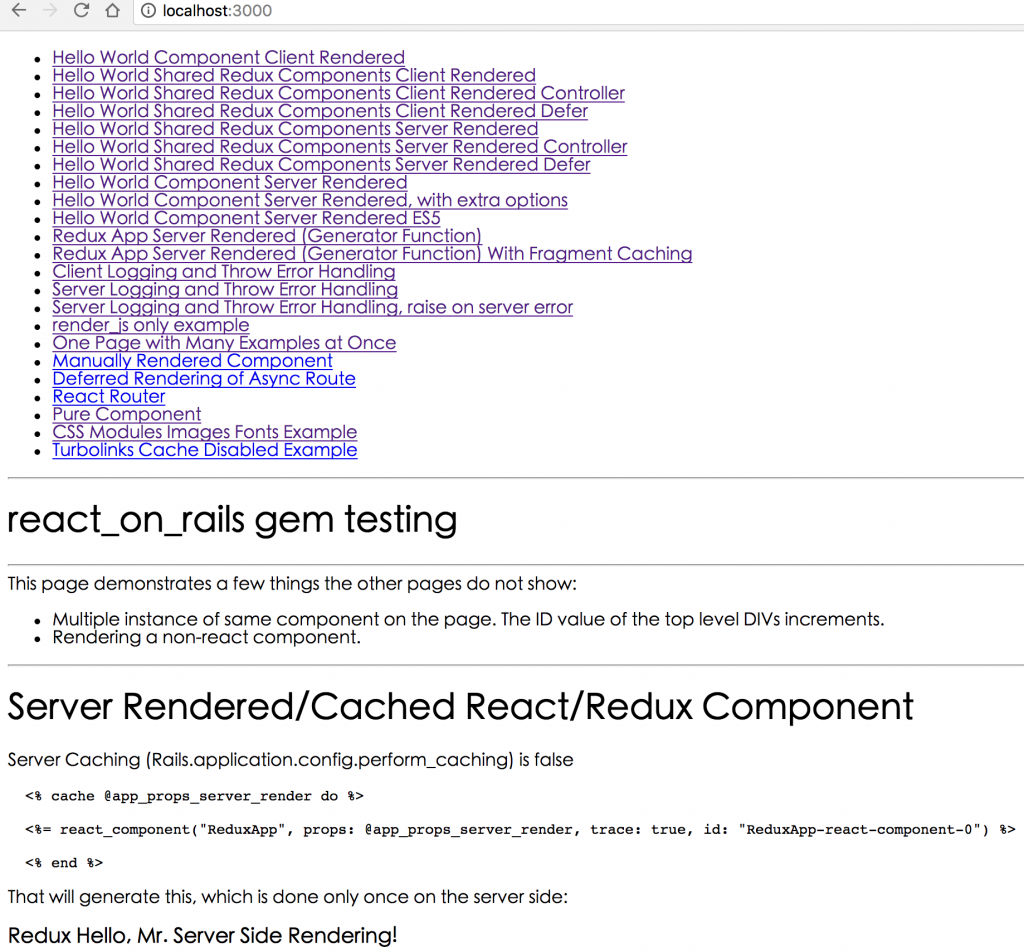
然後會跑一堆東西....然後連上(http://localhost:3000)
範例spec/dummy收工!
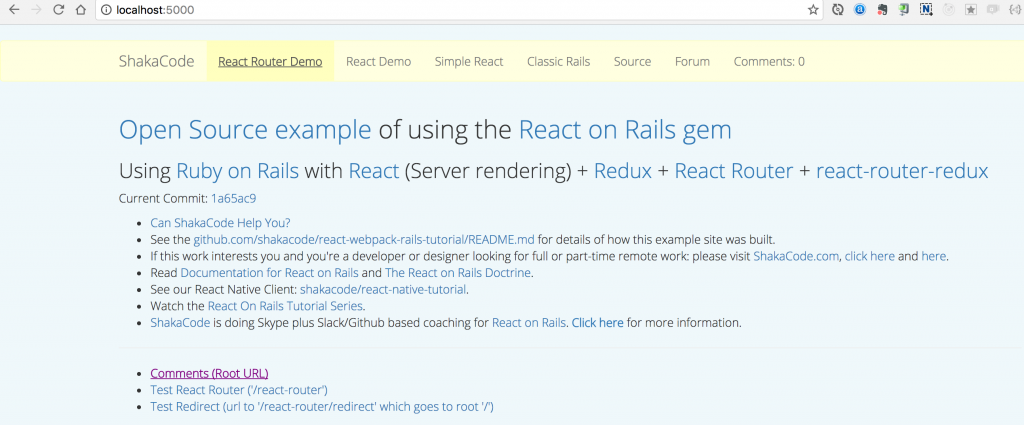
這個範例就是線上版本:(https://www.reactrails.com/)
一樣,先clone下來:git clone https://github.com/shakacode/react-webpack-rails-tutorial
因為這要DB,記得要裝postgres,而且9.4版以上,確認ruby>2.3,node > 5.5.
然後呢,該裝的裝一裝
bundle install
npm install
又跑了一堆東西。最後只要安裝database:rake db:setup
好,跑起來foreman start -f Procfile.hot

有沒有!!
(其實我也是昨天才開始run這兩個範例,跑起來我也是有點興奮)
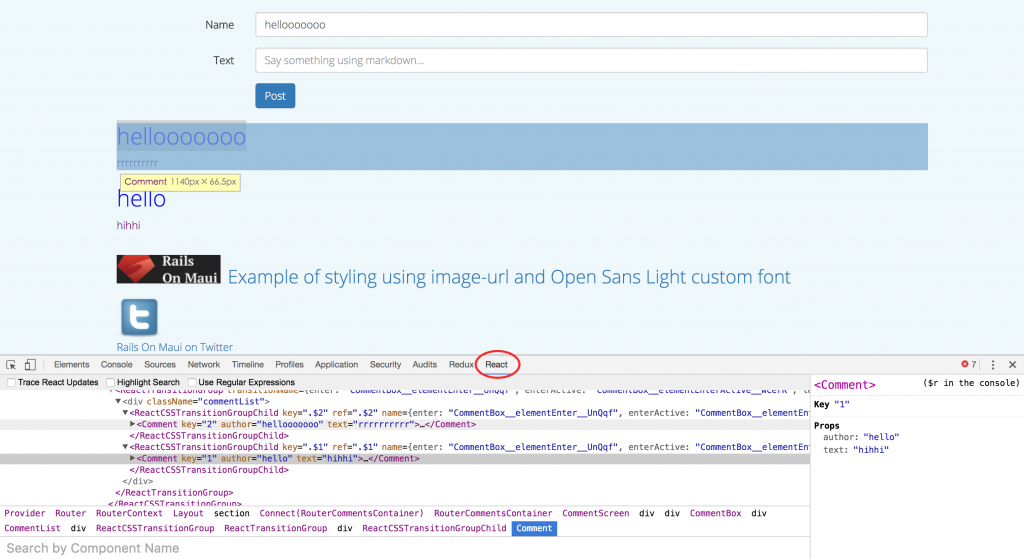
上回已經教大家裝過了,沒裝的在看這裡一次。
看上圖,對你想檢查的元件點右鍵>檢視原始碼,你會多一個React的標籤。在標籤裡,你可以看到你包起來的React Component,也就是會多一堆你沒看過的HTML tag,像圖裡你就看到。我是常用在看別人的demo裡,看他怎麼包React component用的。
好囉,今天又告一個段落,明天要開始講ReactJs了!
