今天我們將練習 vue-router 兩種進階顯示方式,多重顯示與巢狀路由,這樣的設計會讓我們的系統,搭配 router path 顯得語意化且更具結構性。
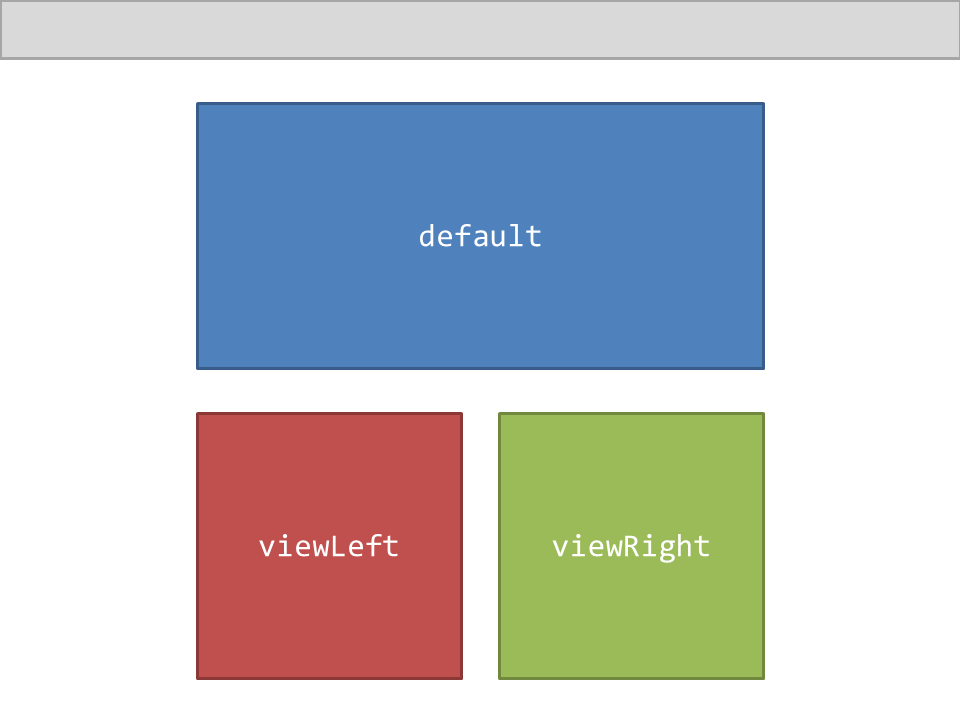
利用一個 path 可以控制多個 view 的方法,
也就是說可以在 app.vue 上面使用多個 <router-view></router-view>
這樣我們要如何設定哪個 <router-view> 要顯示元件呢?
只需要在元件上命名既可,直接看以下範例。
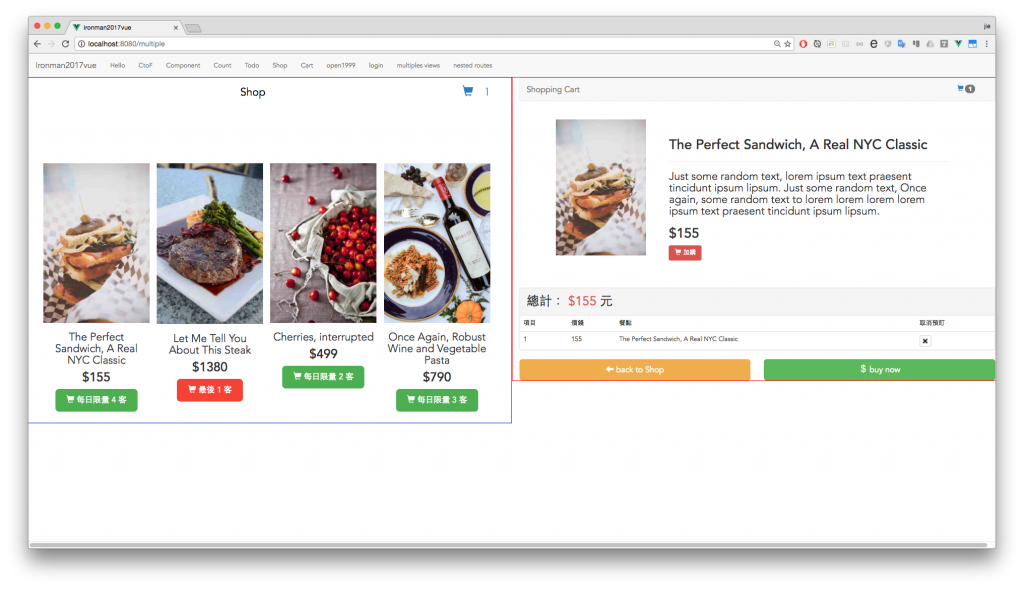
替每個 view 命名,就可以針對使用了!
<div class="row">
  <router-view name="viewLeft" class="col-md-6 viewLeft"></router-view>
  <router-view name="viewRight" class="col-md-6 viewRight"></router-view>
</div>
在路由表設定 components 物件,
| key | value |
|---|---|
router-view 的 name |
component |
哪一個 view 要顯示哪個 component
- 不設定 name 的 view 為 default
- 注意!多重顯示為設定:component
s
{
  path: '/multiple',
  name: 'multiple',
  components: {
    viewLeft: shop,
    viewRight: cart,
  },
  meta: { requiresAuth: false },
},
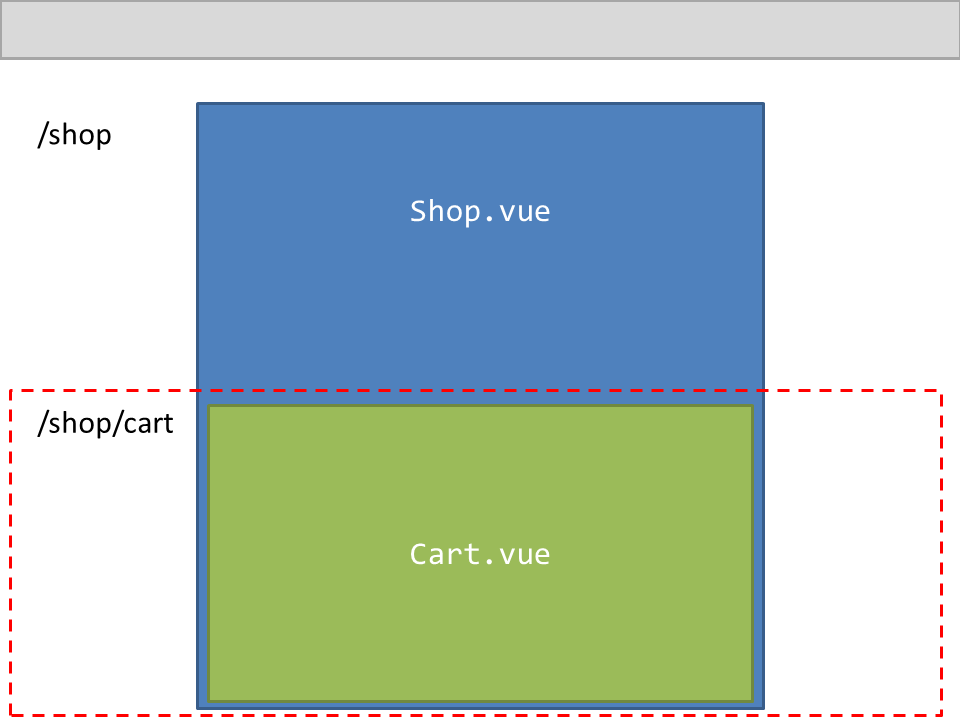
概念是,第一層 path 顯示的元件中還可以嵌入第二層 path 元件的路由方式。
如:shop/cart
第一層我們會載入 shop 元件,然後在 shop 裡面會載入第二層 path cart 元件
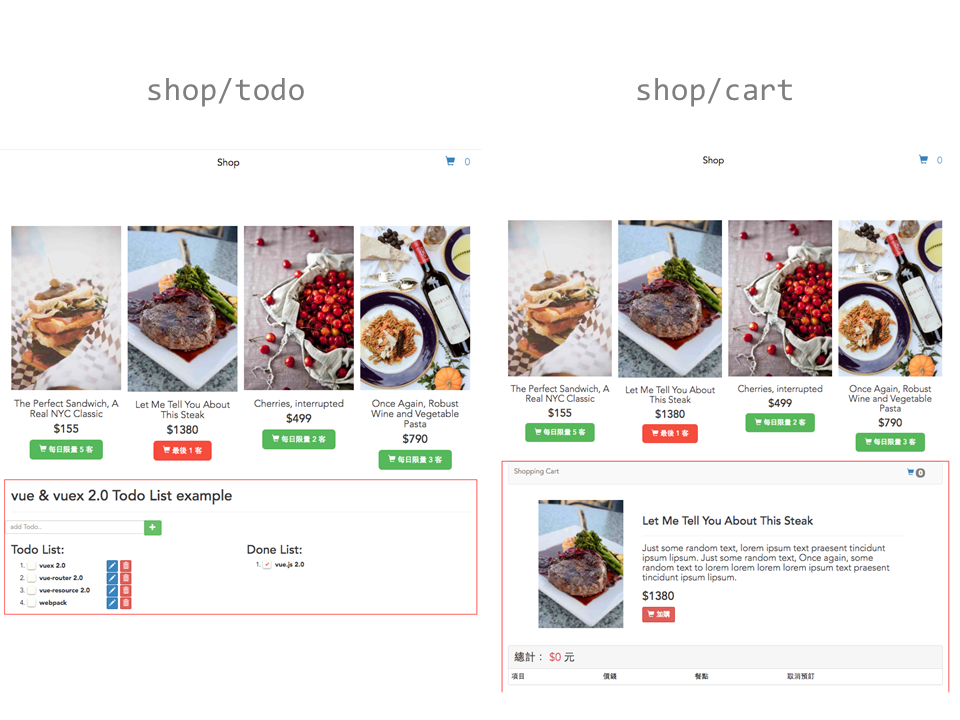
在第一層元件中(shop.vue)插入 <router-view></router-view>在你希望顯示第二層元件的地方。
<template>
<div id="shop">
  <!--shop code 略.. -->

  <!-- nested-routes -->
  <router-view class="nested-routes"></router-view>

</div>
</template>
在第一層 path 下面使用 children 設定第二層的 path 與相對應的 component
{
  path: '/shop',
  name: 'shop',
  component: shop,
  meta: { requiresAuth: false },
  children: [ // 將會把對應到 path 的 component 放到 shop 的 <router-view />
    {
      path: 'cart', // url= shop/cart
      component: cart,
      meta: { requiresAuth: false },
    },
    {
      path: 'todo', // url= shop/todo
      component: todo,
      meta: { requiresAuth: false },
    },
    {
      path: 'hello', // url= shop/hello
      component: Hello,
      meta: { requiresAuth: false },
    },
  ],
},
以上是 vue-router 進階的兩種顯示方式,在應用上面巢狀路由第一層可以固定某塊功能的版面。
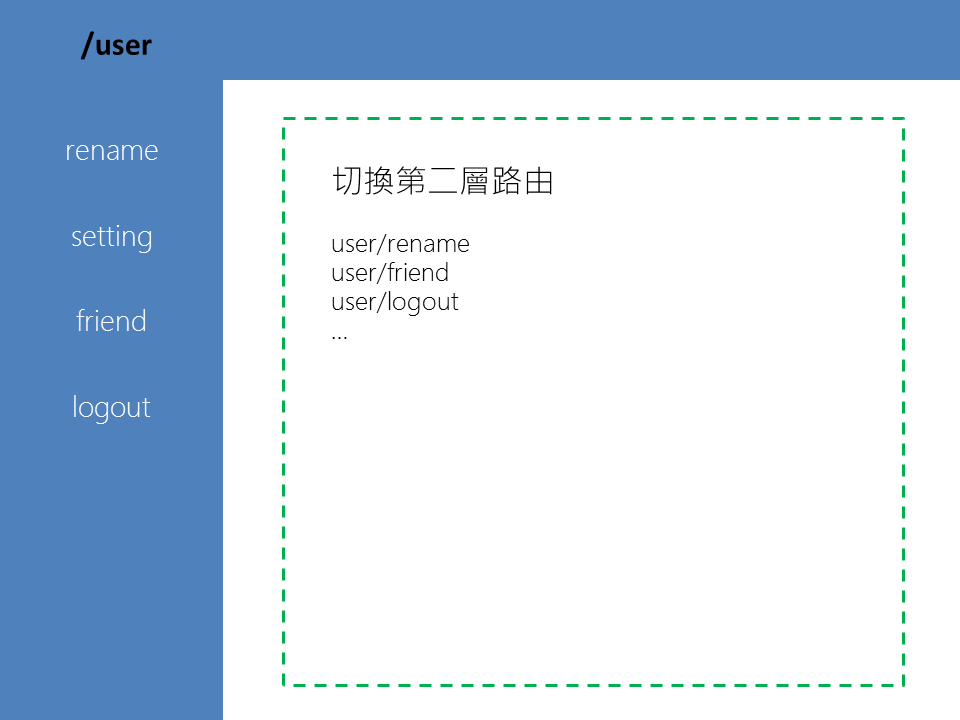
比如,以下這種版型。
系統中有一系列功能與 API 都是在操控 user 資料,
我們可以利用巢狀路由,將藍色區塊設計在第一層 path 上,
當使用者切換左邊選單的時候(用 router-link 設計),再去替換掉中間的內容。
實作小範例入門 Vue & Vuex 2.0 - github 完整範例
使用 git checkout 切換每天範例。
