現場(環境):Kali linux 套件: x11vnc 、noVNC
原因:
一般來說,我們linux的桌面環境要連線都是要透過2種方式進行。
1.純粹的vnc ,走 TCP-5900 埠。
(使用者端也得用vnc的相關軟體才能連線)
(使用者可以透過微軟的mstsc或者
其他remotedesktop的套件進行連線)
但這兩種方式都有共同缺點
容易有延遲問題產生。
client端可能需要額外裝套件很麻煩。
所以希望有一個簡單的方式可以進行連線而且不延遲!!
處理方式:
在linux 的 promox虛擬化上有裝一個套件,
可以讓你連很簡單的連線到promox中的虛擬機器。
這個東西叫作noVNC,上網仔細查了一下,有蠻多相關文件的。
所以我們也來進行嘗試。
(1) VNC 安裝
#apt-get install tightvncserver
(這個VNC不建議使用)
啟動 VNC
(這行指令表示我們運行的VNC port 號是 5900 +1 , 這邊要用的port 號是 5901)
vncserver :1
=!===============================================
root@kali:~# vncserver :1
You will require a password to access your desktops.
Password:
Warning: password truncated to the length of 8.
Verify:
Would you like to enter a view-only password (y/n)? y
Password:
Warning: password truncated to the length of 8.
Verify:
New 'X' desktop is kali:1
Creating default startup script /root/.vnc/xstartup
Starting applications specified in /root/.vnc/xstartup
Log file is /root/.vnc/kali:1.log
=!============================================
結果用tightVNC執行結果不符合我的預期。
如下圖,跑出另外的視窗架構出來。
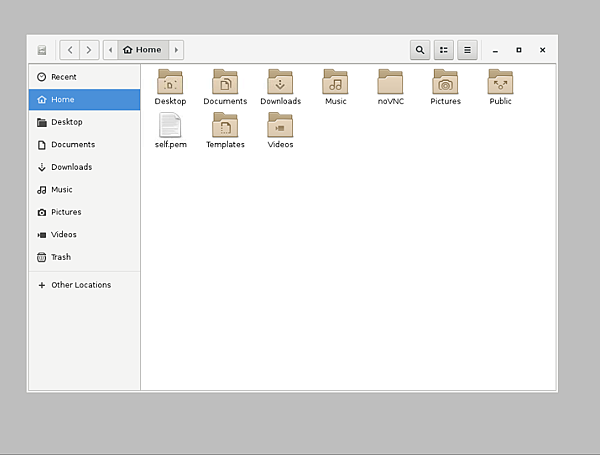
所以我現在都改用x11VNC
#apt-get install x11vnc
#x11vnc --storepasswd
=!=======================================
Enter VNC password:
Verify password:
Write password to /root/.vnc/passwd? [y]/n y
Password written to: /root/.vnc/passwd
=!========================================
把x11vnc加入
#apt-get install xinetd
#vim /etc/xinetd.d/x11vnc
#!###########################################################
service x11vnc
{
port = 5900
type = UNLISTED
socket_type = stream
protocol = tcp
wait = no
user = root
server = /usr/bin/x11vnc
server_args = -inetd -o /var/log/x11vnc.log -display :0 -auth /var/lib/gdm/:0.Xauth -many -bg -rfbauth /root/.vnc/passwd
disable = no
}
#!###########################################################
接著都讓我們用xinted啟動x11VNC
#/etc/init.d/xinetd restart
[ ok ] Restarting xinetd (via systemctl): xinetd.service.
有另外一種不需要密碼的啟動方式
#x11vnc -forever -display :0 (如果你要沒有密碼登入),
你可以選這個方式,但超不安全,
晚一點noVNC打開後,
這個方式只要按connect 就可以連線了,連密碼都不用。
=!===========================================
(2)noVNC安裝
我們必須從github上把這包專案clone下來。
#apt install git
#git clone https://github.com/kanaka/noVNC
為了安全性,做一支憑證放進noVNC裏面
#openssl req -new -x509 -days 365 -nodes -out self.pem -keyout self.pem
完成會出現一隻self.pem檔案,我們將他複製到noVNC下面。
#cp -rf self.pem noVNC/utils/.
這樣到時候noVNC在運行時會自動載入。
如果有做憑證這一塊,我們就可以用https登入。
不然就只能用http模式。
(3)啟動noVNC
#cd noVNC/utils/
下面兩個方法擇一啟用就好,
兩個方法測試開啟都正常。
#./launch.sh --vnc localhost:5900
#./launch.sh --vnc 「主機IP位址」:5900
=!=======================================================================
Warning: could not find self.pem
No installed websockify, attempting to clone websockify...
Cloning into '/root/noVNC/utils/websockify'...
remote: Counting objects: 3799, done.
remote: Compressing objects: 100% (4/4), done.
remote: Total 3799 (delta 0), reused 1 (delta 0), pack-reused 3795
Receiving objects: 100% (3799/3799), 4.43 MiB | 259.00 KiB/s, done.
Resolving deltas: 100% (2490/2490), done.
Using local websockify at /root/noVNC/utils/websockify/run
Starting webserver and WebSockets proxy on port 6080
Navigate to this URL:
http://kali:6080/vnc.html?host=kali&port=6080
Press Ctrl-C to exit
WebSocket server settings:
=!=========================================================
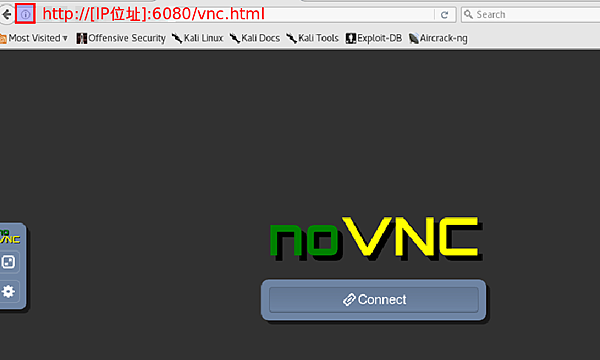
我們連接只要連下列網址就好
http://「主機IP位址」:6080/vnc.html
https://「主機IP位址」:6080/vnc.html
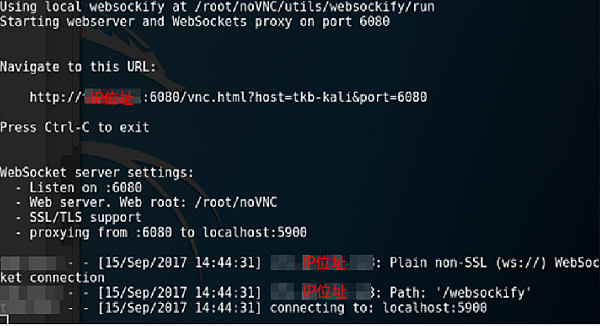
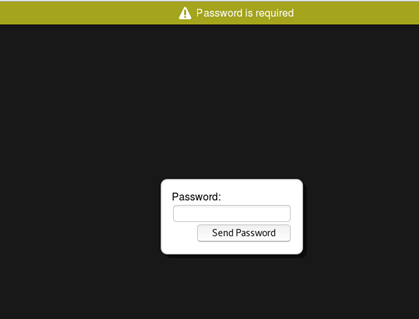
透過瀏覽器連線網頁連線狀況:

要求輸入密碼
firefox瀏覽器成功登入畫面
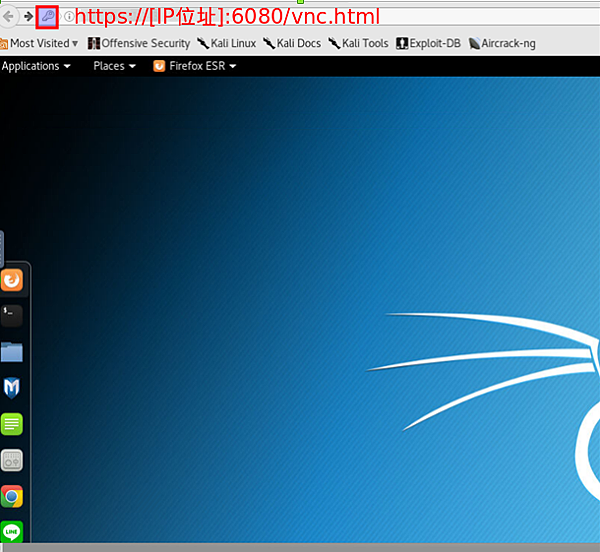
如果沒用憑證的話,可以用http的方式登入。
後記:
使用noVNC真的解決了client端還要安裝多餘軟體的問題。
因為只要透過瀏覽器就可以正常進行連線。
況且整個noVNC的操作相當流暢,跟在本機上進行有得比!!
真的是非常推薦這個連線方式。
但還是要注意他有資訊安全上的風險,建議平時不要打開。
等真的有需要的時候再透過ssh連線將服務打開使用就好!!
另外,下圖是你如果路徑帶錯會出現的畫面。

問題大多都會發生在 vnc 上面
這先都可以再你設定置放LOG的地方看到!!
server_args = -inetd -o /var/log/x11vnc.log
或者操作上會因為其他原因無法開啟,都要來看這邊的LOG
提醒:
noVNC如果是處於對外狀態,務必記得要限制連線IP。
因為他只是一個簡單的連線的軟體。
沒有太多的防護措施,或者用完要記得關閉。
參考網址:
https://github.com/kanaka/noVNC
http://www.vpsee.com/2013/07/integrating-novnc-with-our-vm-control-panel/
https://vosamo.github.io/2016/07/noVNC%E7%9A%84%E4%BD%BF%E7%94%A8%E4%B9%8B%E4%B8%80/
http://blog.csdn.net/tb3039450/article/details/52143087
(本篇完)
