Linux的版本繁多,選一個自已想用的、常用的就是了QQ
考量到自已小菜菜一隻,後續需要爬文的時機大大的有,個人選擇了大多數人使用的CentOS當做自習的環境。
===相關的發行版本網站===
Red Hat http://www.redhat.com
Fedora Core http://fedoraproject.org
CentOS http://www.centos.org
Debian GNU(branch/stable/testing 和 unstable) http://www.debian.org
Ubuntu http://www.ubuntu.com
FreeBSD http://www.freebsd.org
===安裝Linux===
圖形介面(GUI mode):所見即所得的操作效果,友善的環境,使用起來跟Windows的作業系統相仿。
文字介面(CLI mode):顧名思意就是使用文字操作的環境了,耗用的效能最小,善用各種指令就可以發揮強大的功用。
===安裝Linux===
安裝CentOS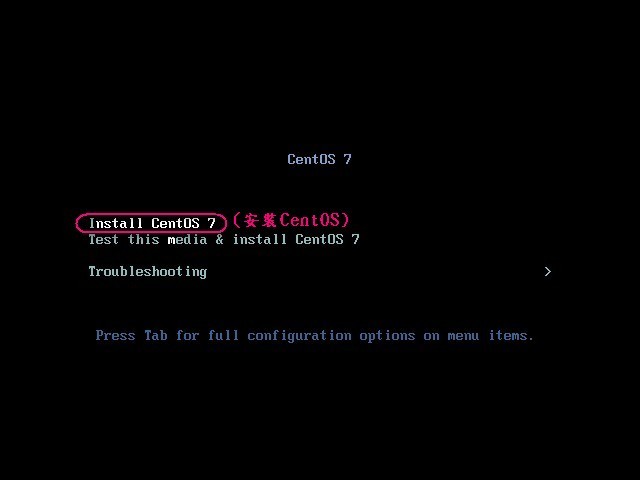
按Enter鍵開始安裝過程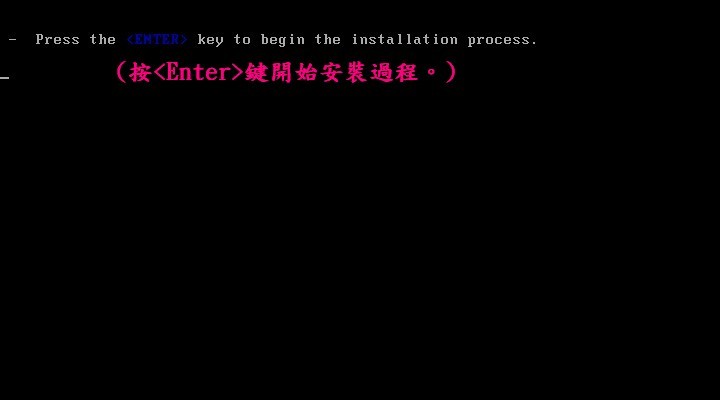
開始安裝過程(跑跑跑...)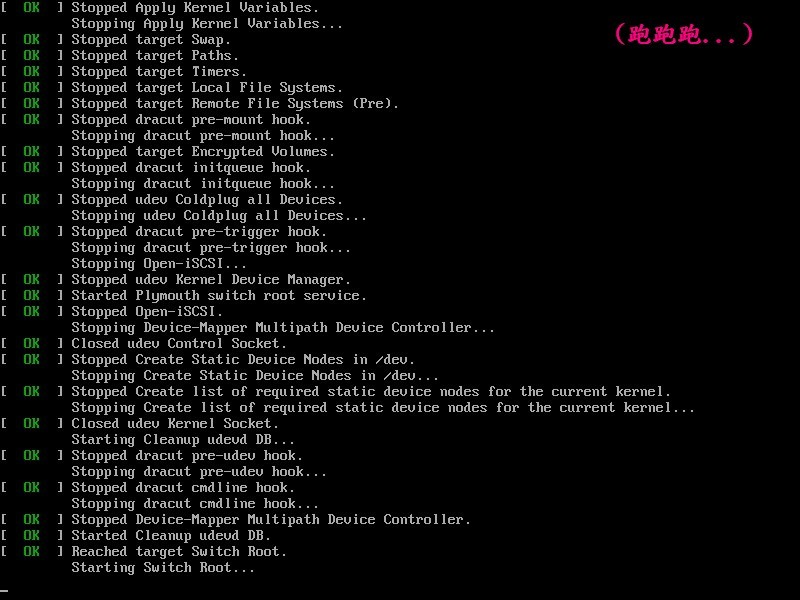
選擇語言: 可愛的繁體中文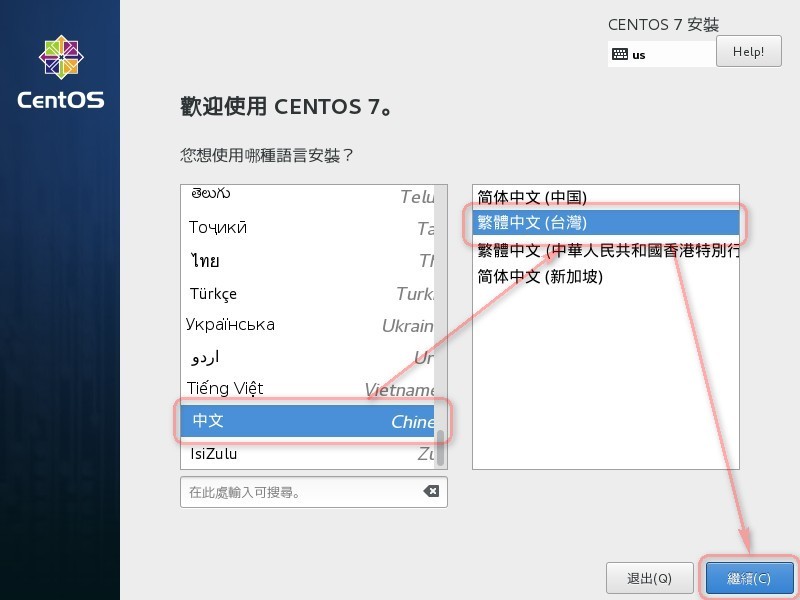
軟體:軟體選擇(預設:最小型安裝CLI mode)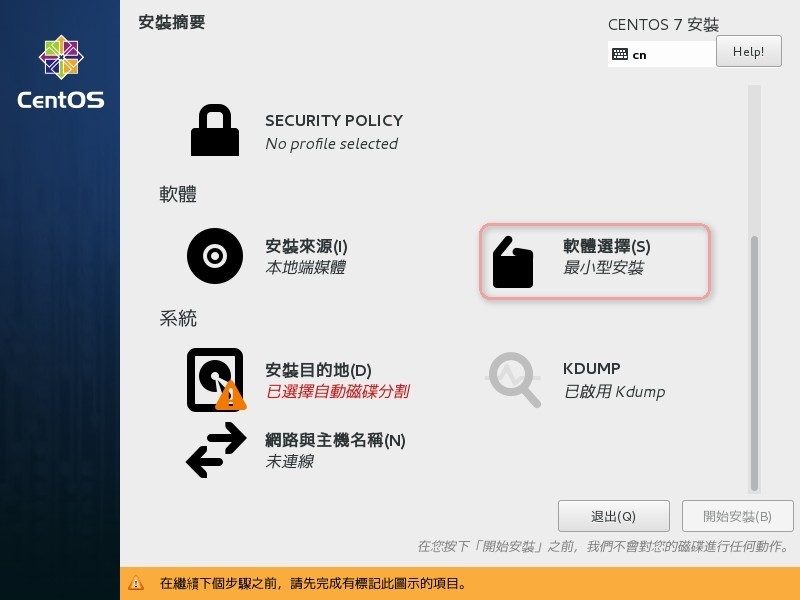
軟體選擇調整為: 含有GUI的伺服器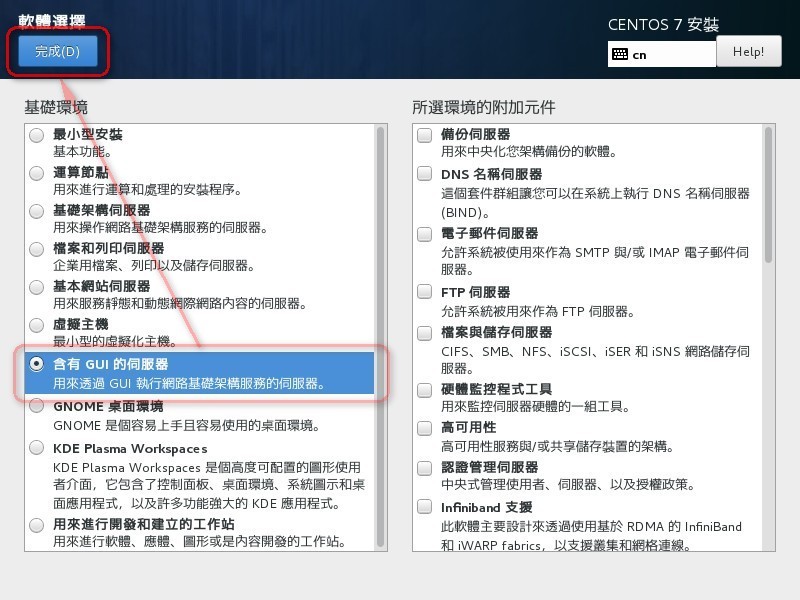
系統:安裝目的地(預設:已選擇自動配置磁碟分割)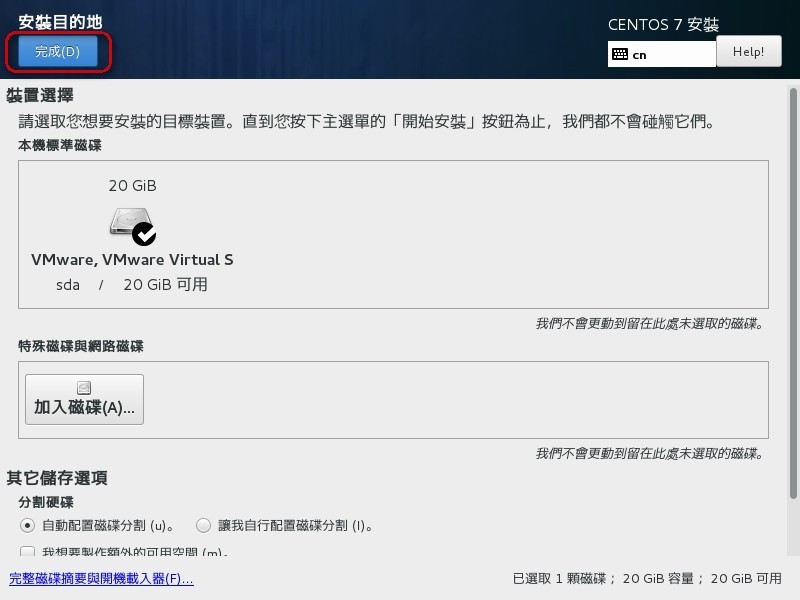
瀏覽後按完成離開
系統:網路與主機名稱(預設為未連線)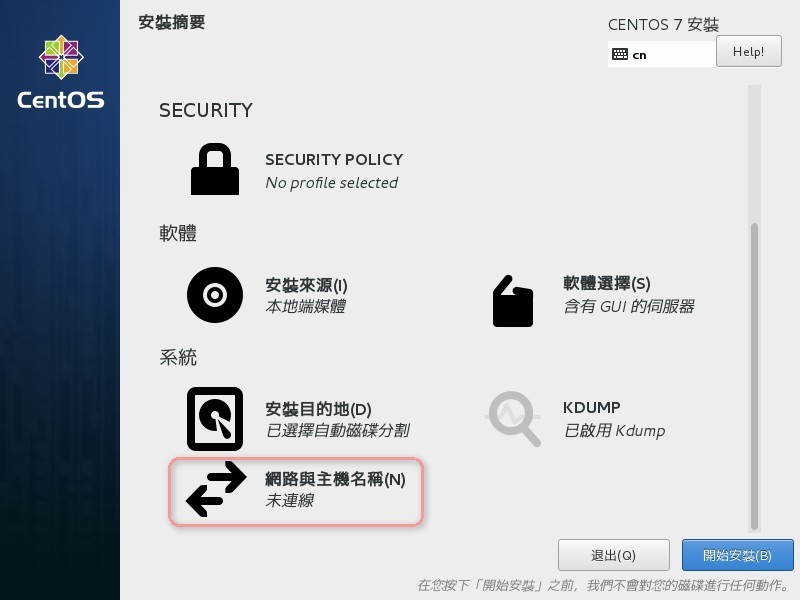
乙太網路:開啟(預設:關閉)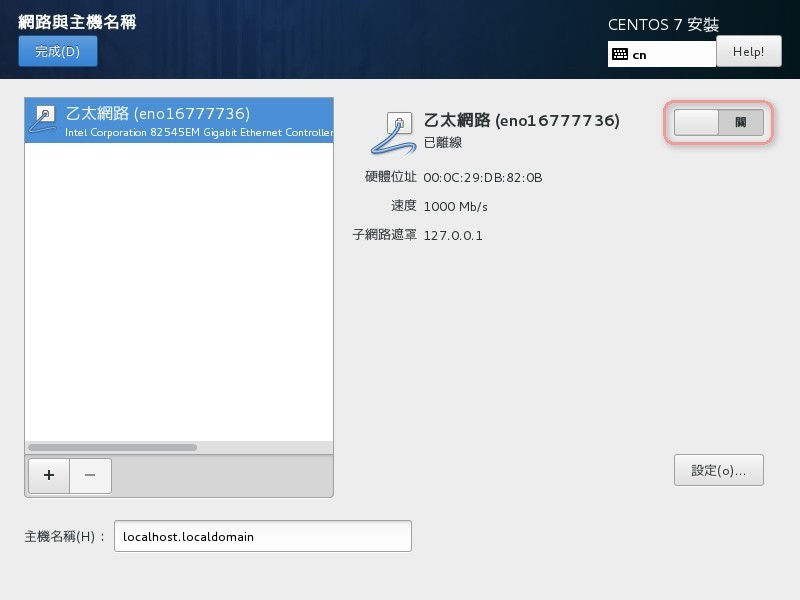
設定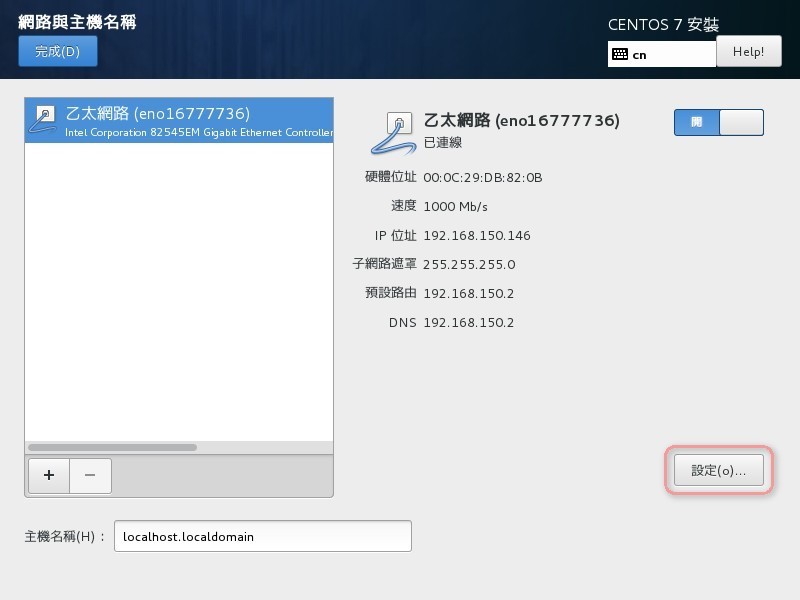
一般>勾選”當這個網路可用時自動連線”>儲存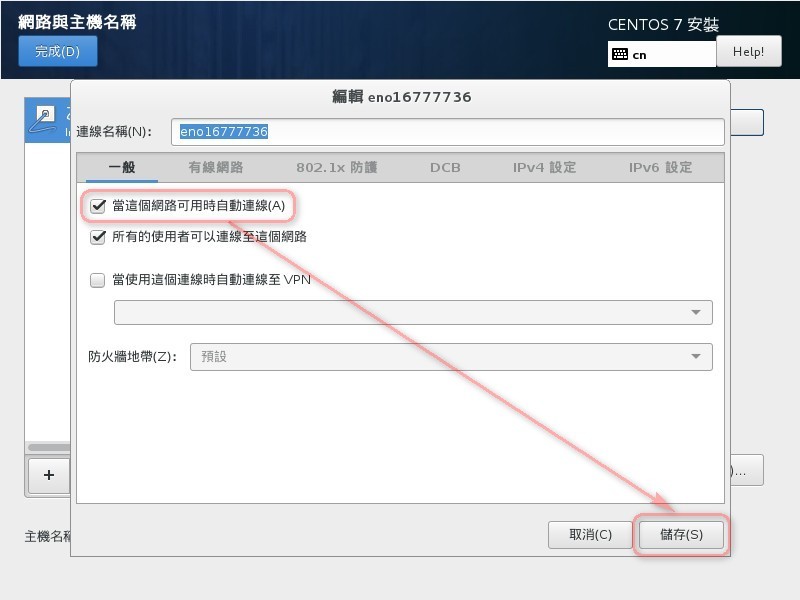
設置後按完成離開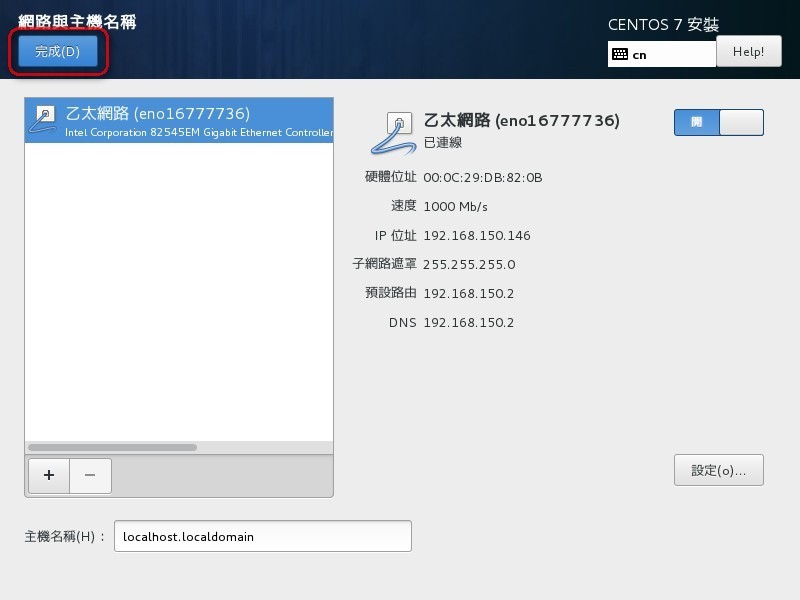
開始安裝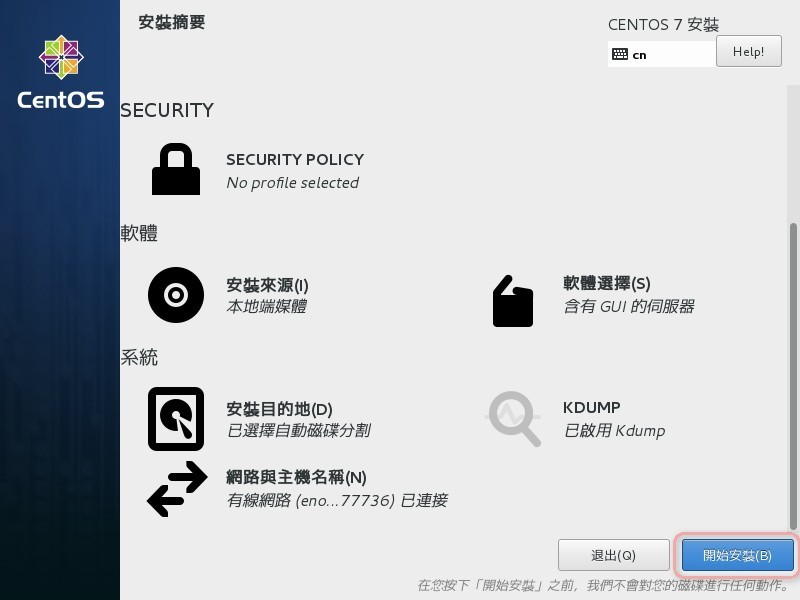
設定ROOT密碼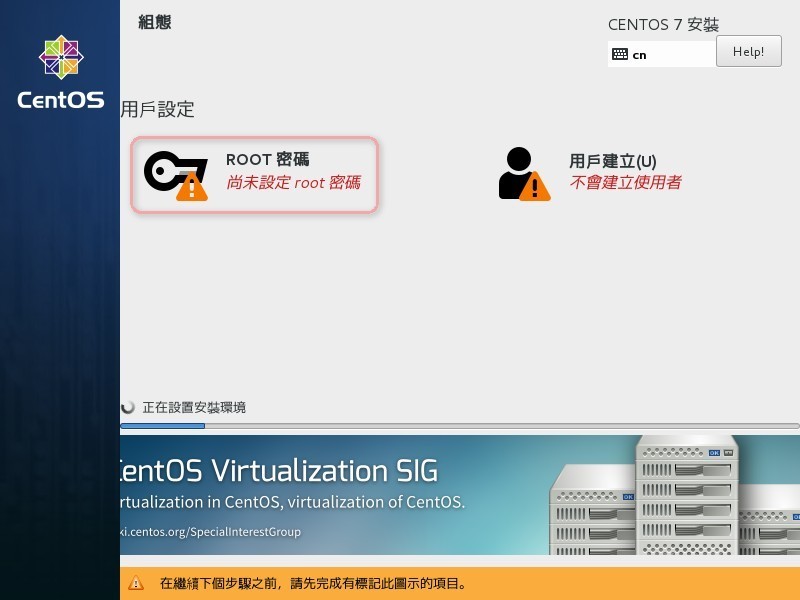
輸入密碼,按完成離開。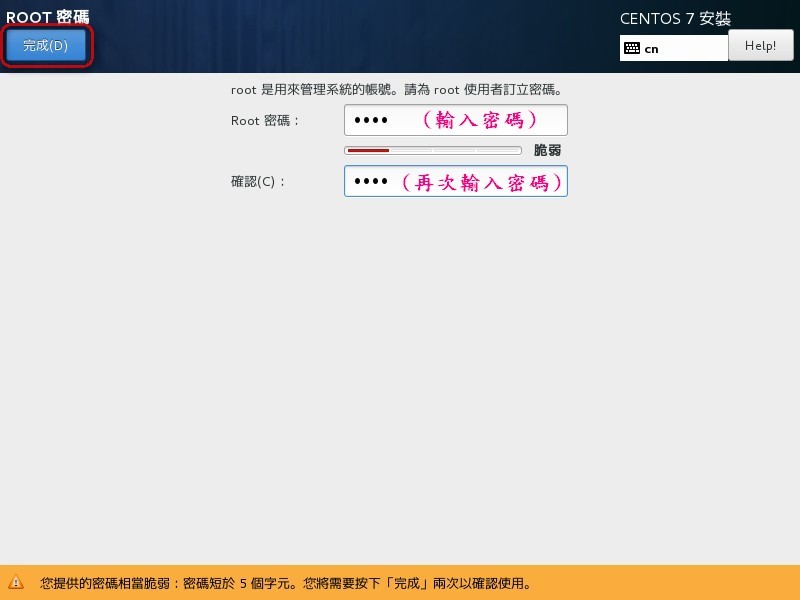
設定使用者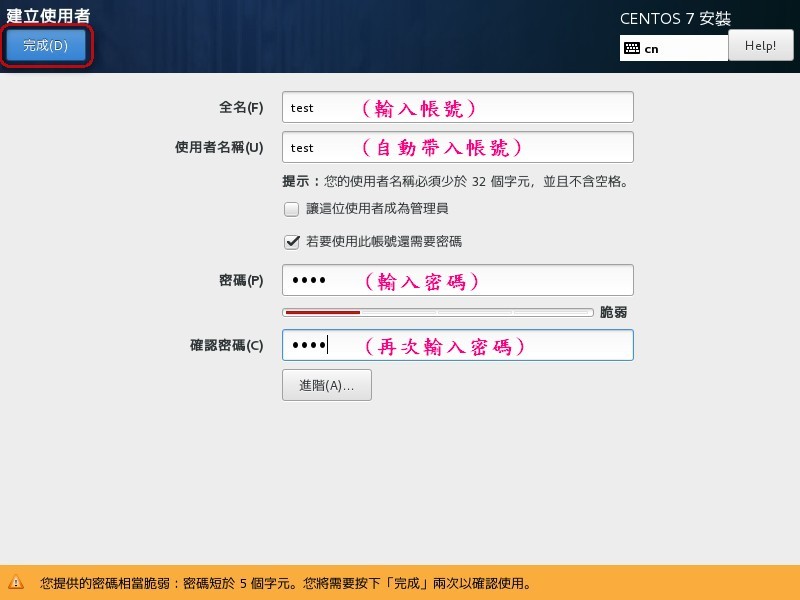
使用者如果需要管理權限,可順便勾選”讓這位使用者成為管理員”。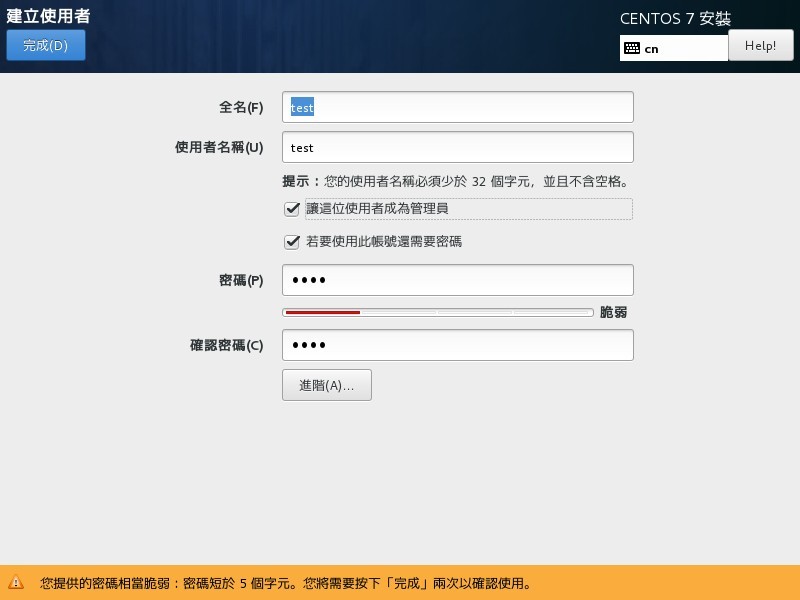
輸入帳號與密碼,按完成離開。
安裝中(跑跑跑...)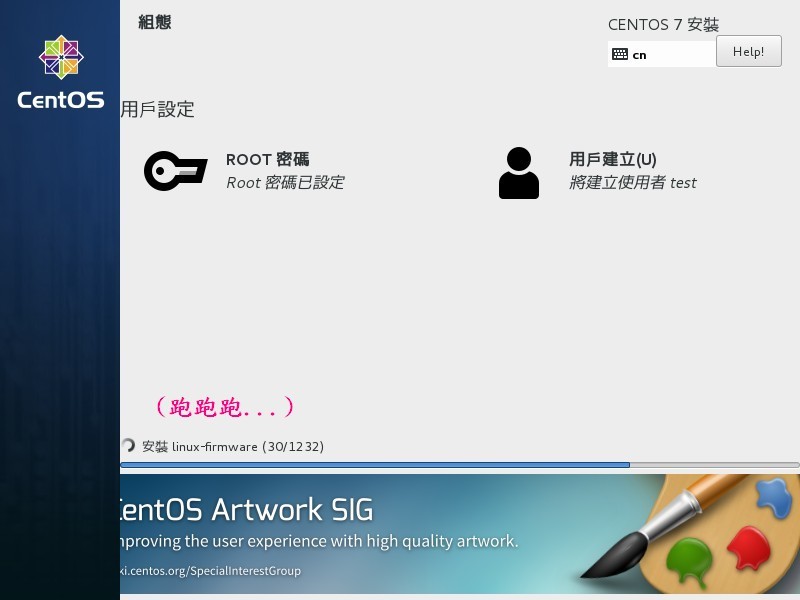
同意許可協議
Initial setup of CentOS linux 7 (Core)
1) [!] License information (License not accepted)
Please make your choice from [ '1' to enter the License information spoke | 'q' to quit | 'c' tocontinue | 'r' to refresh]:
CentOS linux 7(Core)的初始設置
1)[!]許可證信息(許可證不被接受)
請從['1'進入許可信息spoke | 'q'退出| 'c'繼續| 'r'刷新]:1
License information
Read the License Agreement
I accept the license agreement.
Please make your choice from above [ ‘q’ to quit | ‘c’ to continue | ‘r’ to refresh ]:2q
許可證信息
1)閱讀許可協議
2)我接受許可協議。
請從上面選擇['q'退出| 'c'繼續| 'r'刷新]:
Question
Are you sure you want to quit the conf iguration process?
You might end up with an unusable system if you do. Unless the License agreement is accepted, the system will be rebooted.
Please respond ‘yes’ or ‘no’ : yes
詢問
你確定要退出配置過程嗎?
如果你這樣做,你可能會得到一個不可用的系統。 除非許可協議被接受,否則係統將被重新啟動。
請回答“是”或“否”:
重開機後就安裝完成囉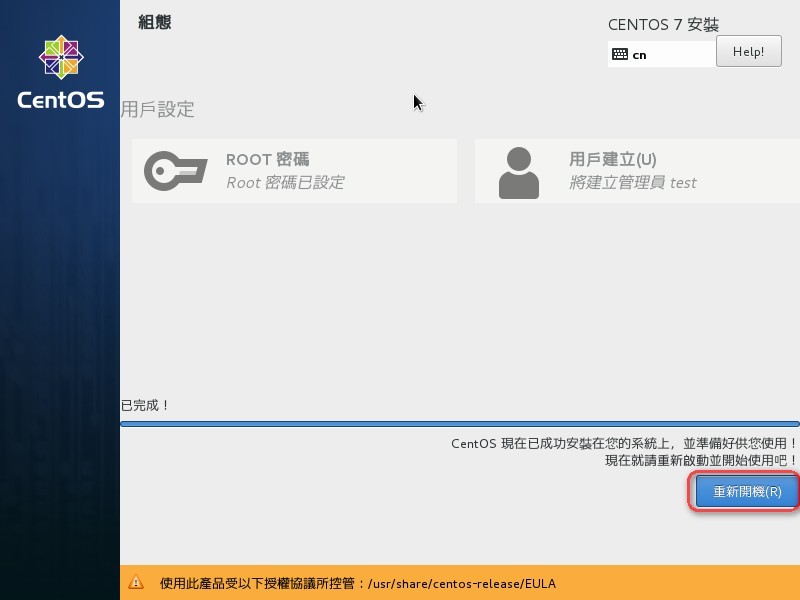
登入後的操作畫面跟windows雷同
這哪有重零開始
請教,是到CentOS 官網上下再相對應的CentOS Linux後,打開就可以開始第一步「1.安裝CentOS
」嗎?感謝大大


 iThome鐵人賽