我們上一次有介紹到@RestController
Ex:
@RestController
public class HelloSpringBoot {
	//透過 @RequestMapping 指定從/會被對應到此hello()方法
    @RequestMapping("/")
    public String hello(){
        return "向全世界說聲Spring Boot 很高興認識你!";
    }
先來認識一下 ,@RestController 主要是用來建置RESTful Web Servic的控制器,透過@RequestMapping("/")
從瀏覽器進入這個方法
他與@Controller差別在於@Controller最後會回到視圖解析器就是我們所知道的Web Page頁面,在java中傳統的頁面都是jsp所組成,但是Spring Boot並沒有預設支持.jsp的頁面我們要另外做處理
@RestController則是@ResponseBody + @Controller的結合,常見的我們可以返回一個JSON格式的資料給Client
端,就是我們熟悉的RESTful Service常用的傳送資料格式,
如果你想更了解什麼是RESTful Service的話那你可以參考這篇文章
(https://www.tutorialspoint.com/restful/ )
那要回傳Response一個頁面的話 Spring Boot支持以下模板引擎
在pom.xml加入
		<dependency>
      		<groupId>org.springframework.boot</groupId>
      		<artifactId>spring-boot-starter-thymeleaf</artifactId>
    	</dependency>
在application.properties加入
spring.thymeleaf.prefix=classpath:/templates/
創建一個Controller類
@Controller
public class userController {

	 @RequestMapping("/MyFirstPage")
	    public String greeting(@RequestParam(value="title", required=false, defaultValue="xiao") String title, Model model) {
	        model.addAttribute("name", title);
	        return "index";
	    }
@RequestParam(value="title", required=false, defaultValue="鐵人賽 加油!") String title, Model model@RequestParam去接收請求是否有帶入title的name參數required=false的意思是非必要defaultValue="鐵人賽 加油!" 意思是如果沒有則帶入鐵人賽 加油!
Model:
我這邊使用了org.springframework.ui.Model;
去增加了一個Attribute叫做name
將title參數添加到了Model叫做name上
下一步:
在src->main->resources->templates
舔加index.html
<!DOCTYPE HTML>
<html xmlns:th="http://www.thymeleaf.org">
<head>
    <title>My first Page by thymeleaf</title>
    <meta http-equiv="Content-Type" content="text/html; charset=UTF-8" />
</head>
<body>
    <div th:text=" ${name} + '!'" /></div>
</body>
</html>
如果都新增完畢,重啟啟動Spring Boot application
然後在瀏覽器輸入:
(http://localhost:8080/MyFirstPage )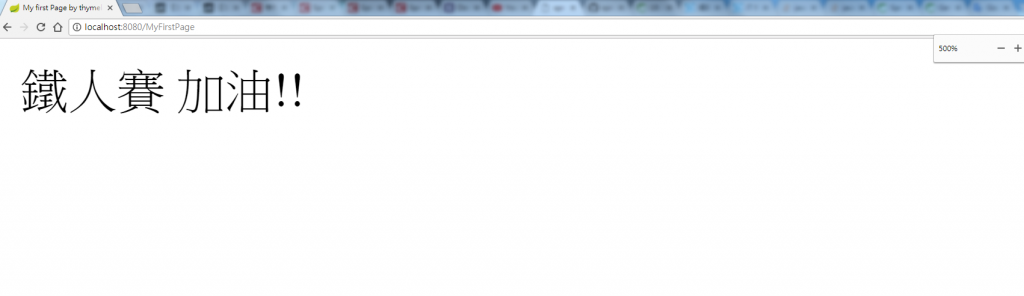

圖片來源:(https://docs.spring.io/spring-framework/docs/5.0.0.BUILD-SNAPSHOT/spring-framework-reference/html/mvc.html )
試試在URL後方加入?title=任意的數值看看會發生什麼事!
明天繼續 ,今天先到這