
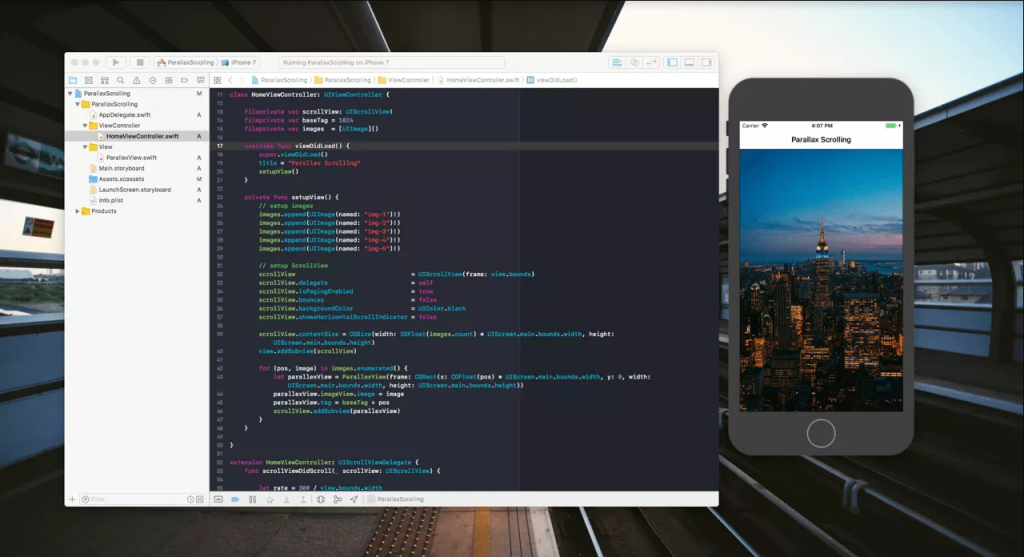
在 Web 應用中,尤其是「一頁式」網站裡我們常常會看到捲動視差的例子。
之前用 UICollectionView 實作過豎直的捲動視差,這次換 UIScrollView 來實作水平的捲動視差。

當使用者拖動畫面的時候,前後兩張圖片都會在各自的 View 中移動。
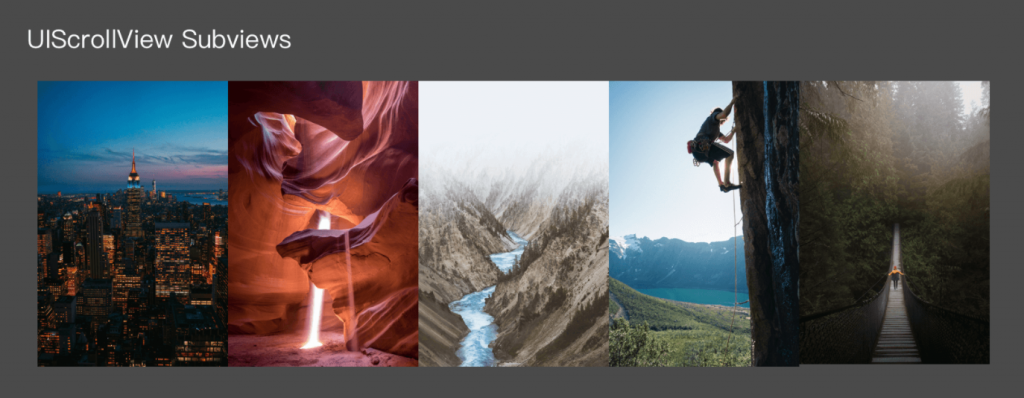
在 Viewcontroller 中放置一個 UIScrollView 並將準備好的5張圖片平鋪在 scrollView 的 subview 中。
而 scrollView 的 contentSize 也很好計算,就是5個滿屏的大小。
另外會給放入的 ParallaxView 設置 tag 方便後面調用。
private func setupView() {
    // setup images
    images.append(UIImage(named: "img-1")!)
    images.append(UIImage(named: "img-2")!)
    images.append(UIImage(named: "img-3")!)
    images.append(UIImage(named: "img-4")!)
    images.append(UIImage(named: "img-5")!)

    // setup ScrollView
    scrollView                                = UIScrollView(frame: view.bounds)
    scrollView.delegate                       = self
    scrollView.isPagingEnabled                = true
    scrollView.bounces                        = false
    scrollView.backgroundColor                = UIColor.black
    scrollView.showsHorizontalScrollIndicator = false

    scrollView.contentSize = CGSize(width: CGFloat(images.count) * UIScreen.main.bounds.width, height: UIScreen.main.bounds.height)
    view.addSubview(scrollView)

    for (pos, image) in images.enumerated() {
        let parallexView = ParallexView(frame: CGRect(x: CGFloat(pos) * UIScreen.main.bounds.width, y: 0, width: UIScreen.main.bounds.width, height: UIScreen.main.bounds.height))
        parallexView.imageView.image = image
        parallexView.tag = baseTag + pos
        scrollView.addSubview(parallexView)
        print("x: \(parallexView.frame.origin.x)")
    }
}
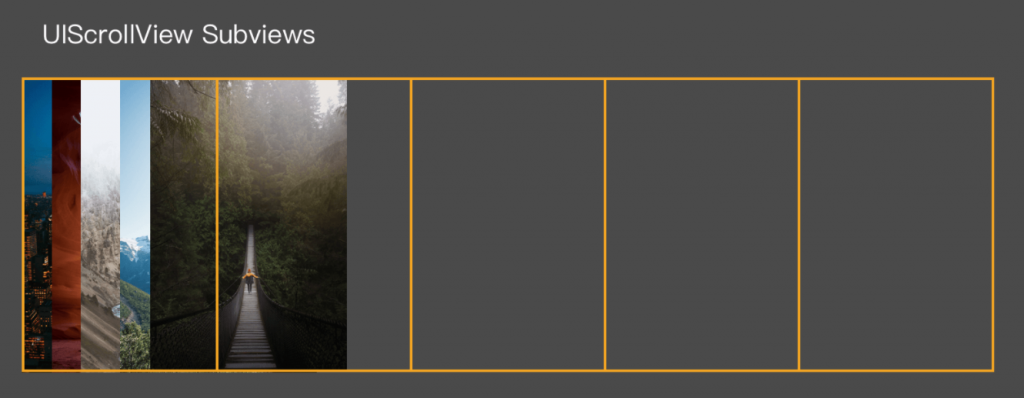
當拖動 UIScroolView 的時候,我們不改變 UIScrollView 根據拖動的比例來改變 ParallaxView 中 imageView 的 frame.
可以看到 每一個 ParallaxView 都還在自己的位置上,但其中的 imageView 已經被我們調整了。
extension HomeViewController: UIScrollViewDelegate {
    func scrollViewDidScroll(_ scrollView: UIScrollView) {

        let rate = 300 / view.bounds.width
        let offset = scrollView.contentOffset.x
        for i in 0 ..< images.count {
            // update imageView's frame
            let parallaxView = scrollView.viewWithTag(baseTag + i) as! ParallexView
            let newX:CGFloat = rate * (offset - CGFloat(i) * UIScreen.main.bounds.width)
            parallaxView.imageView.frame = CGRect(x: newX,
                                                  y: parallaxView.imageView.frame.origin.y,
                                                  width: parallaxView.imageView.frame.width,
                                                  height: parallaxView.imageView.frame.height)
        }
    }
}
在這個 View 中設定基本樣式,讓圖片之間有個黑色的邊線。
另外會在這個 View 中建立一個 imageView 這樣當使用者拖動畫面的時候,可以直接移動這個 imageView 而不是整個 view 從而達到捲動視差的效果。
class ParallexView: UIView {
    var imageView: UIImageView!

    override init(frame: CGRect) {
        super.init(frame: frame)

        layer.borderWidth = 0.5
        layer.borderColor = UIColor.black.cgColor
        layer.masksToBounds = true

        imageView = UIImageView(frame: CGRect(x: 0, y: 0, width: frame.size.width, height: frame.size.height))
        imageView.contentMode = .scaleAspectFill
        addSubview(imageView)
    }

    required init?(coder aDecoder: NSCoder) {
        fatalError("init(coder:) has not been implemented")
    }
}
為什麼在 ParallaxView 中,要將 layer.masksToBounds 設定為 true?
因為控制圖片是否顯示,是通過 ParallaxView 來限制的,但如果這裡設定為 flase 就會有下面的效果,全部的照片都疊加顯示了。
而當我們將 layer.masksToBounds 設定為 true 以後,只要該圖片沒有處於 ParallaxView 的 frame 中,就不會顯示出來。
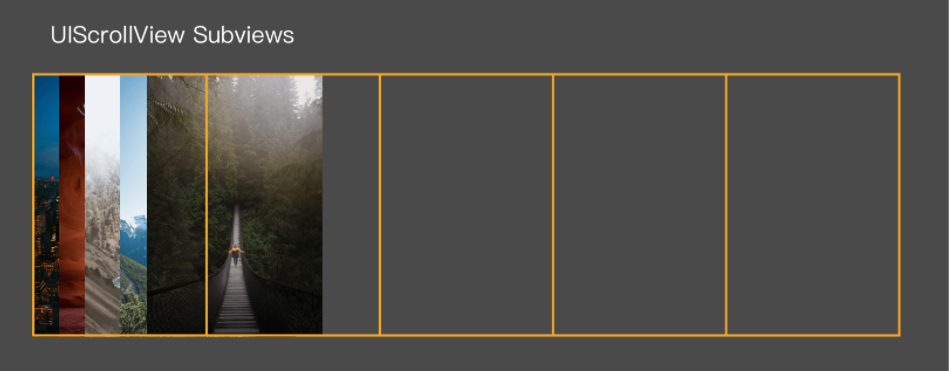
在畫面中每一個橘色的部分都是一個 ParrlaxView 而其中的 imageView 已經被我們移動到左邊去了。
所以當橘色的部分沒有覆蓋這張圖片時,因為 maskToBounds = true 所以我們就看不到內容,有遮罩概念的朋友應該很快就能理解了。

