之前我們使用都只讓 tableview 顯示圖片和資料,今天我們讓他和使用者有點互動。
以下為處理列被選取時的方法
fun tableView(UITableView,willSelectRowAt: indexPath)
fun tableView(UITableView,didSelectRowAt: indexPath)
override func tableView(_ tableView: UITableView, didSelectRowAt indexPath: IndexPath) {


        // Create a menu of action list
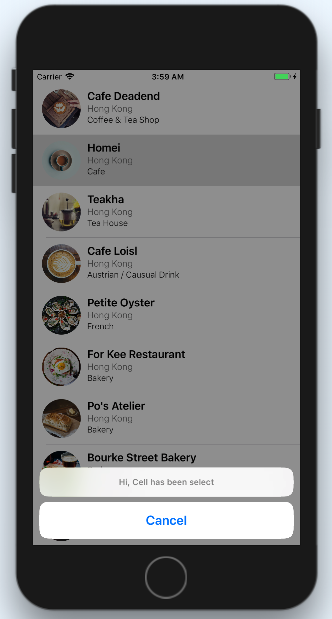
        let optionMenu = UIAlertController(title: nil, message: "Hi, Cell has been select", preferredStyle: .actionSheet)

        // Add action into the list

        let cancelAction = UIAlertAction(title: "Cancel", style: .cancel, handler: nil)
            optionMenu.addAction(cancelAction)

        // Present the menu
        present(optionMenu, animated:true, completion: nil)

    }
按下 Build -> 點選 simulator 上任何一列就會出現以下結果了。
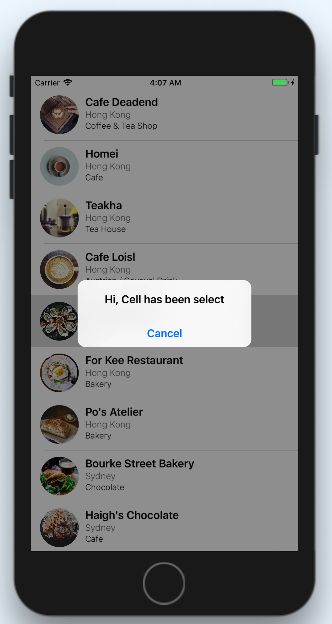
如果把 preferredStyle 改為 .alert 就會出現不一樣的結果
let optionMenu = UIAlertController(title: nil, message: "Hi, Cell has been select", preferredStyle: .alert)

