今天的目標是將新增功能移到admin頁面
如此連結
檔案結構越來越複雜
我畫了整理圖如下,
main.dart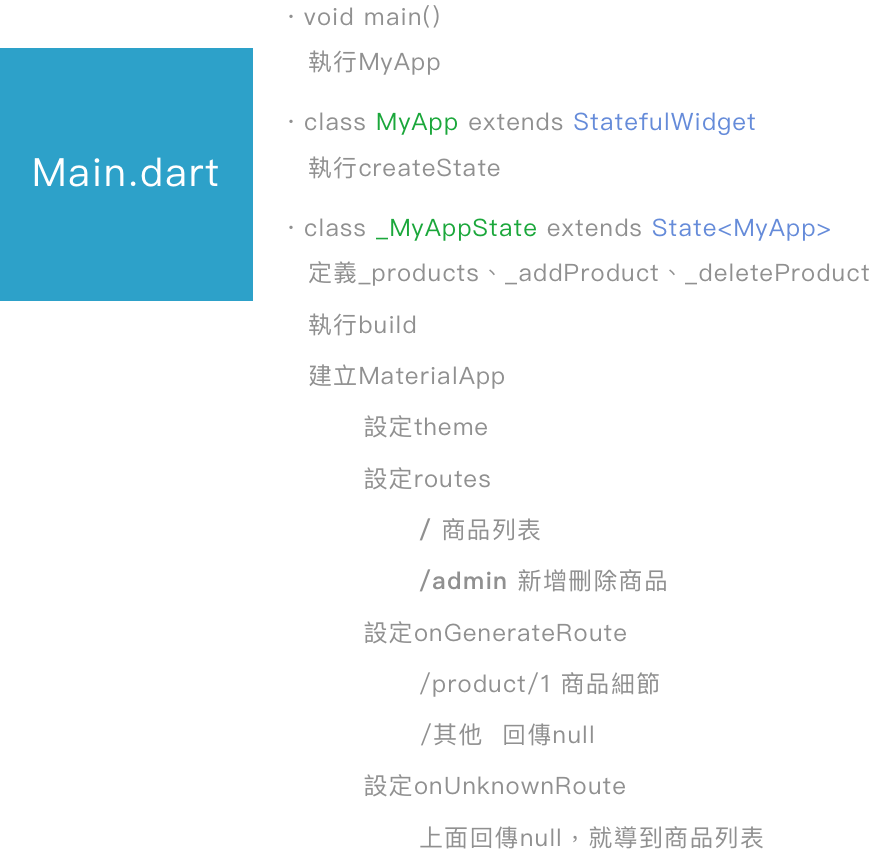
pages/products.dart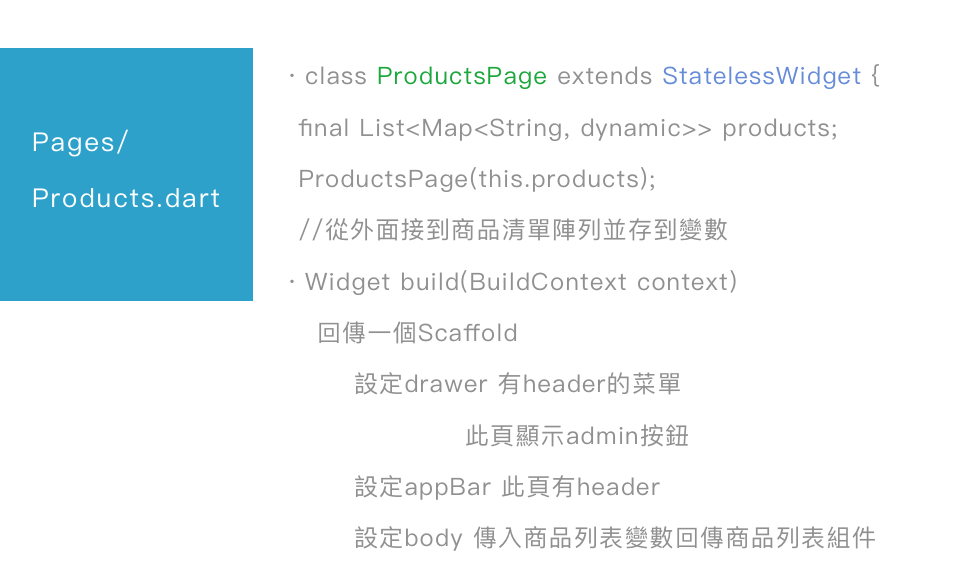
product_manager.dart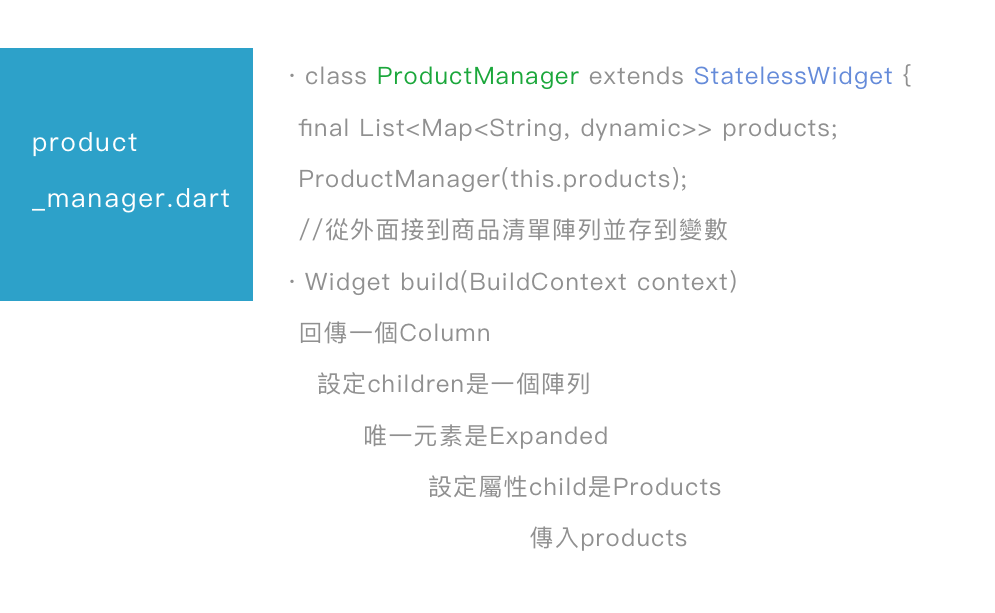
products.dart
pages/product.dart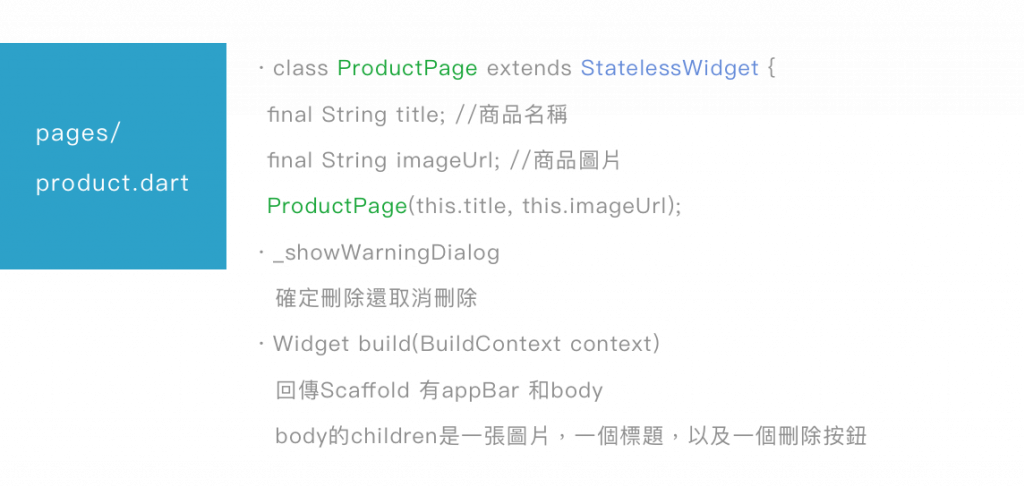
pages/product_admin.dart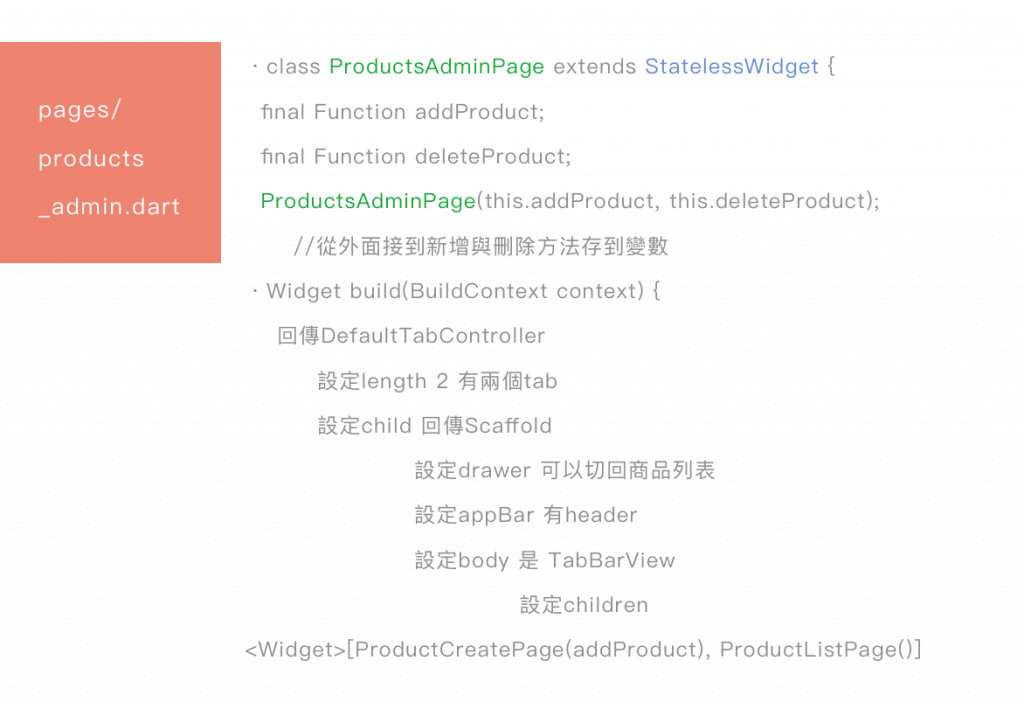
pages/product_create.dart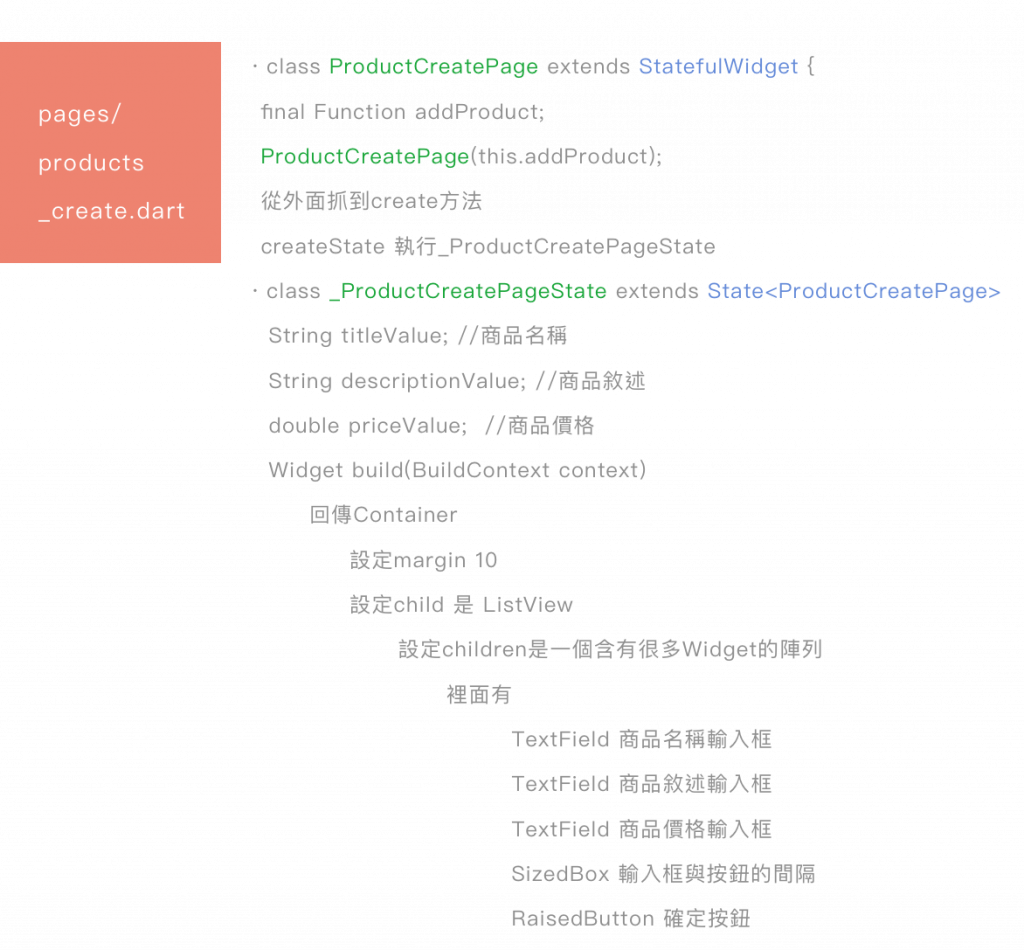
main.dart
class _MyAppState extends State<MyApp> {
  List<Map<String, dynamic>> _products = [];

  void _addProduct(Map<String, dynamic> product) {
    setState(() {
      _products.add(product);
    });
    print(_products);
  }

  void _deleteProduct(int index) {
    setState(() {
      _products.removeAt(index);
    });
  }

  @override
  Widget build(BuildContext context) {
    return MaterialApp(
      theme: ...,
      routes: {
        '/': (BuildContext context) => ProductsPage(_products),
        '/admin': (BuildContext context) =>
            ProductsAdminPage(_addProduct, _deleteProduct),
      },
      onGenerateRoute: ...
      onUnknownRoute: ...
    );
  }
}
class ProductsAdminPage extends StatelessWidget {
  final Function addProduct;
  final Function deleteProduct;

  ProductsAdminPage(this.addProduct, this.deleteProduct);

  @override
  Widget build(BuildContext context) {
    return DefaultTabController(
      length: 2,
      child: Scaffold(
        drawer: Drawer(...),
        appBar: AppBar(
          title: Text('Manage Products'),
          bottom: TabBar(...),
        ),
        body: TabBarView(
          children: <Widget>[ProductCreatePage(addProduct), ProductListPage()],
        ),
      ),
    );
  }
}
import 'package:flutter/material.dart';

class ProductCreatePage extends StatefulWidget {
  final Function addProduct;

  ProductCreatePage(this.addProduct);

  @override
  State<StatefulWidget> createState() {
    return _ProductCreatePageState();
  }
}

class _ProductCreatePageState extends State<ProductCreatePage> {
  String titleValue;
  String descriptionValue;
  double priceValue;

  @override
  Widget build(BuildContext context) {
    return Container(
      margin: EdgeInsets.all(10.0),
      child: ListView(
        children: <Widget>[
          TextField(
            decoration: InputDecoration(labelText: 'Product Title'),
            onChanged: (String value) {
              setState(() {
                titleValue = value;
              });
            },
          ),
          TextField(...),
          TextField(...),
          SizedBox(
            height: 10.0,
          ),
          RaisedButton(
            child: Text('Save'),
            color: Theme.of(context).accentColor,
            //在MaterialApp下面的theme屬性定義的accentColor
            textColor: Colors.white,
            onPressed: () {
              final Map<String, dynamic> product = {
                'title': titleValue,
                'description': descriptionValue,
                'price': priceValue,
                'image': 'assets/food.jpg'
              };
              widget.addProduct(product);
              Navigator.pushReplacementNamed(context, '/');
            },
          )
        ],
      ),
    );
  }
}
主題來源:
Learn Flutter & Dart to Build iOS & Android Apps


 iThome鐵人賽