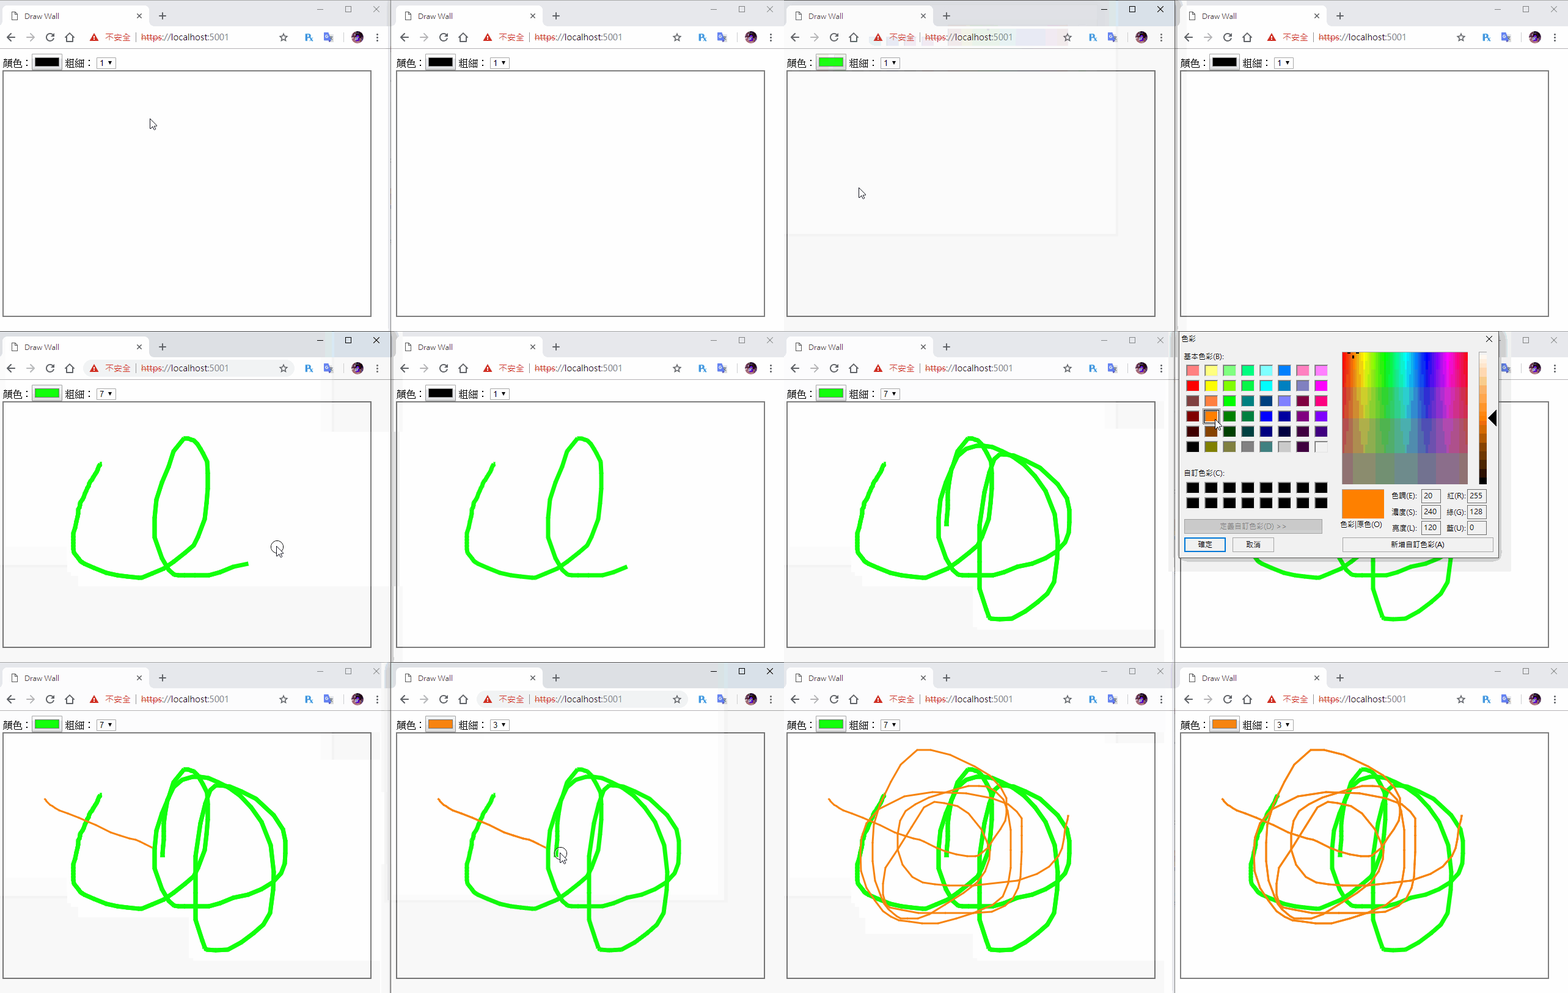
今天要來做塗鴉牆第2部分,首先我們得想想該回傳些什麼,制定一個Json格式回傳回去。
連接部分程式碼先寫好
var connection = new signalR.HubConnectionBuilder().withUrl("/drawHub").build();
// 連接事件
connection.start().catch(function (err) {
    return console.error(err.toString());
});
再來我們要制定一下回傳的Json格式
從昨天的程式碼來看,我們需要起始位置、結束位置、顏色、線條粗細,大概像下面這樣。
{
    "startPos": [10, 20],
    "endPos": [40, 50]],
    "color": "orange",
    "lineWidth": 10
}
每次畫線時都要回傳給Sever,所以要寫在mousermove裡面,回傳格式使用上面的Json格式
connection.invoke("SendDraw", {
    "startPos": tempPos,
    "endPos": newPos,
    "color": ctx.strokeStyle,
    "lineWidth": ctx.lineWidth

}).catch(function (err) {
    return console.error(err.toString());
});
註:記得要寫在
tempPos = newPos;之前,不然更新tempPos之後就不知道前一個位置了
接收事件則是接收後直接在Canvas上畫圖,也就是重複了mousemove裡面做的動作
connection.on("ReceiveDraw", function (json) {
    ctx.strokeStyle = json.color;
    ctx.lineWidth = json.lineWidth;
    ctx.beginPath();
    ctx.moveTo(json.startPos[0], json.startPos[1]);
    ctx.lineTo(json.endPos[0], json.endPos[1])
    ctx.closePath();
    ctx.stroke();
});
我們先建立一個Models資料夾,裡面要用來裝我們建立的Json格式
在Models建立一個檔案DrawModel,用來裝Json格式
using System;

namespace DrawWall.Models
{
    public class DrawModel
    {
        public int[] startPos { get; set;}
        public int[] endPos { get; set;}
        public string color { get; set;}
        public int lineWidth { get; set;}
    }
}
注意
startPos和endPos是數字陣列
在建立一個DrawHub,內容很簡單也只要把接受到的Json資料再傳給所有人就行
using Microsoft.AspNetCore.SignalR;
using System.Threading.Tasks;
using DrawWall.Models;

namespace DrawWall.Hubs
{
    public class DrawHub : Hub
    {
        public async Task SendDraw(DrawModel drawData)
        {
            await Clients.All.SendAsync("ReceiveDraw", drawData);
        }
    }
}
還有Starup.cs記得註冊DrawHub和SignalR
public void ConfigureServices(IServiceCollection services)
{
    services.AddSignalR();
}

public void Configure(IApplicationBuilder app, IHostingEnvironment env)
{
    if (env.IsDevelopment())
    {
        app.UseDeveloperExceptionPage();
    }

    app.UseDefaultFiles();
    app.UseStaticFiles();
    app.UseSignalR(routes =>
    {
        routes.MapHub<DrawHub>("/drawHub");
    });
}
最後記得加入前端的signal套件,這樣就完成了

本文同步於個人BLOG
