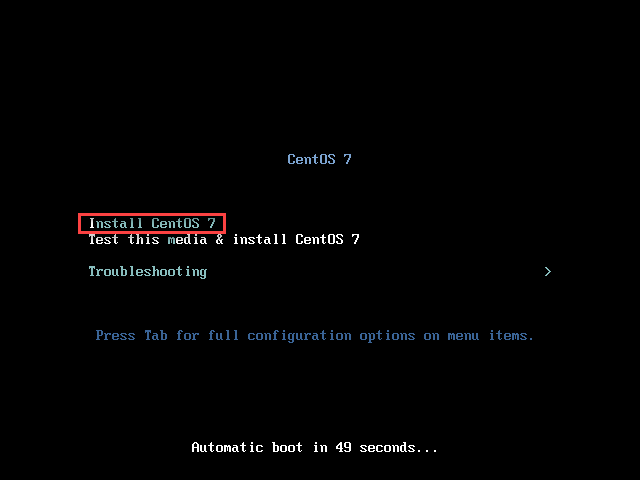
於開機選單選取 Install CentOS 7 接著按下 Enter。
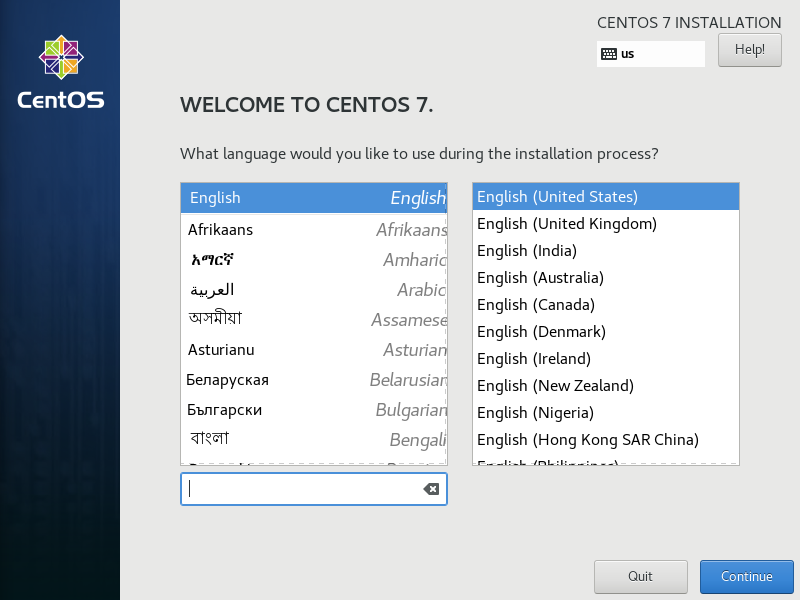
選取語言。自從上次上一門線上課程,講師是臺灣人,可是他說他經手的機器,介面語言全部都選 English,如此出現錯誤訊息,複製起來(無須翻譯)就可以丟 Google 了,Debug、查修都比較方便。受此影響,我之後安裝伺服器,也都改選英文。
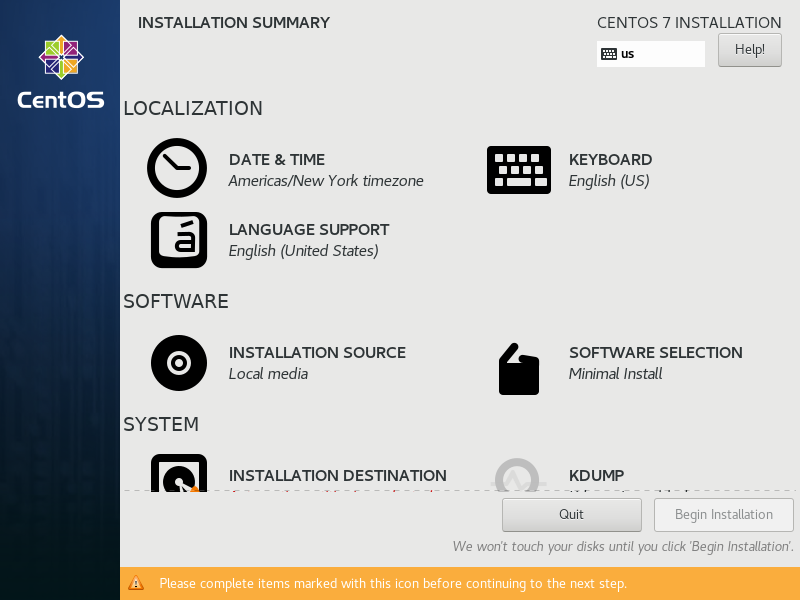
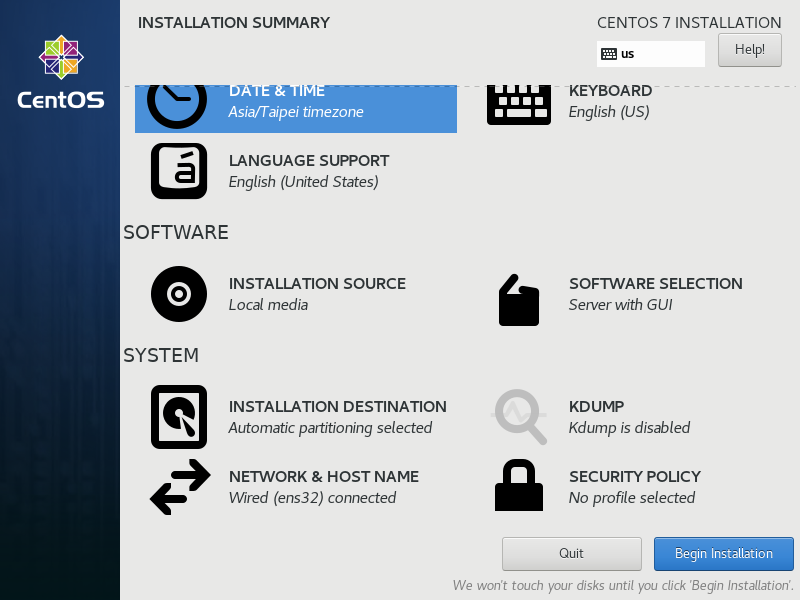
INSTALLATION SUMMARY 安裝總結,接著針對以下每一部分進行處理:
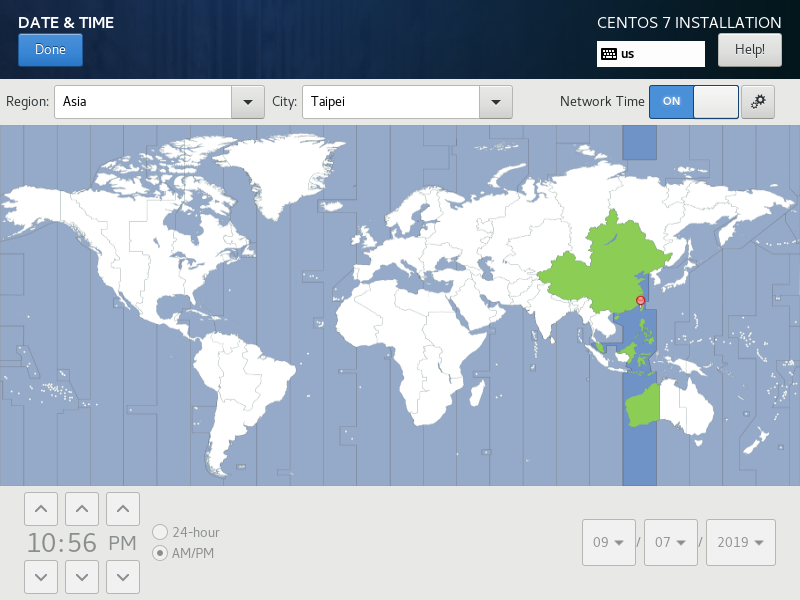
DATE & TIME 日期及時間
將地圖上的紅點,點到臺灣的位置
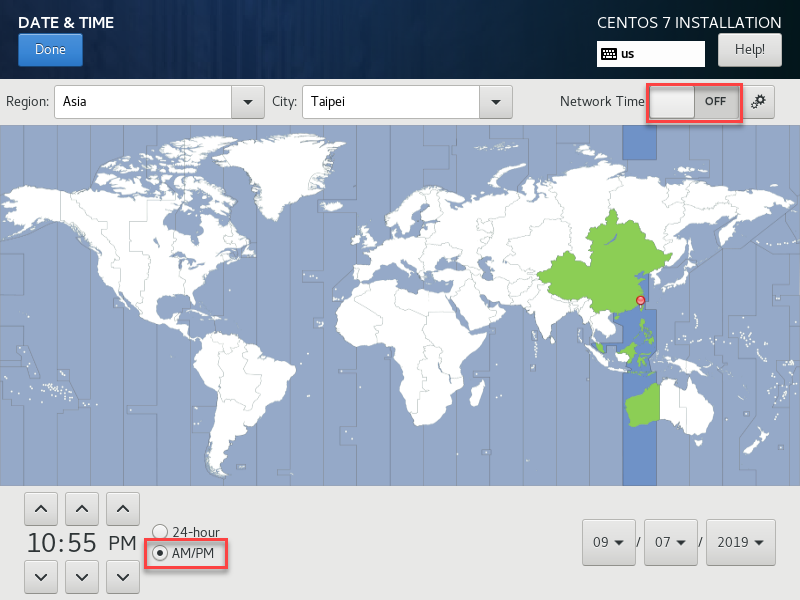
左下角,個人習慣切換成 AM/PM
右上角 Network Time,在網路不通的情況下會是 OFF,直到網路通了才會是 ON。
KEYBOARD 鍵盤
不用動
LANGUAGE SUPPORT 語言支援
不用動
INSTALLATION SOURCE
不用動,它會自動偵測到由光碟進行安裝
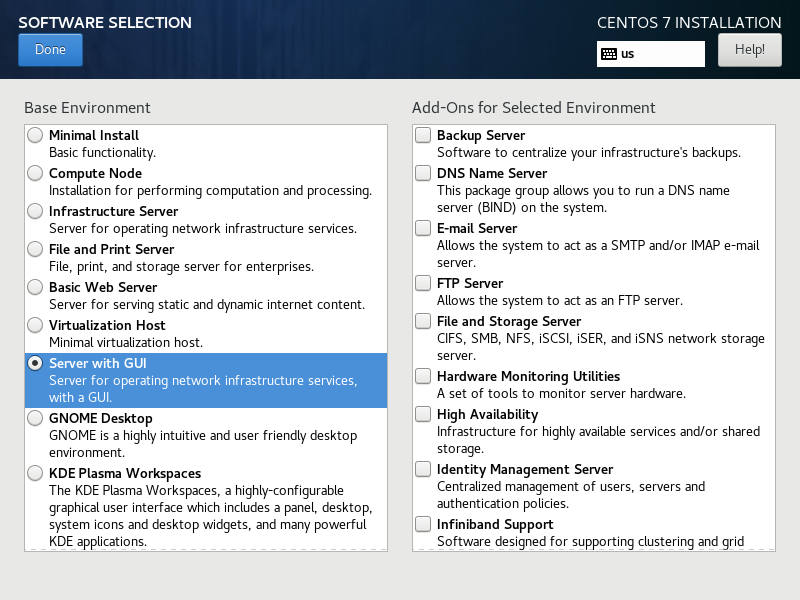
SOFTWARE SELECTION
原先預設值為 Minimal Install
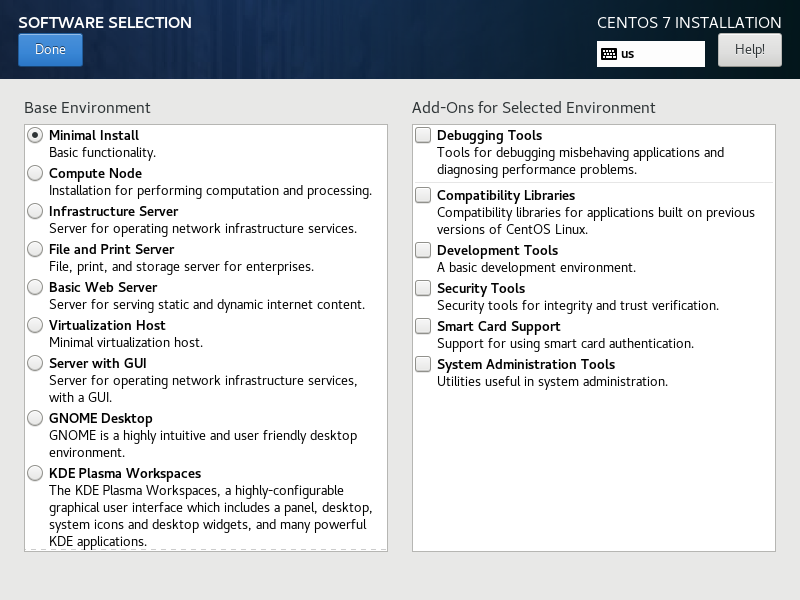
我個人習慣改選 Server with GUI
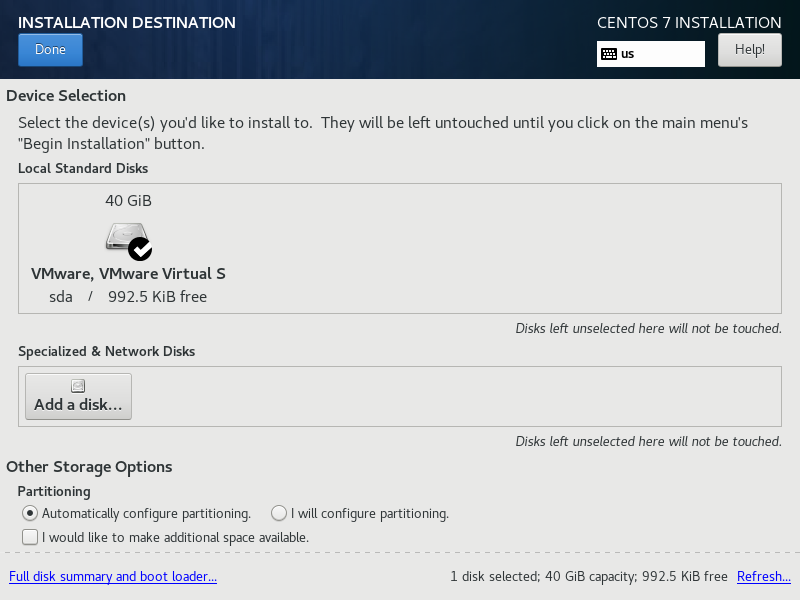
INSTALLATION DESTINATION
可選取作業系統要安裝在哪一顆硬碟上。左下角 Partitioning 硬碟分割,預設值為 Automatically configure partitioning. 自動配置分割
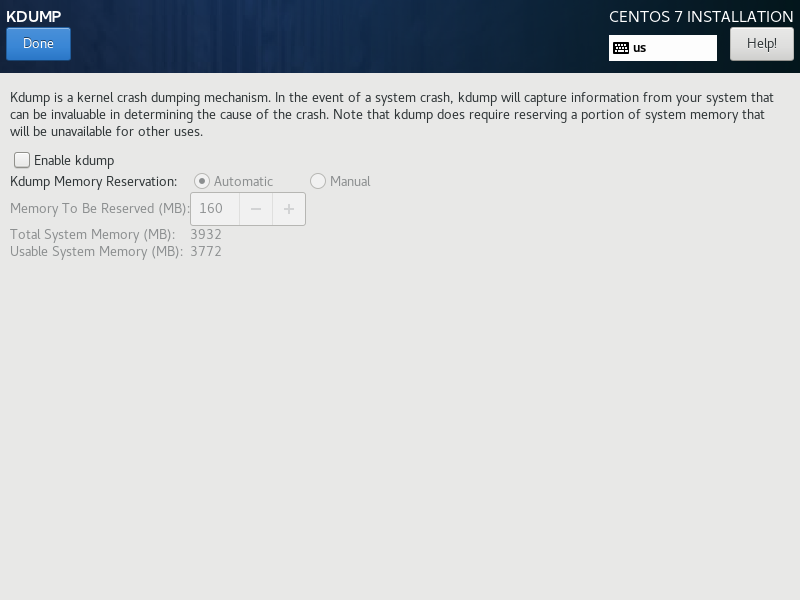
KDUMP
個人習慣切換成關閉
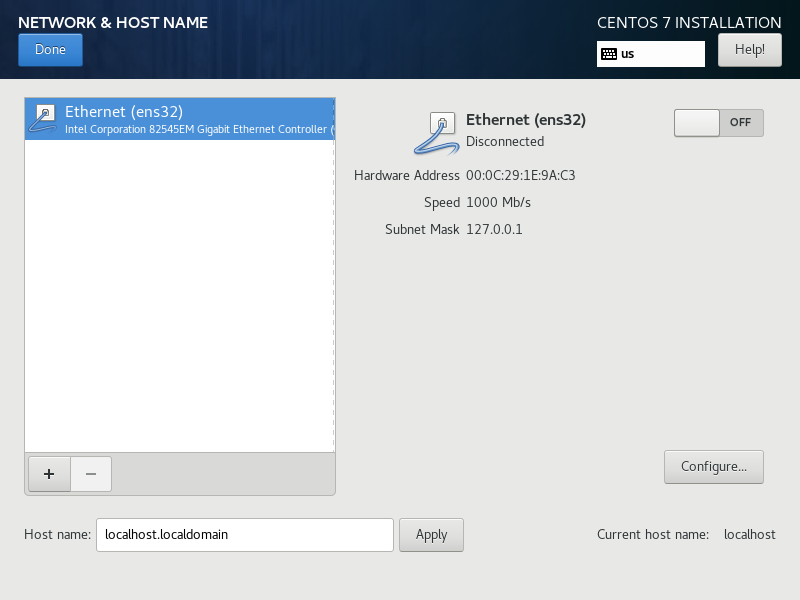
NETWORK & HOSTNAME
右上角網路卡原先是關閉 (OFF) 的
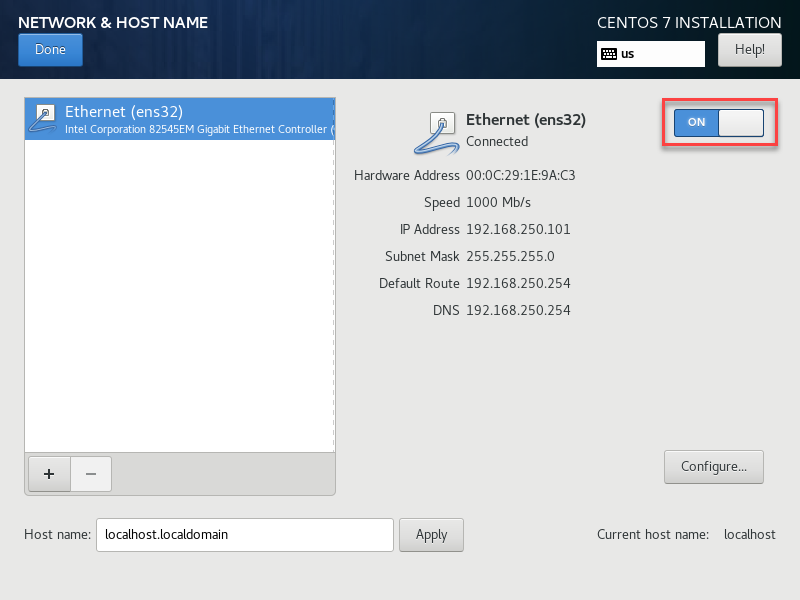
首先將它切換成 ON,接著就會藉由 DHCP 取得 IP,得到 IP 位址、子網路遮罩、預設路由與 DNS 資訊
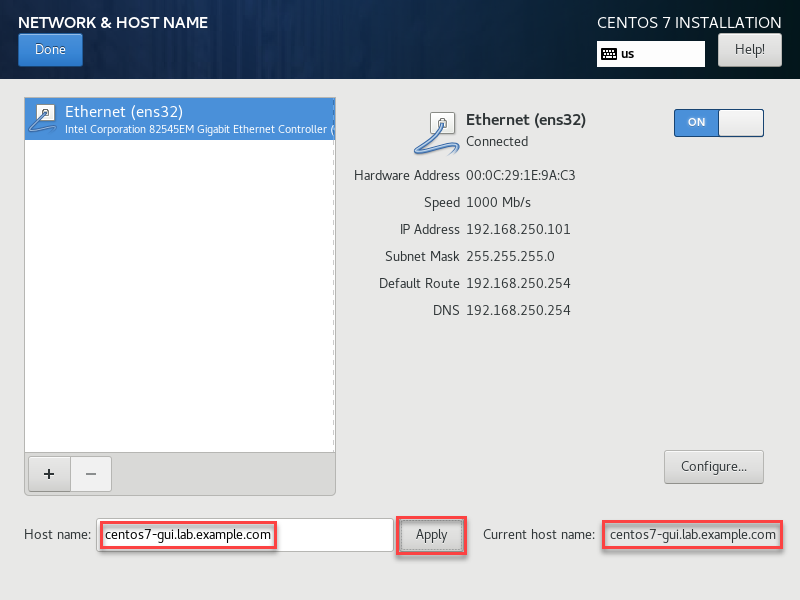
左下角 Host name 可為此機器取個名稱,我設定為 centos7-gui.lab.example.com。
SECURITY POLICY
不用動
全部設定完,再檢查一遍,按下 Begin Installation 開始進行安裝
全部設定完,還要設定 root 密碼與建立新的使用者
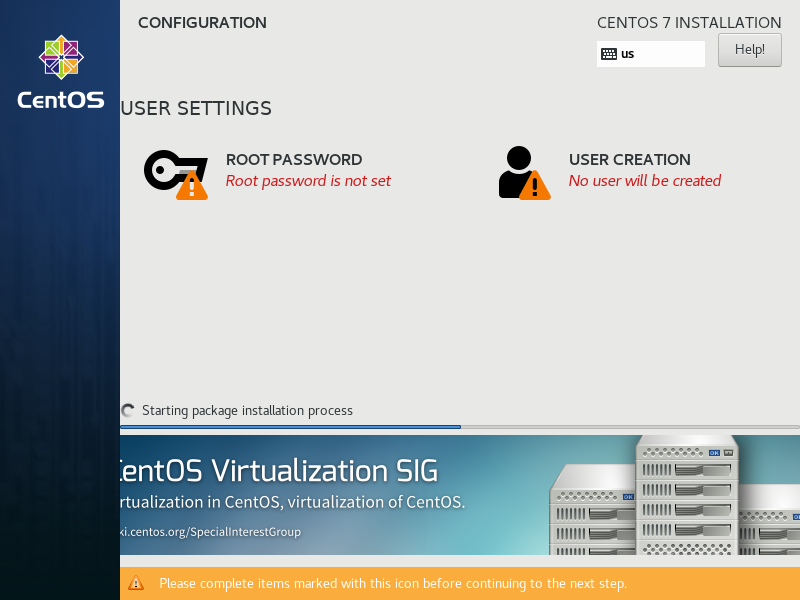
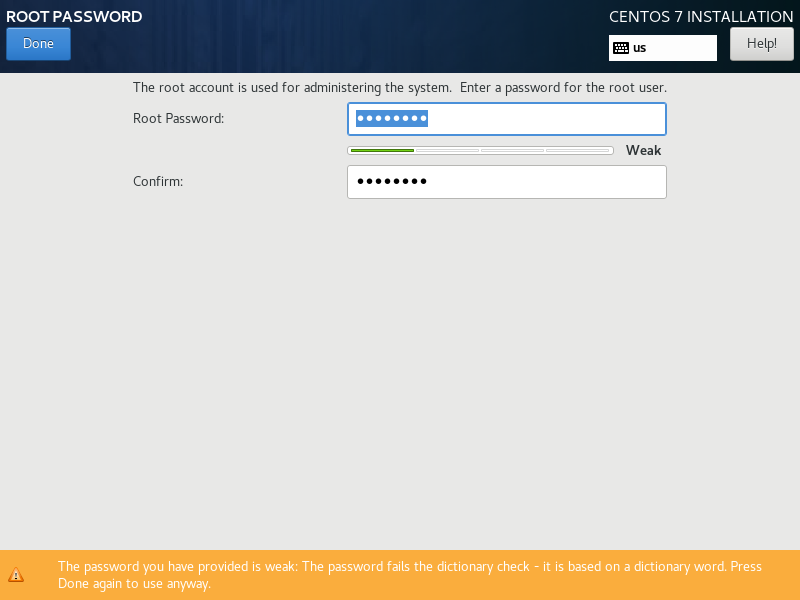
root 密碼設定為 password
建立新的使用者 (EX: doraemon)、設定密碼,並且勾選 Make this user administrator 讓此使用者成為管理者

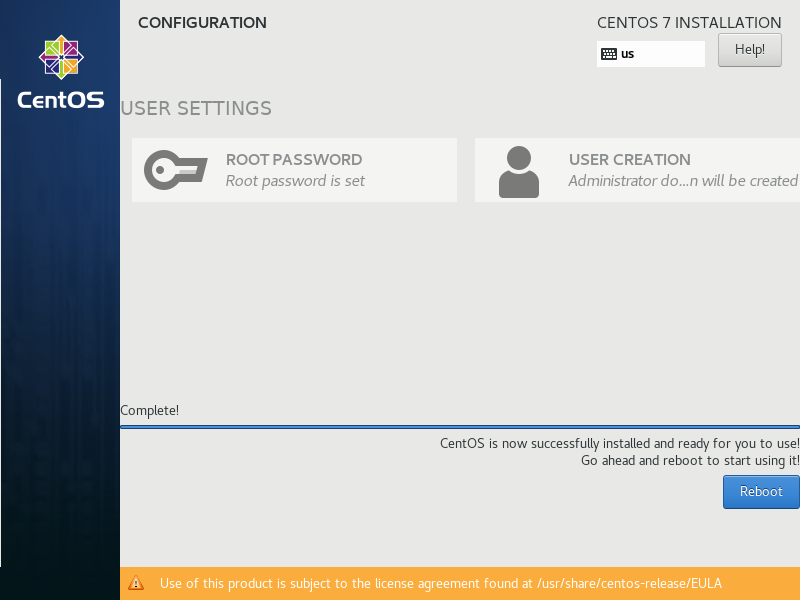
安裝過程稍候一下,等全部安裝完畢,按下 Reboot 重新開機
重開機完,還需進入 LICENSE CONFIRMATION
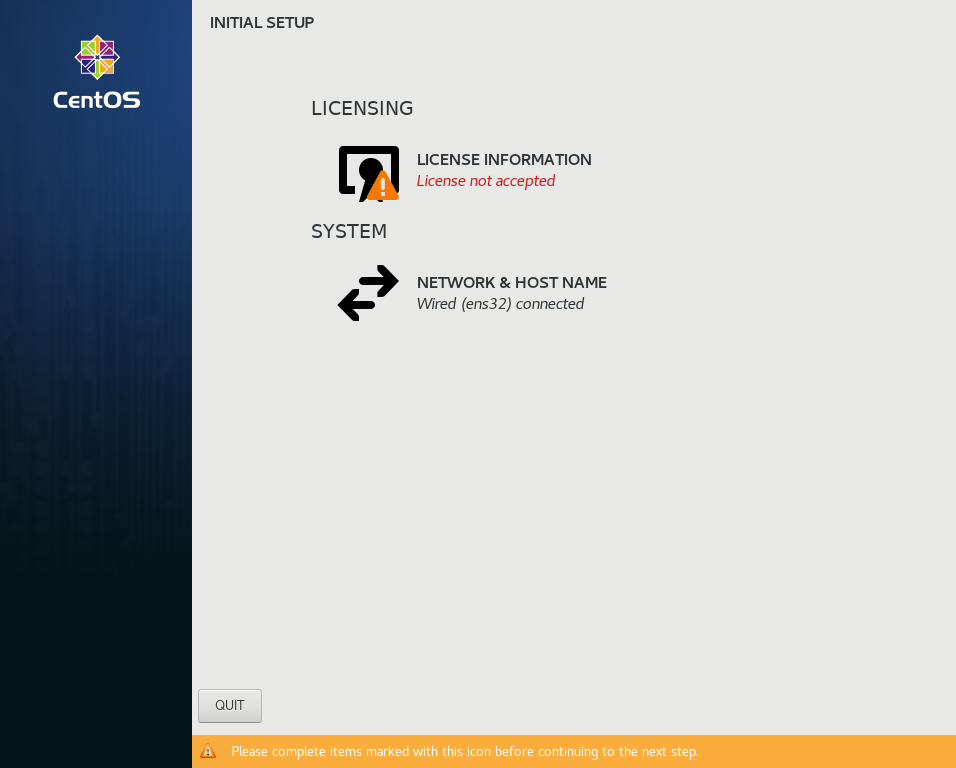
勾選 I accept the license agreement. 我接受授權協議
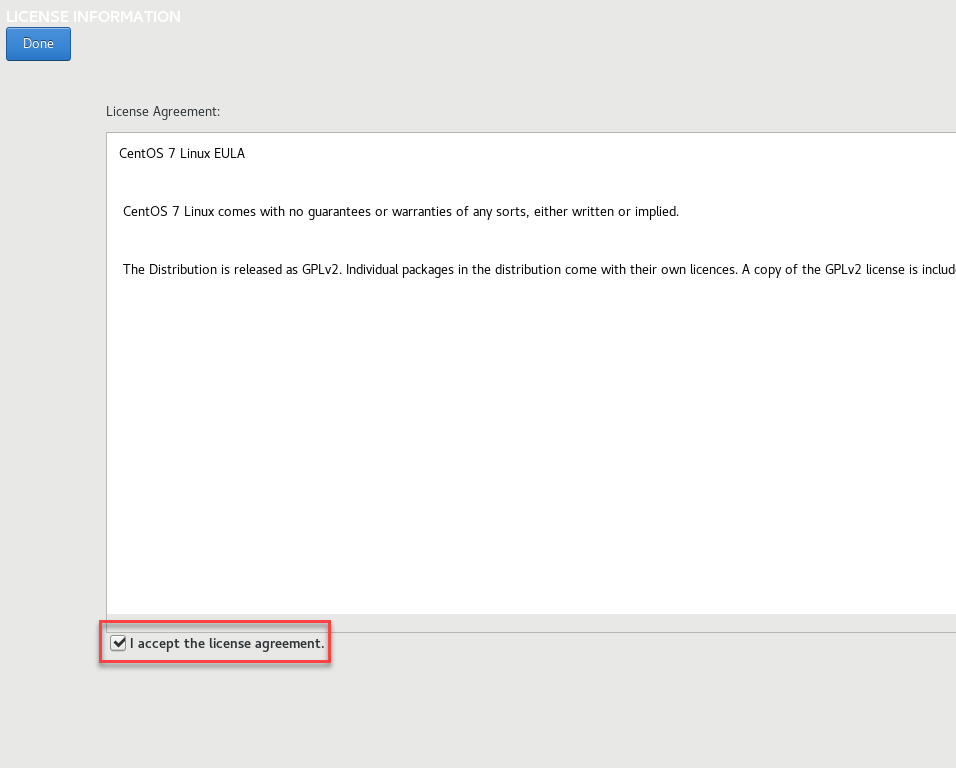
按下 FINISH CONFIGURATION 完成設定,再次進行重開機

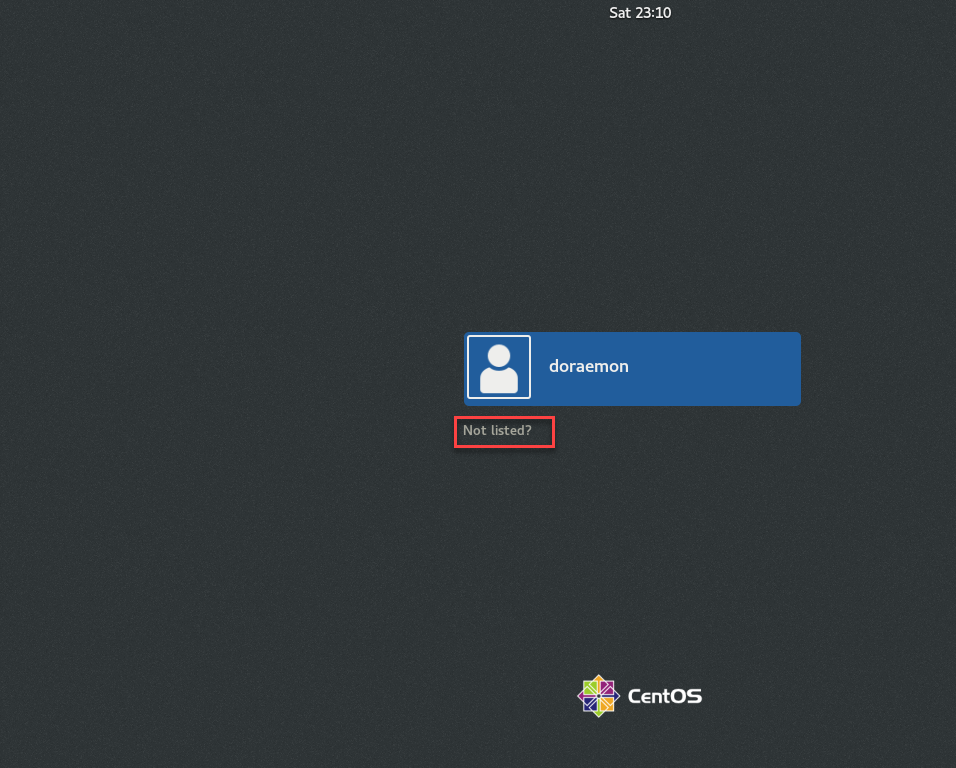
登入。若要以 root 登入,需要點選左下角 Not listed?
Username 輸入 root
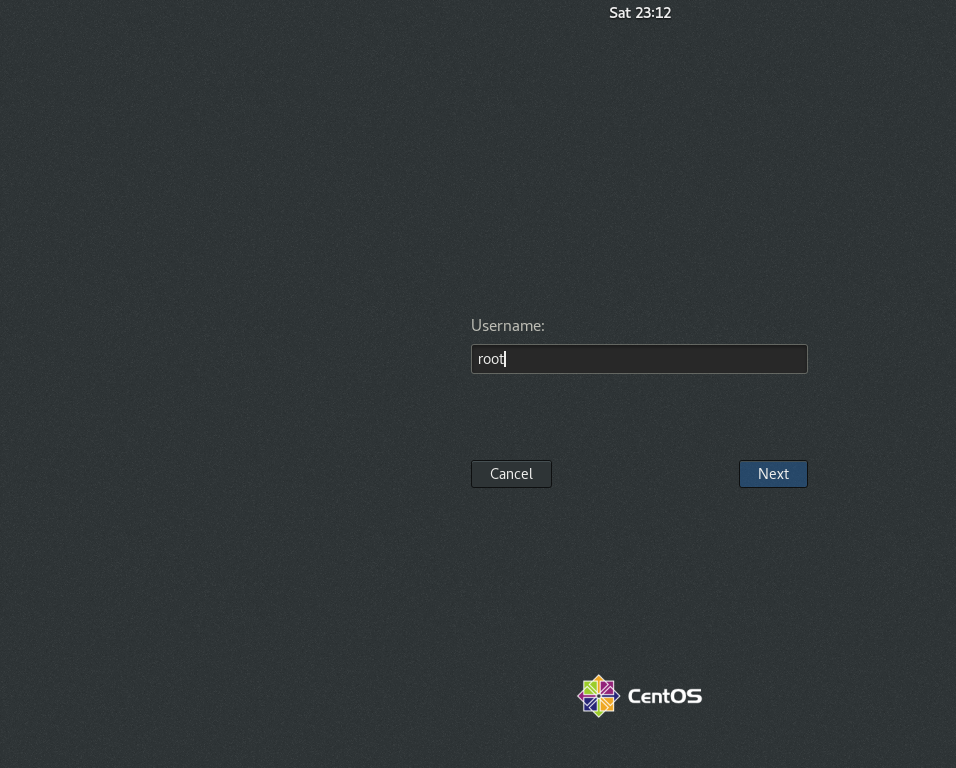
輸入 root 密碼
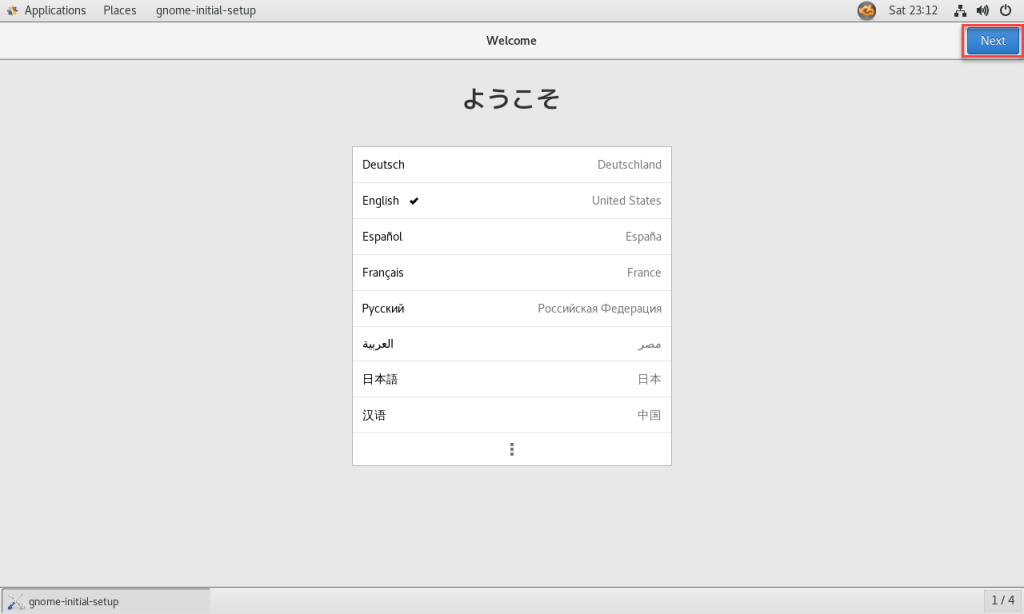
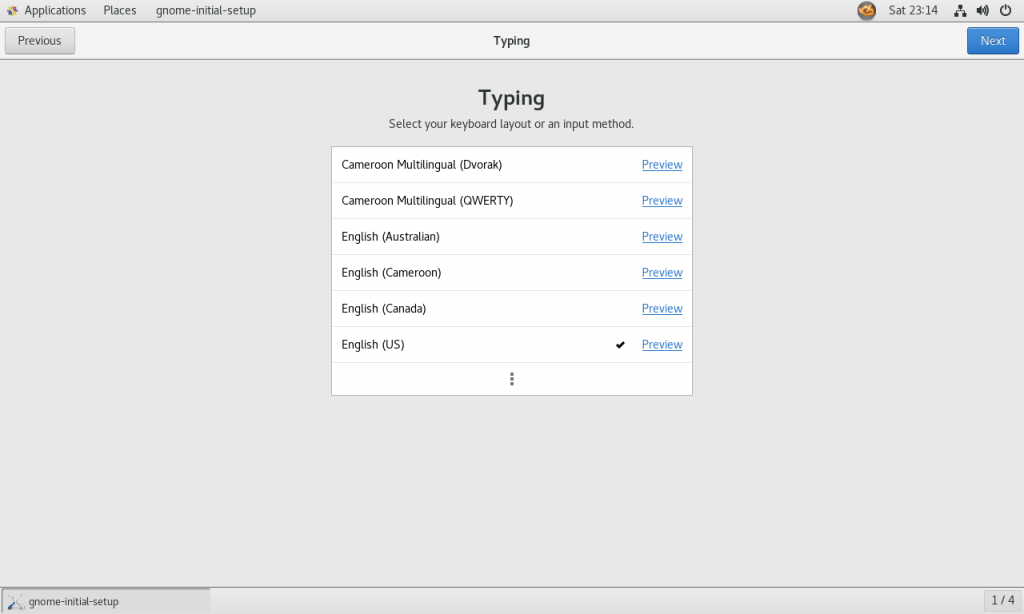
再做幾步使用者登入後的初始設定
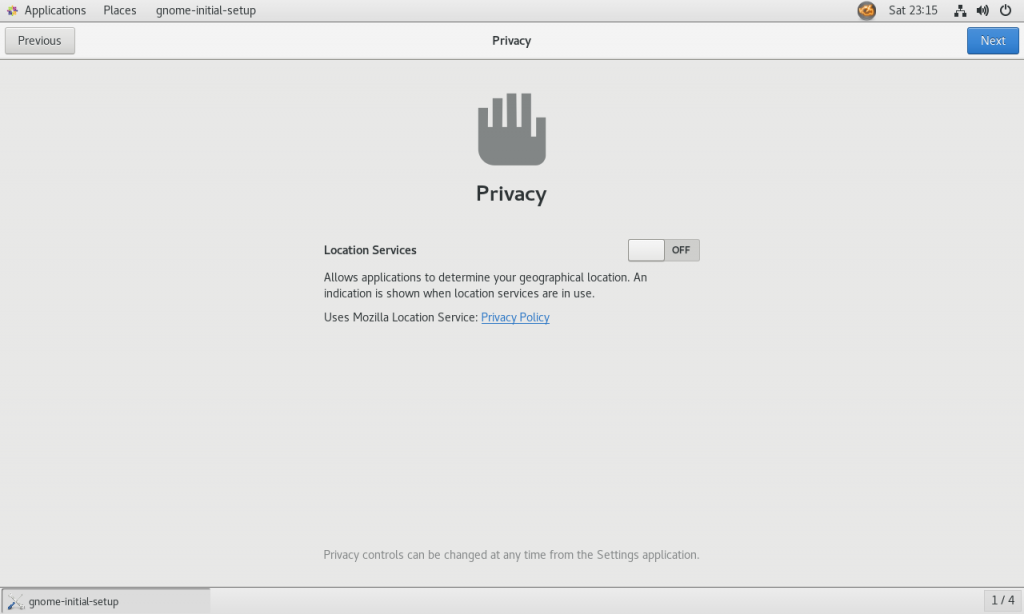
我個人是習慣將 Location Services 切換成 OFF
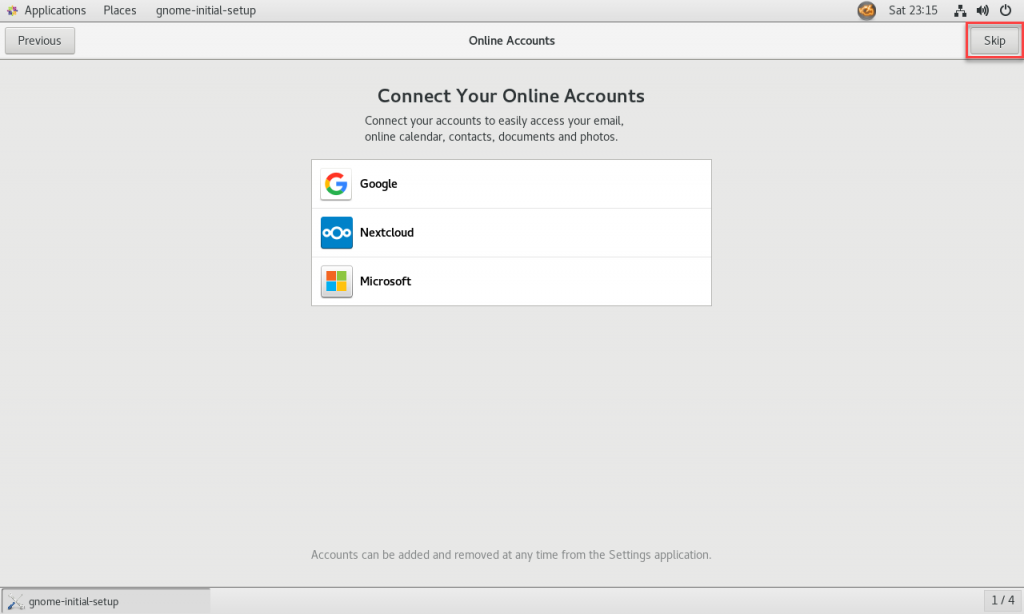
我在安裝過程中習慣是不連上網路的
因為連上網路它會自動下載新的 package 安裝
但似乎不會使用 fastest mirror
導致 package 下載很慢