基本的知識都了解後,終於又來到實戰的時候。
大家要預先準備一些html文件(至少有一個主頁, index.html),但由於時間關係,都為大家準備好了一份html模板。當然,你也可以使用自己準備的。在今天的教學用什麼模板都不會影響的。
為大家準備好的html模板在這裡: 按一下 下載
https://colorlib.com/wp/template/login-form-v5/
下載完成後,請先解壓。
之後打開Login_v5的文件,會看到以下的檔案。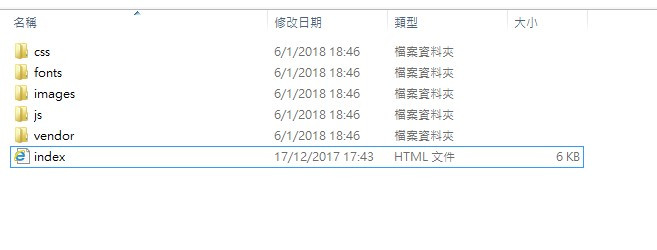
將所有文件檔案(除了index.html)放到C:\Users\martinyeung\eclipse-workspace\spring-project-2024\src\main\resources\static底下,如下圖所示。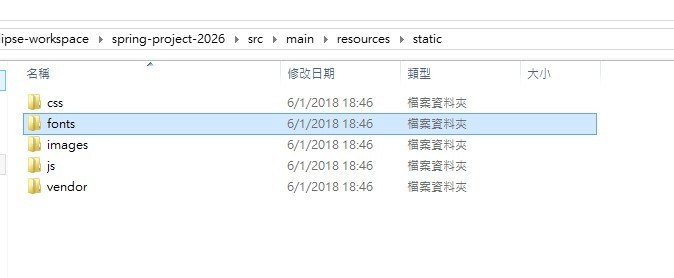
將index.html放到C:\Users\ martinyeung \eclipse-workspace\spring-project-2026\src\main\resources\templates底下,如下圖所示。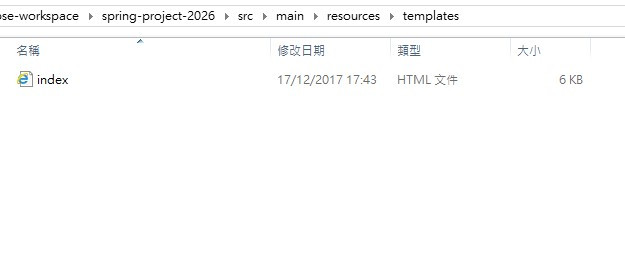
再打開Eclipse 大家就會看到src/main/resources/static 及src/main/resources/templates的底下都多了相對應的文件檔案。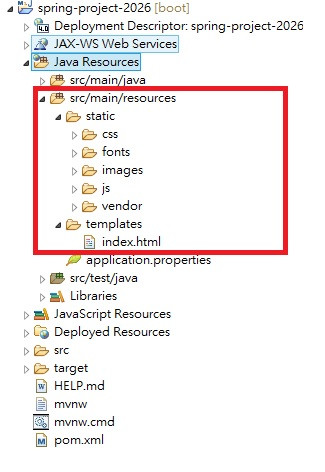
修改成下面的代碼
package com.example.demo;

import org.springframework.stereotype.Controller;
import org.springframework.web.bind.annotation.GetMapping;

@Controller
public class SpringBootHelloWorld {

	public static void main(String[] args) {
		// TODO Auto-generated method stub

	}

	@GetMapping("/x")
	public String hello(){
		return "Hey, Spring Boot 的 Hello World !";
	}

	@GetMapping("/index")
	public String helloIndex(){
		return "index";
	}

}
要點:
要用@GetMapping 取代 @RequestMapping
要用@Controller 取代 @RestController
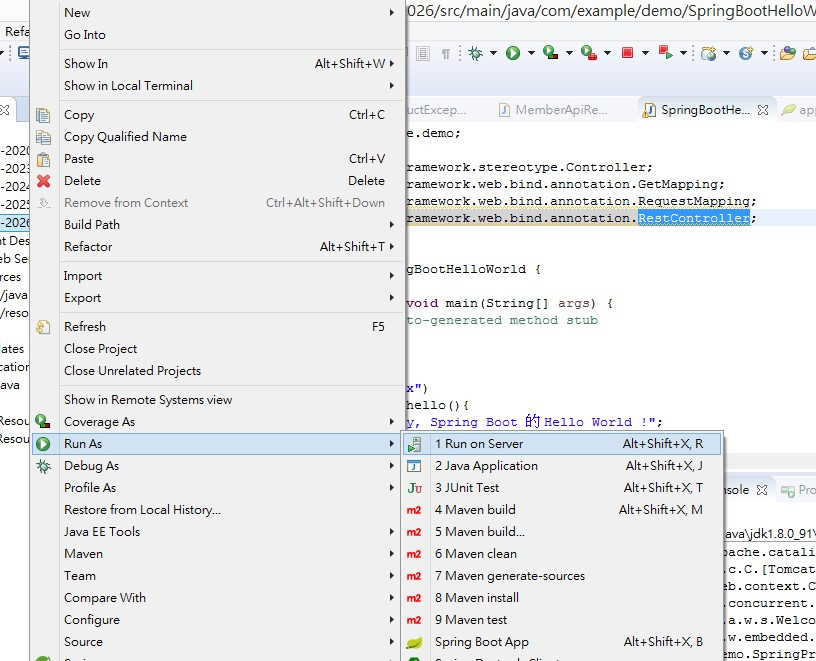
點一下項目 – spring-project-2026,按一下右鍵,再選Run As,再選 Run on Server。

點一下 Tomcatv9.0 Server at localhost,再按”Next”。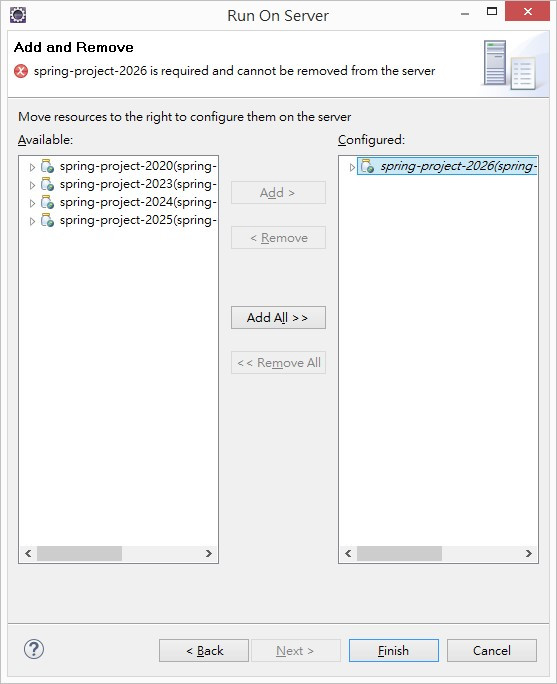
如只運行一個項目,就將它加進右邊,再按”Finish”。

完成後,會在”console”中出現上圖的訊息。

之後會自己出現以上畫面,自動連上主頁 -
http://localhost:8080/spring-project-2026/
而
http://localhost:8080/spring-project-2026/ = http://localhost:8080/spring-project-2026/indexx/
如文件有任何修改,在重新儲存後,server會自行reload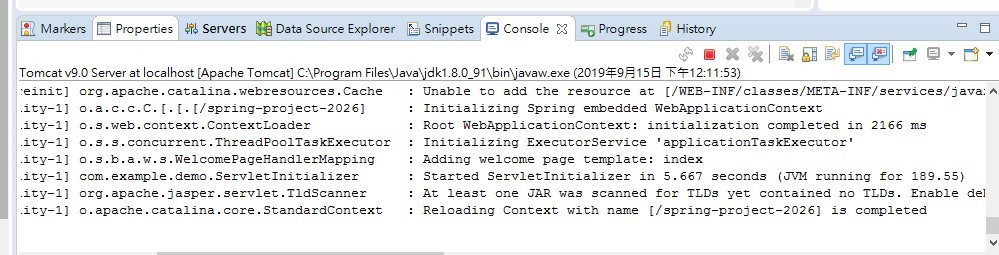
答:差別在於URL的顯示資料
用Spring Boot App 開啟的應用程式只會顯示http://localhost:8080/
而不會顯示項目的名稱。
如下圖所示: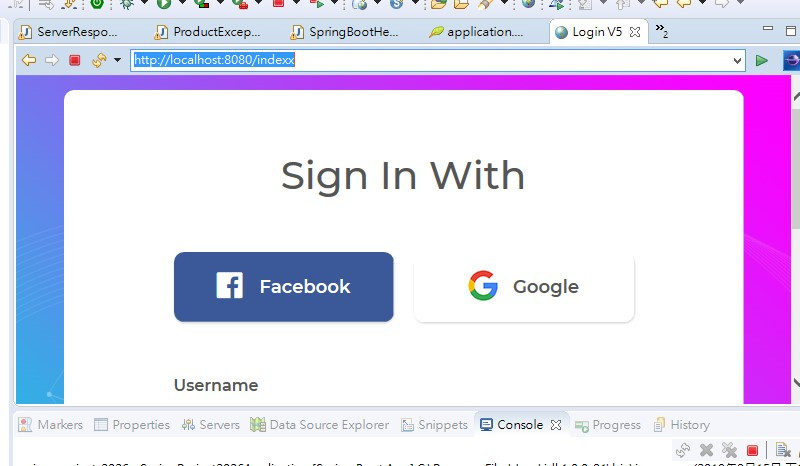
如輸入http://localhost:8080/x
就會出現下圖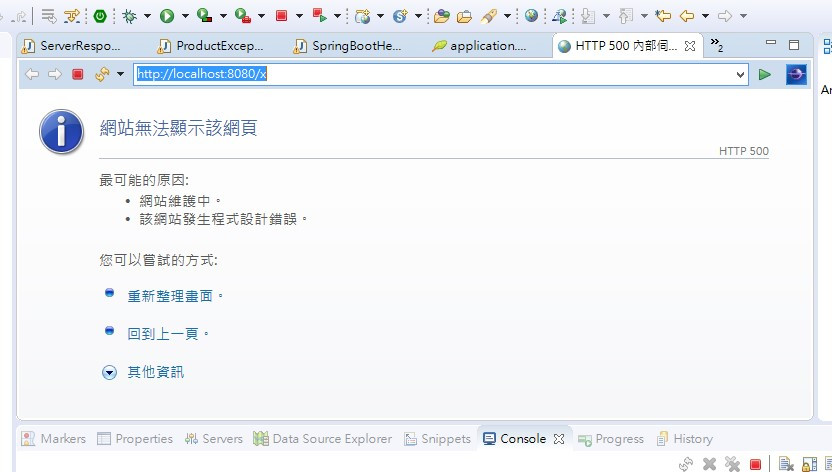
因為x的html頁面是不存在的,所以就會出現這個情況。
如果在一般的瀏覽器看,會出現一個ErrorPage。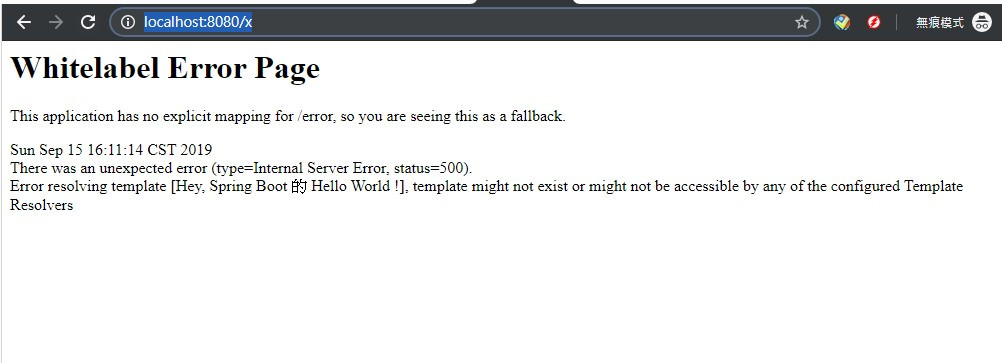
Whitelabel Error Page
This application has no explicit mapping for /error, so you are seeing this as a fallback.
Sun Sep 15 16:11:14 CST 2019
There was an unexpected error (type=Internal Server Error, status=500).
Error resolving template [Hey, Spring Boot 的 Hello World !], template might not exist or might not be accessible by any of the configured Template Resolvers
所以當使用mapping時要記得為對應的mapping準備一個html檔的頁面。
謝啦,顯示html的地方我找好久,原來就是這兩行。
要用@GetMapping 取代 @RequestMapping
要用@Controller 取代 @RestController
不客氣,能夠幫到你解決問題,就太好啦
請問一下~
我用Run on Server都會出現404錯誤
後來用Spring Boot App就可以了
Server問題是出在哪呢?
我用windows 將檔案放到各個路徑下後,點選 run on server,但是沒辦法選擇 existing server這個要怎麼解決;
我跟上面的一樣,要使用Spring Boot App才可以正常顯示。