各位好這個系列到目前為止我們用 Rust + Actix + Diesel 的架構已經做了下面的事情,
那麼我們今天會繼續把 CRUD 的 api 都改寫完成,那就讓我們繼續吧!
那麼首先我們就來改寫原本的這支程式,
extern crate diesel;
extern crate actixweb;

use actixweb::*;
use self::models::*;
use diesel::prelude::*;

fn main() {
    // establish db connection
    use self::schema::posts::dsl::*;

    let connection = establish_connection();
    let results = posts.filter(published.eq(true))
        .limit(5)
        .load::<Post>(&connection)
        .expect("Error loading posts");

    println!("Displaying {} posts", results.len());
    for post in results {
        println!("{}", post.title);
        println!("----------\n");
        println!("{}", post.body);
    }
}
首先我們在 lib.rs 裡面增讀取的程式,
pub fn read_posts(conn: &PgConnection) -> Vec<Post> {
    use self::schema::posts::dsl::*;

    posts.load::<Post>(conn)
        .expect("Error loading posts")
}
接著在主程式添加這個 api
#[get("/posts")]
fn get_posts() -> Result<HttpResponse> {
    let connection = establish_connection();
    let result = read_posts(&connection);

    Ok(HttpResponse::Ok().json(result))
}

fn main() {
...
    .service(
        web::scope("/api/v1")
            .service(get_posts)
    )
...
}
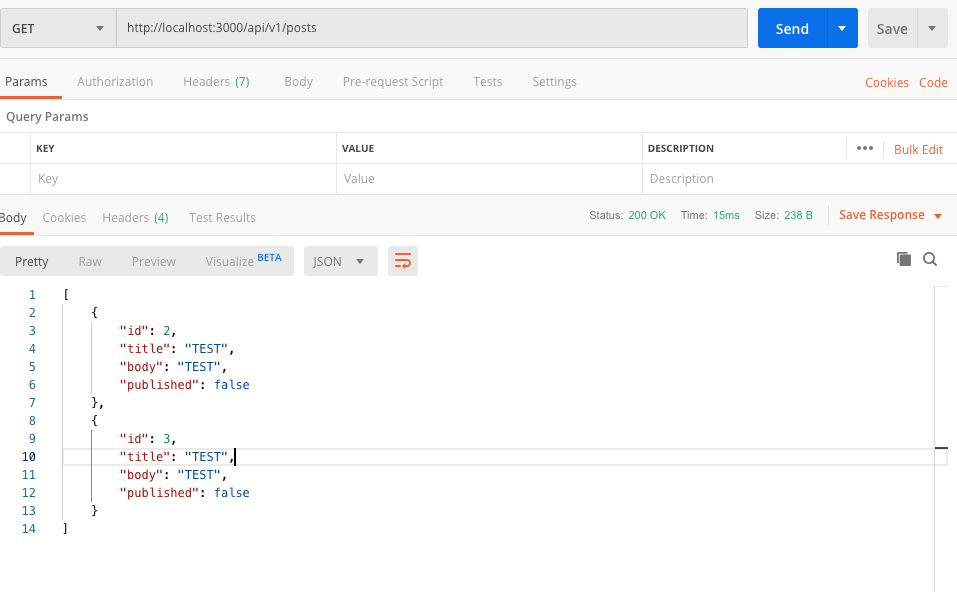
這樣就完成了來用 postman 測試一下吧,
接著來改寫這支程式,
extern crate actixweb;
extern crate diesel;

use self::diesel::prelude::*;
use self::actixweb::*;
use self::models::Post;
use std::env::args;

fn main() {
    use actixweb::schema::posts::dsl::{posts, published};

    let id = args().nth(1).expect("publish_post requires a post id")
        .parse::<i32>().expect("Invalid ID");
    let connection = establish_connection();

    let post = diesel::update(posts.find(id))
        .set(published.eq(true))
        .get_result::<Post>(&connection)
        .expect(&format!("Unable to find post {}", id));
    println!("Published post {}", post.title);
}
這支程式只能修改 published 的屬性我們來讓他也可以修改 title 或是 body。
首先我們新增一個 model,
#[derive(Serialize, Deserialize, Insertable)]
#[table_name="posts"]
pub struct UpdatePost {
    pub title: String,
    pub body: String,
    pub published: bool,
}
然後在 lib 裡面新增一個方法
pub fn update_post<'a>(conn: &PgConnection, id: &'a str, data: UpdatePost) -> Post {
    use schema::posts::dsl::{posts, published, body, title};
    let id = id.parse::<i32>().expect("Invalid ID");

    diesel::update(posts.find(id))
        .set(
            (published.eq(data.published), title.eq(data.title), body.eq(data.body))
        )
        .get_result::<Post>(conn)
        .expect(&format!("Unable to find post {}", id))
}
這支程式就可以幫助我們更新 DB,接著寫 api 介面,
use self::models::{UpdatePost};

#[patch("/post/{id}")]
fn patch_post(params: web::Json<UpdatePost>, id: web::Path<String>) -> Result<HttpResponse> {
    let connection = establish_connection();
    let result = update_post(&connection, &id, params.0);

    Ok(HttpResponse::Ok().json(result))
}

fn main() {
    .service(
        web::scope("/api/v1")
        .service(patch_post)
    )
}
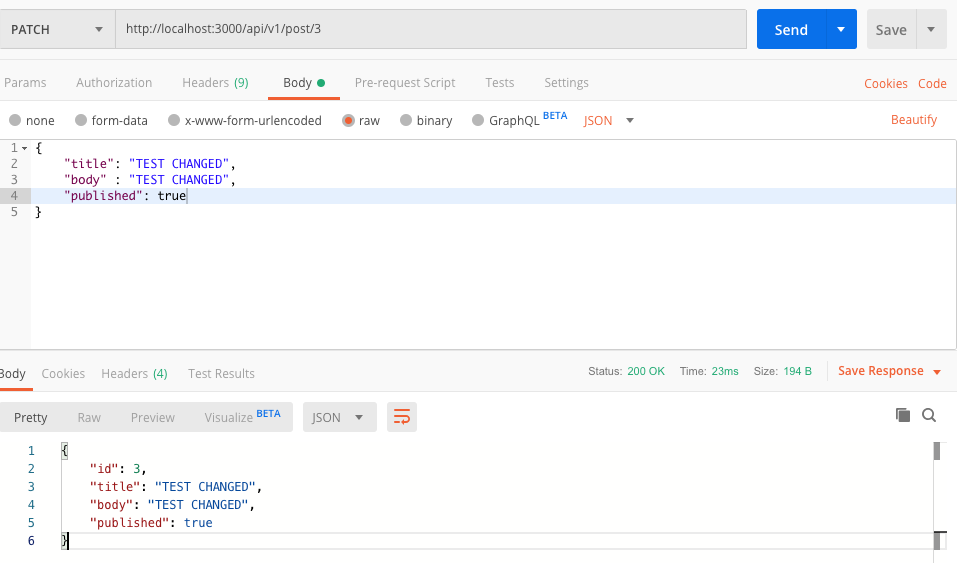
這樣就完成了我們來測試一下,
最後就是刪除了這次要改寫的是這支程式,
extern crate actixweb;
extern crate diesel;

use self::diesel::prelude::*;
use self::actixweb::*;
use std::env::args;

fn main() {
    use actixweb::schema::posts::dsl::*;

    let target = args().nth(1).expect("Expected a target to match against");
    let pattern = format!("%{}%", target);

    let connection = establish_connection();
    let num_deleted = diesel::delete(posts.filter(title.like(pattern)))
        .execute(&connection)
        .expect("Error deleting posts");

    println!("Deleted {} posts", num_deleted);
}
首先同樣我們先在 lib 裡面處理刪除的邏輯,
pub fn delete_post<'a>(conn: &PgConnection, id: &'a str) -> String {
    use schema::posts::dsl::{posts};
    let id = id.parse::<i32>().expect("Invalid ID");

    diesel::delete(posts.find(id))
        .execute(conn)
        .expect("Error deleting posts");

    format!("Post id {} deleted success.", id)
}
把 post id 傳進來之後找到他並且刪除,跟上面在做更新時差不多,最後回傳刪除成功的字串。
接著來定義 api 介面,
use actix_web::{delete};

#[delete("/post/{id}")]
fn delete_post_handler(id: web::Path<String>) -> Result<HttpResponse> {
    let connection = establish_connection();
    let result = delete_post(&connection, &id);

    Ok(HttpResponse::Ok().json(result))
}

fn main() {
    .service(
        web::scope("/api/v1")
        .service(delete_post_handler)
    )
}
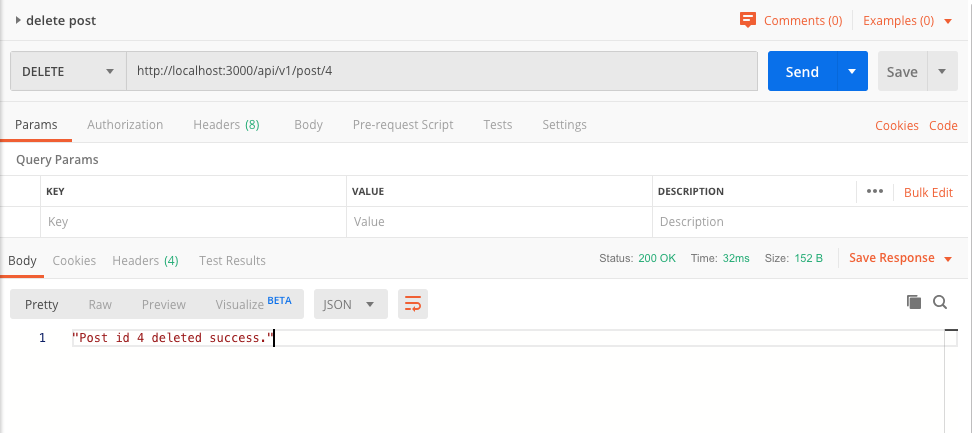
成功的畫面,
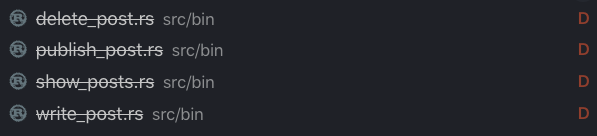
我們的 api 都完成了可以把原本不用的程式砍掉囉,
完整專案程式看這邊
完成了上面的 api 之後我們發現一件事情就是 DB 的連線必須在每次 api 請求的時候才去建立,而這是非常浪費資源的並且若在真實世界的環境中 api 流量大的時候會造成嚴重的 bottleneck。
因此我們需要一個方式(DB Connection Pool)來替我們管理 DB 的連線問題,幸好 google 一下就發現了 r2d2 這個 library,因此我們就把改寫 DB 連線當成我們明天的主題吧!