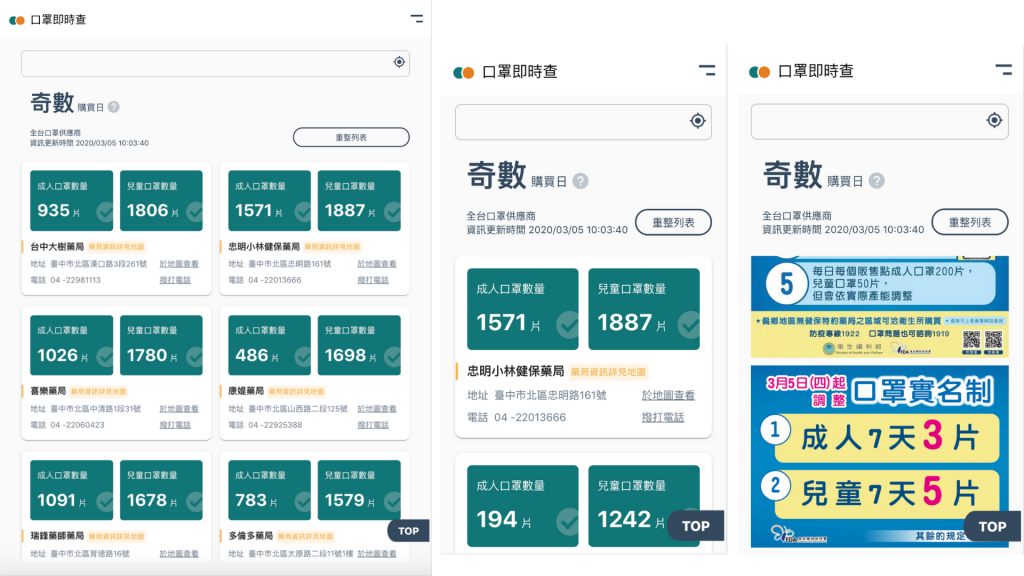
先附上作品網址及成果展示:口罩即時查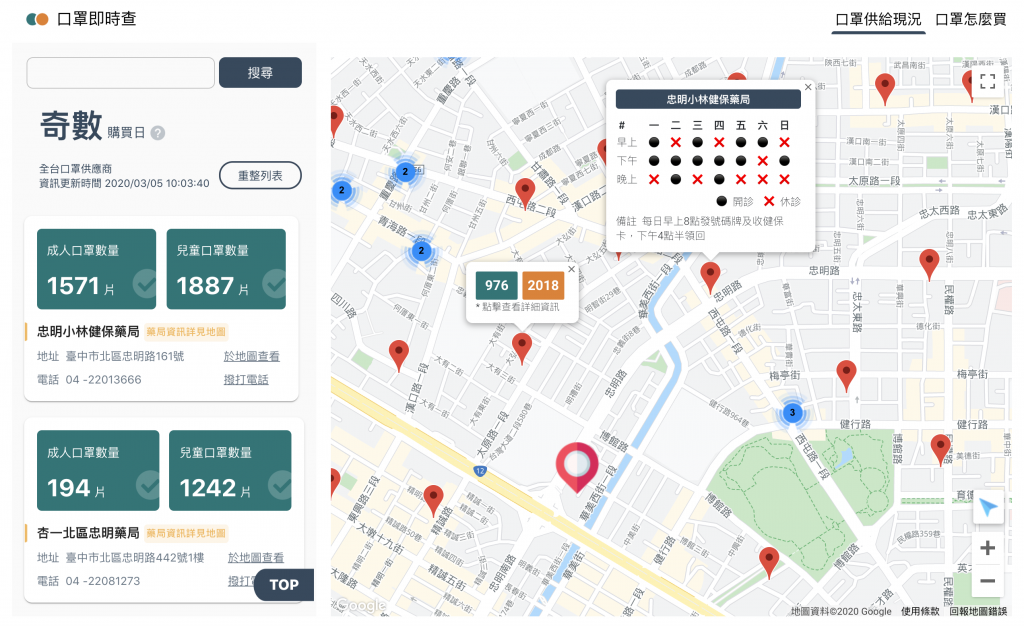
電腦版 ᴘᴄ
平板 ᴛ
手機版 ᴍ
上篇文章已經可以成功抓取藥局資訊,這邊會著重於紀錄將藥局資訊顯示到畫面上的過程,那就繼續看下去吧!
發送請求的action
/* actions/index.js */

//發送 口罩資訊request
export const fetchMaskInformation = (callback) => {
    return {
        type: 'FETCH_MASK_INFORMATION',
        callback
    };
}

//接收口罩資訊
export const recieveMaskInformation = (res, updateTime) => {
    return {
        type: 'RECIEVE_MASK_INFORMATION',
        res: res,
        updateTime: updateTime,
    };
}
epic函數
/* epics/index.js */

const maskGetList = (action$) =>
    action$.ofType('FETCH_MASK_INFORMATION').pipe(
    mergeMap(({callback}) => {
        return merge(
            //發送request時設定isLoading為true來告知使用者正在抓取資料
            of(actions.maskInformationIsLoading(true)),
            ajax.getJSON(`網址`).pipe(
                mergeMap(response => {
                    // console.log(response.features);
                    // 傳入callback function
                    if(callback) callback(response.features);
                    // 更新時間
                    const updateTime = response.features[0].properties.updated;
                    return of(
                        // fetch完之後再次發送action將資料存到reducer
                        actions.recieveMaskInformation(response.features, updateTime),
                        // 收到response後設定isLoading為false告知使用者抓取資料完成
                        actions.maskInformationIsLoading(false),
                    );
                })
            )
        )
    })
);
將fetch資料存到reducer調用
/* reducers/index.js */

const model = {
    maskInformationLists: [],
    updateTime: '',
};

const Reducer = (state = model, action) => {
    switch (action.type) {
        case 'RECIEVE_MASK_INFORMATION':
            return {
                ...state,
                maskInformationLists: action.res,
                updateTime: action.updateTime,
            }

        default:
            return state;
    }
};

export default Reducer;
接下來的部分就是Redux的使用啦 ,就不再另外紀錄Redux的部分。
Google Map 使用的是itsmichaeldiego作者開發的google-map-react套件
npm install --save google-map-react
or
yarn add google-map-react
...

class map extends Component {
    constructor() {
        super();
        this.state = {
            center: center,
            zoom: 16,
            features: [],
        };
    }

    ...

    // 取得目前位置
    getLocation = () => {
        if (navigator.geolocation) {
            navigator.geolocation.getCurrentPosition(this.updateLocation);
        }
    }

    // 取得目前位置後插上marker並且將現在位置設定為中心點
    updateLocation = (position) => {
        this.setState({
            center: {
                lat: position.coords.latitude,
                lng: position.coords.longitude,
            }
        }, () => {
            // console.log(this.map);
            // 定位完成後,刪掉起始位置的marker
            this.marker.setMap(null);
            // 新增現在位置的marker
            this.marker = new google.maps.Marker({
                position: new google.maps.LatLng(this.state.center.lat, this.state.center.lng),
                map: this.map,
                // 自訂icon圖示
                icon: location
            });
            this.map.setCenter(this.state.center);
            this.map.setZoom(16);
        });
    }

   ...

    handleApiLoaded = (map) => {
        this.map = map;
         // 給定初始位置,如果使用者不允許抓取現在位置時則使用初始位置
        this.marker = new google.maps.Marker({
            position: new google.maps.LatLng(this.state.center.lat, this.state.center.lng),
            map: this.map,
            icon: location,
        });

        // 在Google Map上新增custom button
        // constructor passing in this DIV.
        var controlDiv = document.createElement('div');
        // Set CSS for the control border.
        var controlUI = document.createElement('div');
        controlUI.style.backgroundColor = '#fff';
        controlUI.style.border = '2px solid #fff';
        controlUI.style.borderRadius = '3px';
        controlUI.style.boxShadow = '0 2px 6px rgba(0,0,0,.3)';
        controlUI.style.cursor = 'pointer';
        controlUI.style.marginRight = '10px';
        controlUI.style.textAlign = 'center';
        controlUI.title = 'Click to recenter the map';
        controlDiv.appendChild(controlUI);

        // Set CSS for the control interior.
        var controlText = document.createElement('div');
        controlText.style.color = 'rgb(25,25,25)';
        controlText.style.fontFamily = 'Roboto,Arial,sans-serif';
        controlText.style.fontSize = '16px';
        controlText.style.lineHeight = '38px';
        controlText.style.paddingLeft = '5px';
        controlText.style.paddingRight = '5px';
        controlText.innerHTML = `<img src=${centerGPS} alt=""></img>`;
        controlUI.appendChild(controlText);

        // Setup the click event listeners: simply set the map to Chicago.
        controlUI.addEventListener('click', this.getLocation);
        this.map.controls[google.maps.ControlPosition.RIGHT_BOTTOM].push(controlDiv);

        // ApiLoaded完之後才fetch
        this.props.fetchMaskInformation(this.createMarker);

        this.getLocation();

    };

    createMarker = () => {
        // 在此function插marker、建立infowindows動作、marker cluster

        ...
    }

    render() {
        const { classes } = this.props;
        return (
            <div className={classes.container}>
                <GoogleMapReact
                    bootstrapURLKeys={{ key: /* YOUR KEY HERE */ }}
                    defaultCenter={center}
                    defaultZoom={this.state.zoom}
                    yesIWantToUseGoogleMapApiInternals
                    onGoogleApiLoaded={({ map, maps }) => this.handleApiLoaded(map, maps)}
                >
                </GoogleMapReact>
            </div>
        );
    }
}
參考來源:
google-map-react
Maps JavaScript API
以上是這次口罩練習的紀錄,之後如果還有加上typescript的話會再補充上來。
透過這次的口罩練習確實的把Redux及Observable好好的實作一次,從中更瞭解了從發送request到接收到response再到呈現到畫面上的整個流程之外,也在途中發生了一個小插曲,讓我體會到Observable的方便之處,也覺得自己的戰鬥力提升了不少XD
那就來分享個小插曲,前幾篇文有提到Observable的優點以及分享了Netflix發表的演講影片來敘述為什麼要使用Observable,當時只是知道說原來有這樣的優點,但還是抱持著真的有這麼好用嗎的想法,這次在處理藥局資訊的response時我就因為同時發送fetch以及Google map api產生了不同步行為,要是fetch先完成那沒問題,地圖會正常顯示並且插上marker,但若是因為網路問題或是其他因素導致fetch較慢完成,就會造成地圖先loaded完成,卻沒有插上各個藥局的marker,所以使用Observable就能輕鬆地解決這個問題,這就是Observable的強大啊!!
我也是前端的小菜鳥,所以要是有什麼寫得不好的地方,大師路過還請多給我一些指點,也請各位大師鞭小力點XD
如果你/妳已經是在前端上有一兩年經驗的,因本系列文章偏向前端入門,可能本系列文章不太適合你/妳,但也歡迎你/妳給予一些建議。
 yaling_0616
