上一篇跟大家介紹到了Azure Kubernetes Service,那今天就將AKS跟Pipeline結合起來,讓把Web App部署到AKS的人,也可以透過Pipeline持續部署、持續整合到AKS,廢話不多說,馬上開始吧!
準備
首先第一步,到Azure Devops
然後選Pipeline -> Pipeline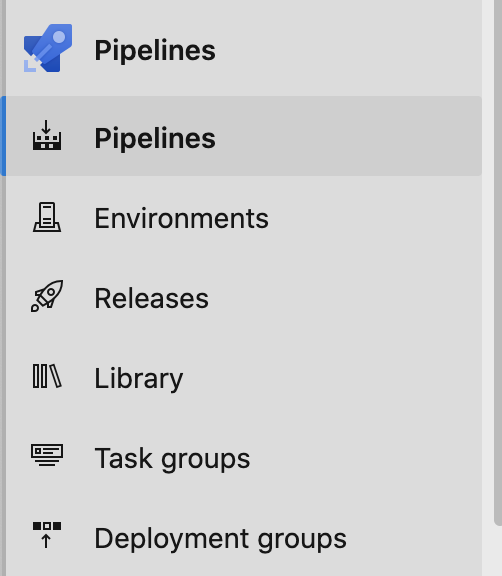
再來點New Pipeline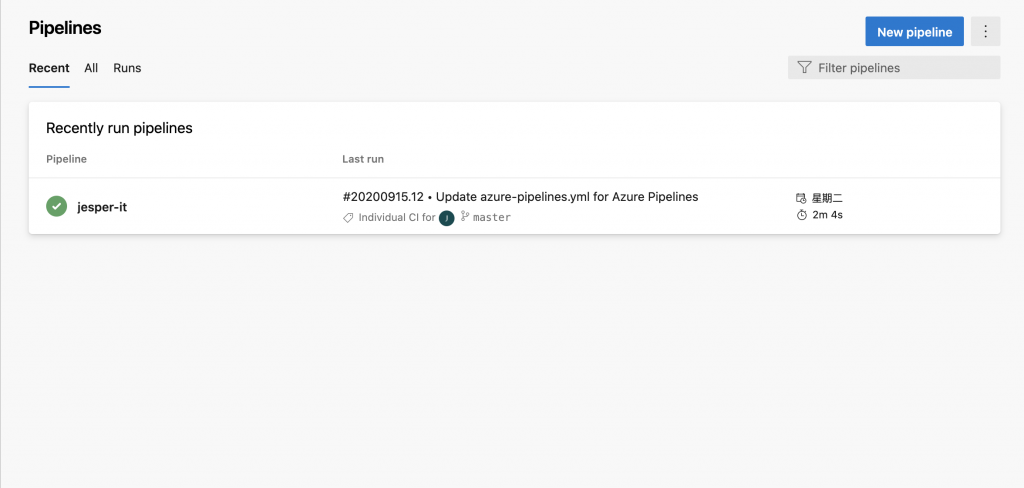
再來選擇你Code存放的地方,這邊我選Azure的Repo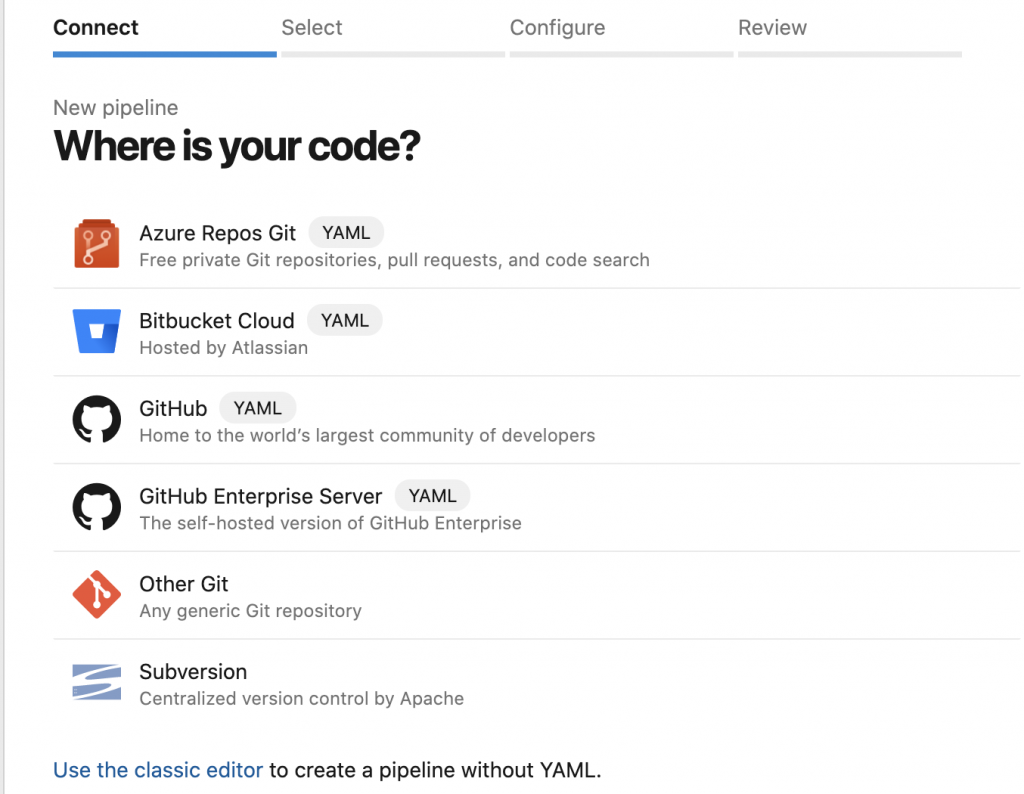
接下來選Repo
再來選Deploy to Azure Kubernetes Service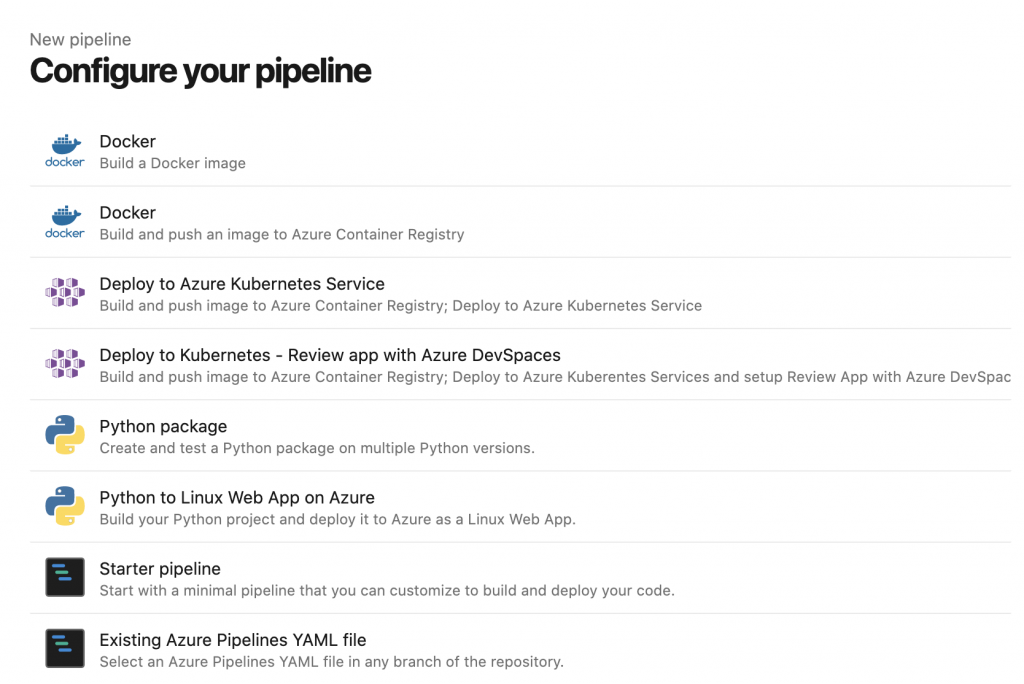
填一些Pipeline的基本資料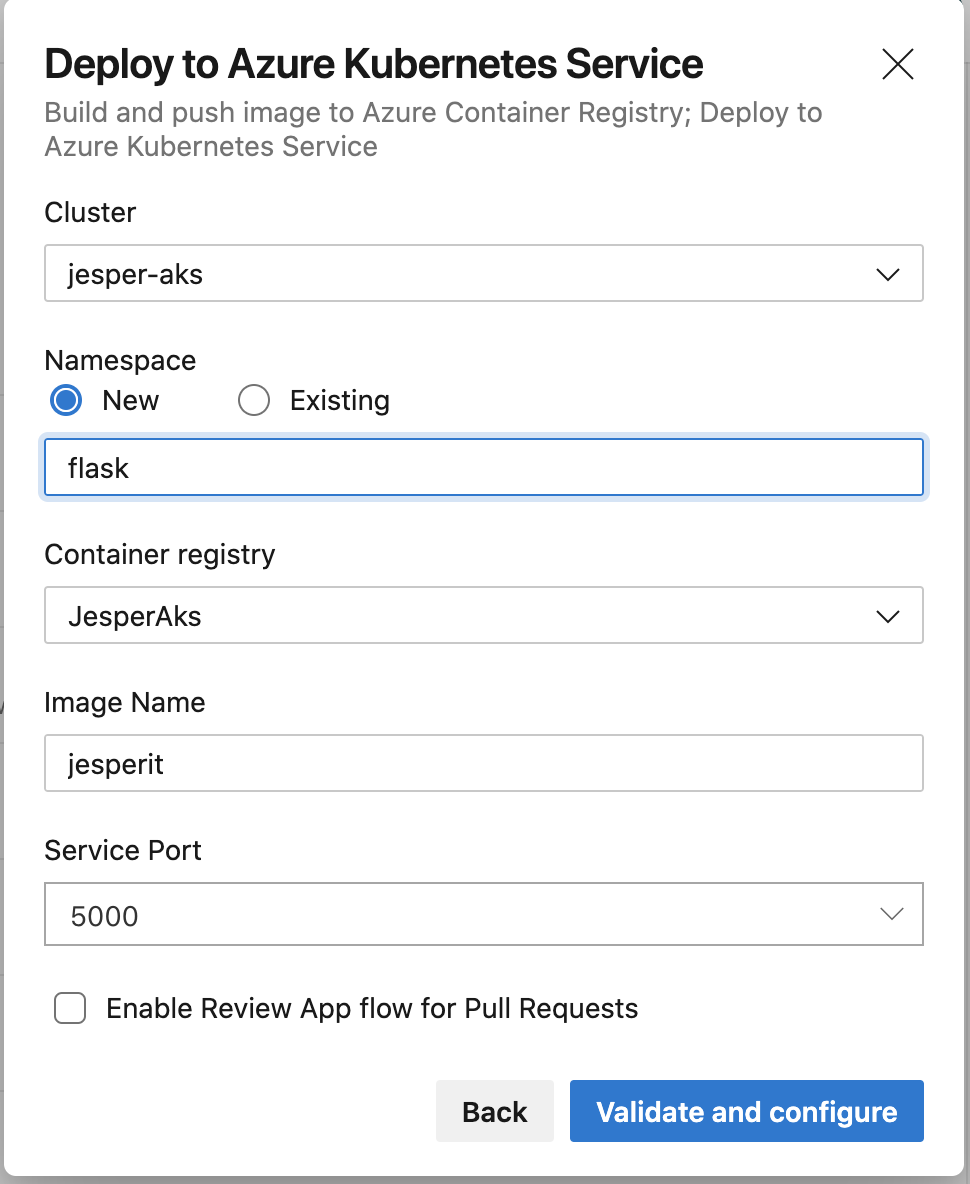
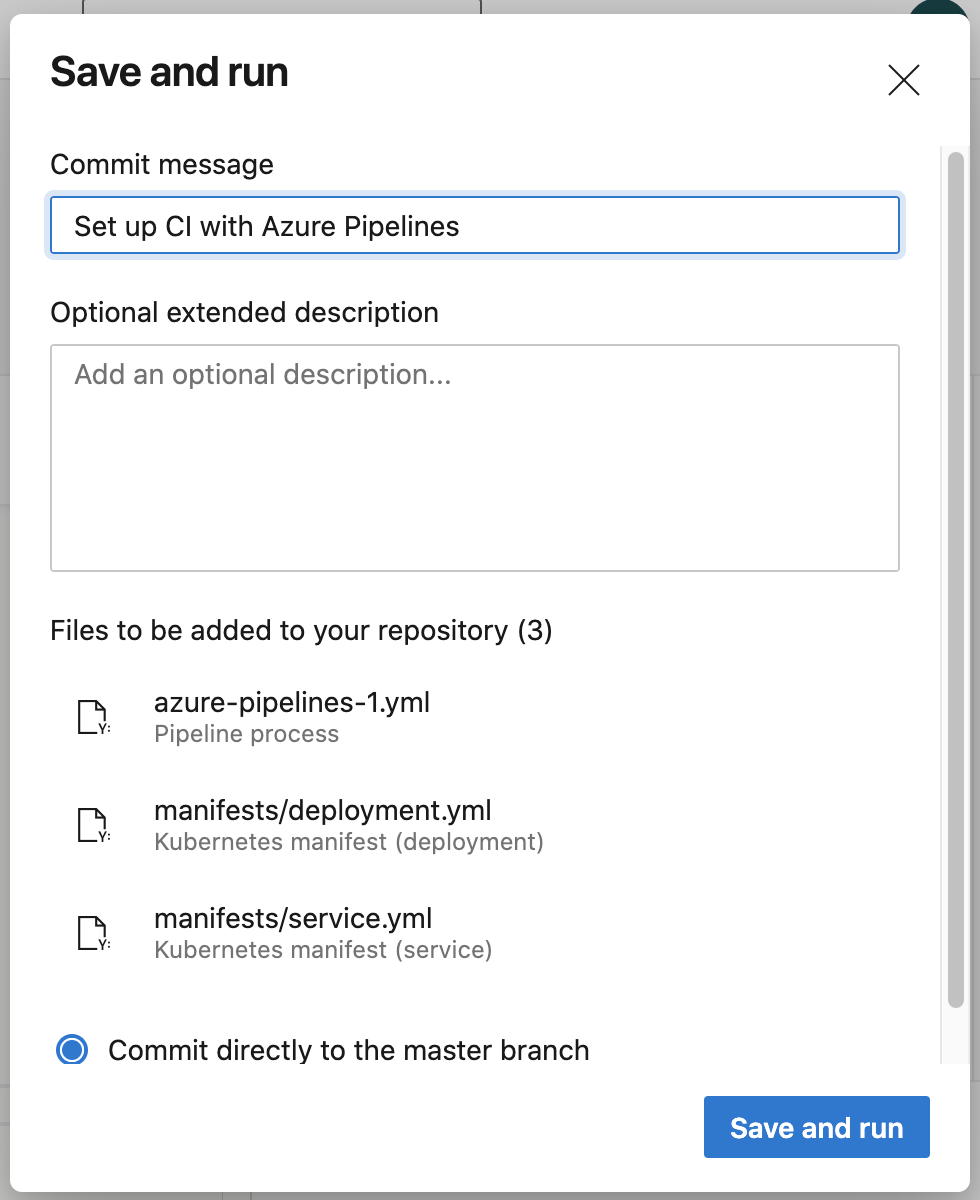
接下來他會自動幫你代入預設的YAML檔案,還會自動幫你加入部署的YAML檔案
azure-pipelines-1.yml
deployment.yml
service.yml
# Deploy to Azure Kubernetes Service
# Build and push image to Azure Container Registry; Deploy to Azure Kubernetes Service
# https://docs.microsoft.com/azure/devops/pipelines/languages/docker

trigger: -> 觸發的Branch
- master

resources:
- repo: self

variables:

  # Container registry service connection established during pipeline creation
  dockerRegistryServiceConnection: {dockerRegistryServiceConnection}
  imageRepository: {imageRepository}
  containerRegistry: {containerRegistry}
  dockerfilePath: '**/Dockerfile'
  tag: '$(Build.BuildId)'
  imagePullSecret: {imagePullSecret}

  # Agent VM image name
  vmImageName: 'ubuntu-latest'


stages:
- stage: Build
  displayName: Build stage
  jobs:
  - job: Build
    displayName: Build
    pool:
      vmImage: $(vmImageName)
    steps:
    - task: Docker@2
      displayName: Build and push an image to container registry
      inputs:
        command: buildAndPush
        repository: $(imageRepository)
        dockerfile: $(dockerfilePath)
        containerRegistry: $(dockerRegistryServiceConnection)
        tags: |
          $(tag)

    - upload: manifests
      artifact: manifests

- stage: Deploy
  displayName: Deploy stage
  dependsOn: Build

  jobs:
  - deployment: Deploy
    displayName: Deploy
    pool:
      vmImage: $(vmImageName)
    environment: 'jesperit.flask'
    strategy:
      runOnce:
        deploy:
          steps:
          - task: KubernetesManifest@0
            displayName: Create imagePullSecret
            inputs:
              action: createSecret
              secretName: $(imagePullSecret)
              dockerRegistryEndpoint: $(dockerRegistryServiceConnection)

          - task: KubernetesManifest@0
            displayName: Deploy to Kubernetes cluster
            inputs:
              action: deploy
              manifests: |
                $(Pipeline.Workspace)/manifests/deployment.yml
                $(Pipeline.Workspace)/manifests/service.yml
              imagePullSecrets: |
                $(imagePullSecret)
              containers: |
                $(containerRegistry)/$(imageRepository):$(tag)
上面這個YAML檔案主要做的事情就是先去讀DockerFile,再來是Docker Build,Docker push至ACR,接下來AKS部署就去拉ACR的Images,這些步驟就可以完成部署了!!
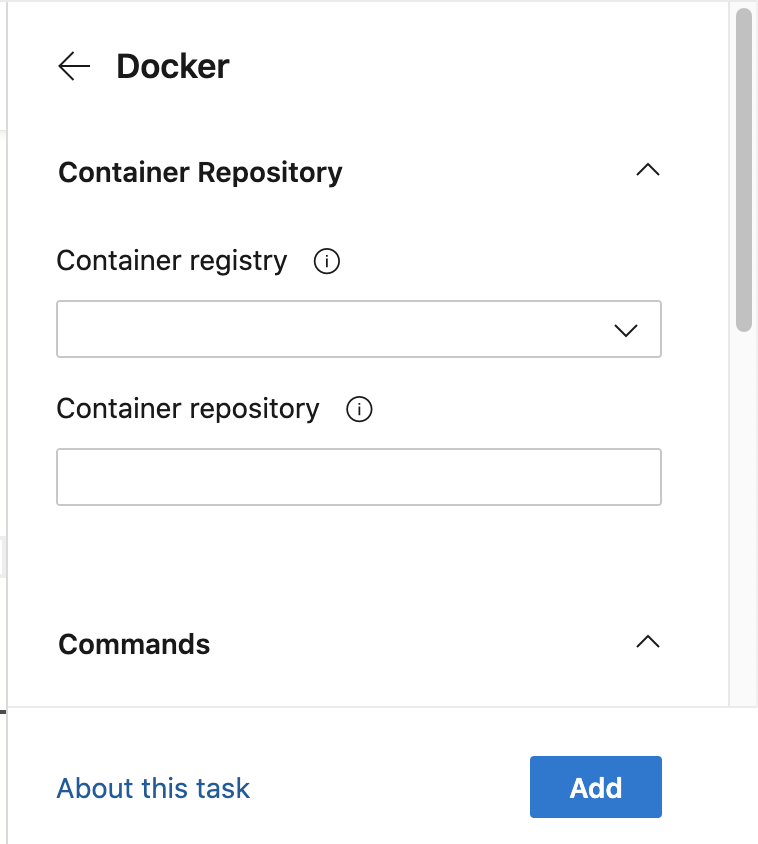
當然只有上面這些預設可能會不夠,那我們這時候可以視自身狀況去新增一些Task,這時候可以透過官方的文件去看有哪些Task可以使用,或者也可以透過旁邊的assistant選擇你需要的Task,像是我們可以搜尋Docker。
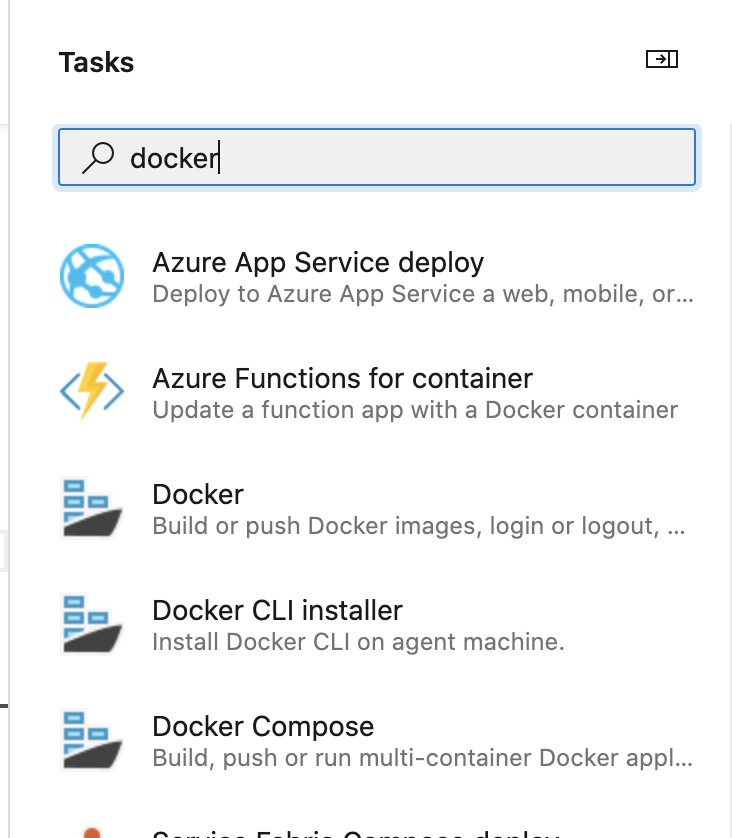
然後在填一些資訊就可以新增Docker了!
之後按Save And Run就可以跑Pipeline to AKS了!
然後這邊會跳出一個error是
no matches for kind "Deployment" in version "apps/v1beta
查了一下原因是Kubernetes更新之後YAML檔的apps/v1beta要改成apps/v1
apiVersion : apps/v1beta -> 改成apps/v1
kind: Deployment
metadata:
  name: jesperit
spec:
  replicas: 1
  template:
    metadata:
      labels:
        app: jesperit
    spec:
      containers:
        - name: jesperit
          image: jesperaks.azurecr.io/jesperit
          ports:
          - containerPort: 5000
接下來Pipeline跑完後會輸出一個IP,接下來只要IP:Port就可以瀏覽你的專案了!
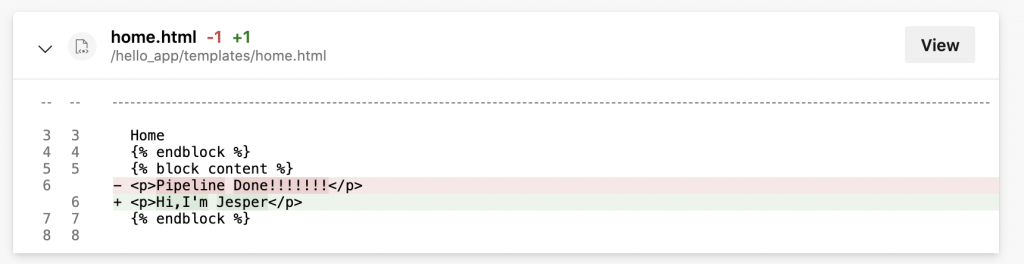
再來我們可以測試一下Pipeline就可以測試成功
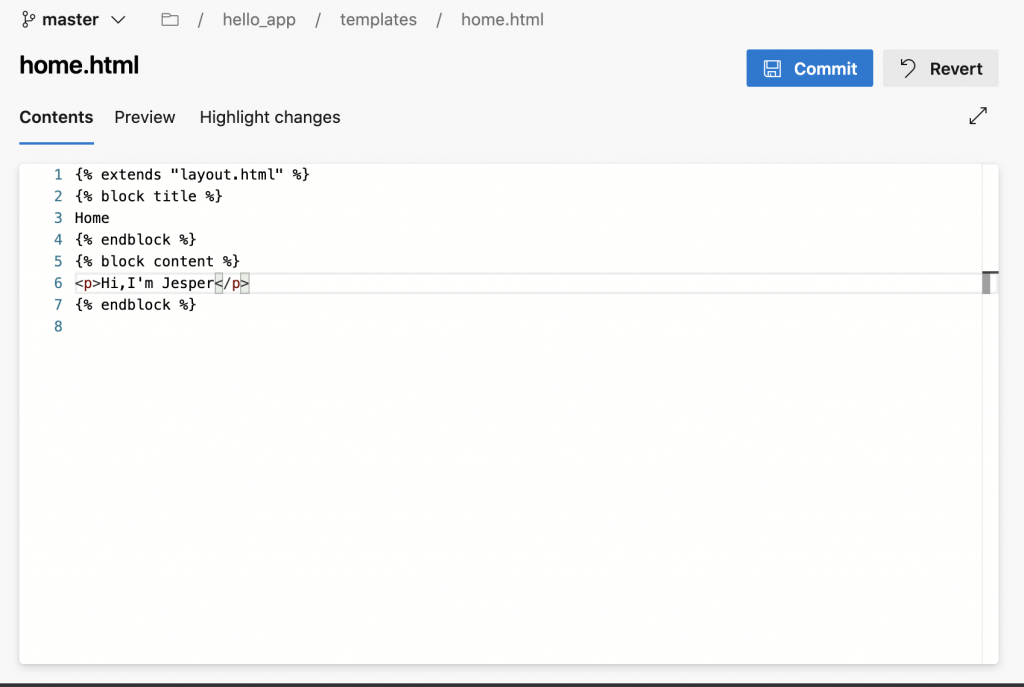
我們修改一下Home.html裡面的資料
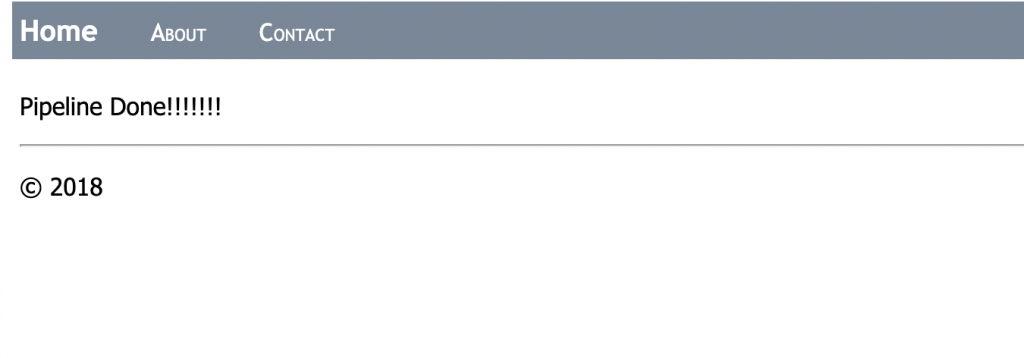
等待Pipeline跑完後再看網頁上有沒有改變
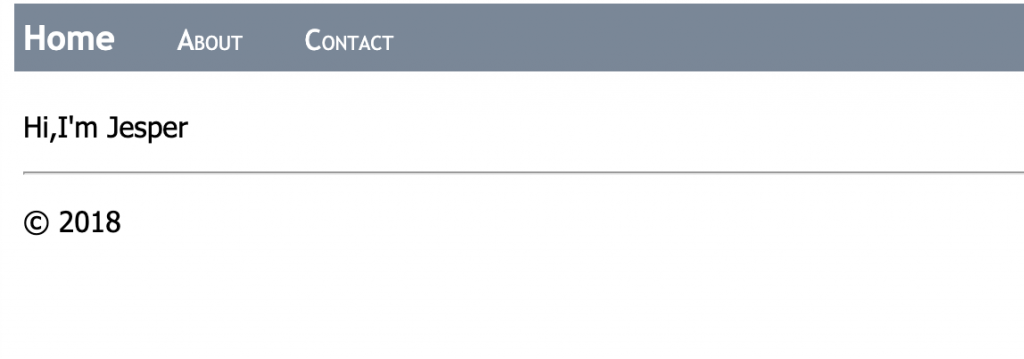
的確是改成功了!!!離成為人生勝利組又更近了一步