相信標題已經很明顯地知道這次要講什麼了-Https,其實Kubernetes在Azure上跟在Minikube其實都是差不多的操作,所以沒有特別說一些調整的部分,但Https會特別講的原因是,前陣子在幫我們的AKS加上Https的時候,不小心踩了一個坑XD,本篇用AKS、no-ip、Let's encrypt實現Https,廢話不多說,馬上開始吧!!
準備
首先我們先申請一個no-ip的帳號,之後到個人頁面之後,點選Create HostName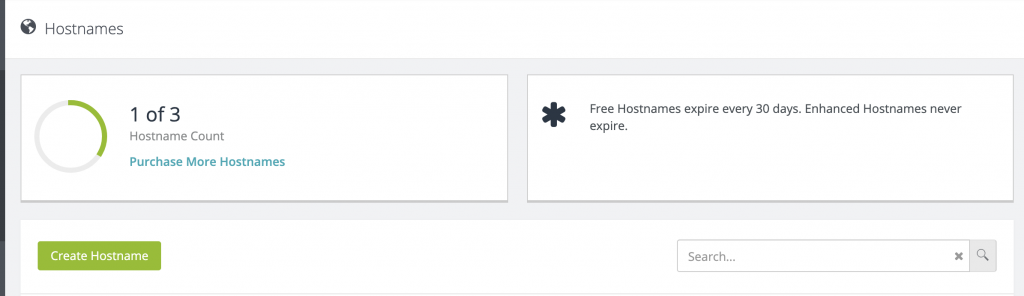
填入一個你喜歡的域名,再來就可以放置了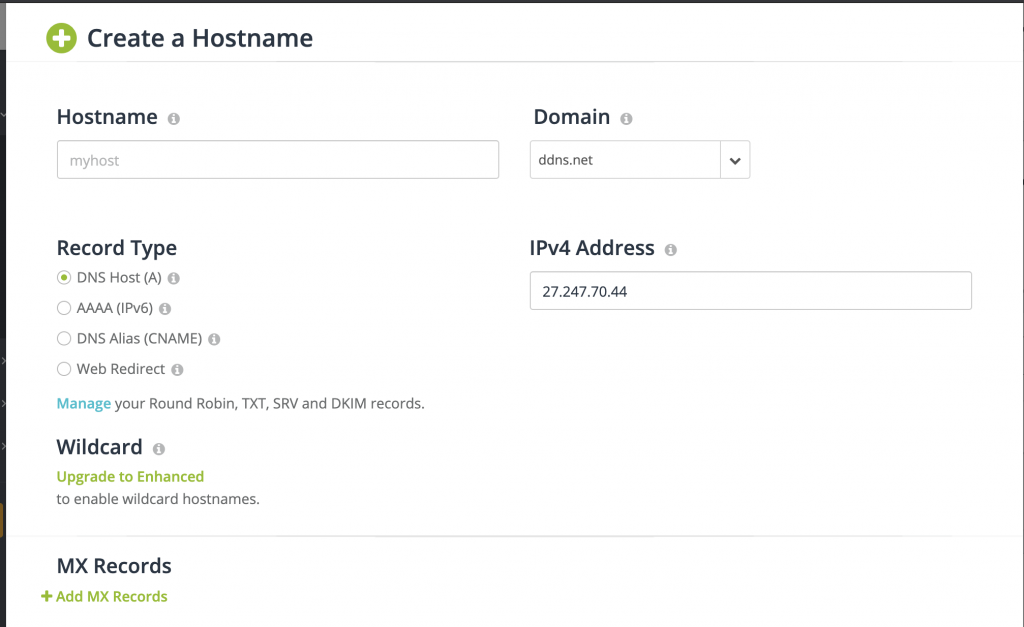
假設你已經取得AKS的credential了,已經可以使用kubectl了,接下來先建立一個namespace,也可以使用你原本有的
kubectl create namespace awesome-web
加入nginx repo
helm repo add ingress-nginx https://kubernetes.github.io/ingress-nginx
透過helm安裝nginx
helm install nginx-ingress ingress-nginx/ingress-nginx \
    --namespace awesome-web \
    --set controller.replicaCount=2 \
    --set controller.nodeSelector."beta\.kubernetes\.io/os"=linux \
    --set defaultBackend.nodeSelector."beta\.kubernetes\.io/os"=linux
透過這個指令可以取得ingress的EXTERNAL-IP
kubectl --namespace awesome-web get services -o wide -w nginx-ingress-ingress-nginx-controller
接下來把取得到的EXTERNAL-IP填入No-IP,之後儲存就可以瀏覽No-IP的網址之後導向EXTERNAL-IP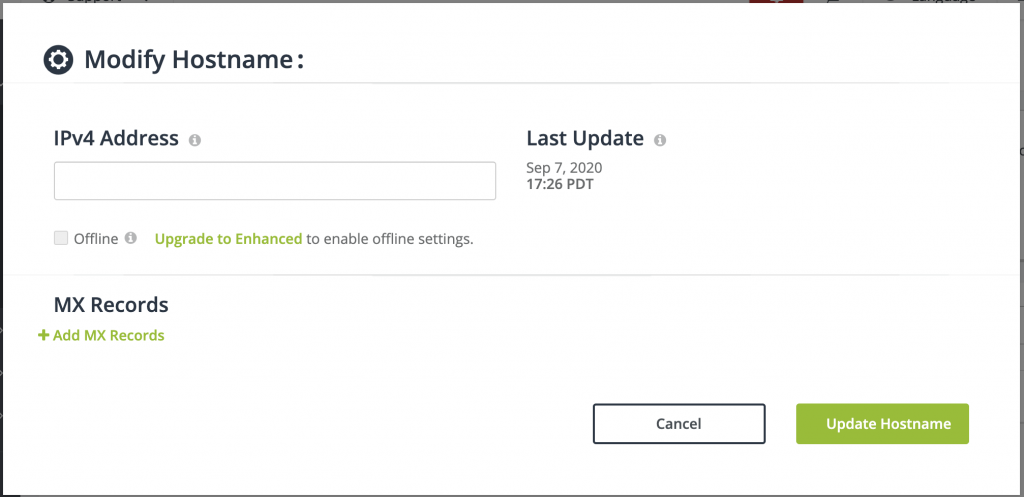
安裝cert manager,他可以自動化產生Lets Encrypt憑證,與管理功能
kubectl label namespace awesome-web cert-manager.io/disable-validation=true

helm repo add jetstack https://charts.jetstack.io

helm repo update

helm install \
  cert-manager \
  --namespace awesome-web \
  --version v0.16.1 \
  --set installCRDs=true \
  --set nodeSelector."beta\.kubernetes\.io/os"=linux \
  jetstack/cert-manager
接下來新增cluster-issuer.yml
apiVersion: cert-manager.io/v1alpha2
kind: ClusterIssuer
metadata:
  name: letsencrypt
spec:
  acme:
    server: https://acme-v02.api.letsencrypt.org/directory
    email: {Email}
    privateKeySecretRef:
      name: letsencrypt
    solvers:
    - http01:
        ingress:
          class: nginx
          podTemplate:
            spec:
              nodeSelector:
                "kubernetes.io/os": linux
部署至AKS
kubectl apply -f cluster-issuer.yml --namespace awesome-web
接下來把前一篇透過Pipeline取得到的Deployment.yml & Service.yml修改一些地方
hello-world.yml
apiVersion: apps/v1
kind: Deployment
metadata:
  name: aks-helloworld-one
spec:
  replicas: 1
  selector:
    matchLabels:
      app: aks-helloworld-one
  template:
    metadata:
      labels:
        app: aks-helloworld-one
    spec:
      containers:
      - name: aks-helloworld-one
        image: neilpeterson/aks-helloworld:v1
        ports:
        - containerPort: 80
        env:
        - name: TITLE
          value: "Welcome to Azure Kubernetes Service (AKS)"
---
apiVersion: v1
kind: Service
metadata:
  name: aks-helloworld-one
spec:
  type: ClusterIP
  ports:
  - port: 80
  selector:
    app: aks-helloworld-one
部署至AKS
kubectl apply -f hello-world.yaml --namespace awesome-web
再來新增ingress.yml
apiVersion: networking.k8s.io/v1beta1
kind: Ingress
metadata:
  name: hello-world-ingress
  annotations:
    kubernetes.io/ingress.class: nginx
    cert-manager.io/cluster-issuer: letsencrypt
spec:
  tls:
  - hosts:
    - {No-IP Hostname}
    secretName: tls-secret
  rules:
  - host:{No-IP Hostname}
    http:
      paths:
      - backend:
          serviceName: aks-helloworld-one
          servicePort: 80
部署至AKS
kubectl apply -f cluster-issuer.yaml
接下來可以透過這個指令看憑證有沒有安裝成,會輸出以下的東西
kubectl get certificate --namespace ingress-basic


NAME         READY   SECRET       AGE
tls-secret   True    tls-secret   2m
接下來瀏覽No-IP當時建立的HostName,就可以看到網頁變成Https了!