
再來要做 Lightning 的文章頁面,上篇新增的文章終於可以看到了。
文章頁面比較複雜一點點,我們把它抽出一個單獨的 ShowPost Controller,加上 -i 會新增 Single Action Controller:
php artisan make:controller Post/ShowPost -i
要先排除掉 Resource 裡的 show 路由,和新增新的路由:
routes/web.php
Route::resource('posts', 'Post\PostController')->except('show');
Route::get('posts/{post}', 'Post\ShowPost');
顧名思義,Single Action Controller 裡面只有一個方法,這個方法要取名 __invoke():
app/Http/Controllers/Post/ShowPost.php
public function __invoke(Post $post)
{
    $post->increment('visits');

    return Inertia::render('Post/Show', [
        'post' => PostPresenter::make($post)->get(),
    ]);
}
在 Post 裡有個紀錄瀏覽次數的欄位 visits,可以使用 increment() 讓每次瀏覽都會自動加1。
可是 PostPresenter 裡的欄位沒有文章內容 content 和文章作者欄位,這裡要介紹一個 Flexible Presenter 的功能 preset(),例如在 PostPresenter 定義一個 presetShow() 方法,在呼叫處就可以用 ->preset('show') 呼叫此方法。先串接自訂的 preset:
app/Http/Controllers/Post/ShowPost.php
PostPresenter::make($post)
    ->preset('show')
    ->get()
而這個自訂的 preset 可以做些什麼呢?可以串 only()、except() 或 with(),前兩個就是指定欄位和排除欄位,不過現在要用的是 with()。with() 可以增加自訂欄位,接收一個閉包函數,函數的參數是在 Presenter::make() 丟進去的 Model (Post)。
然後我們就可以增加缺失的 content (文章內容) & author (文章作者),作者即關聯的 User Model,同樣可以套 UserPresenter:
app/Presenters/PostPresenter.php
public function presetShow()
{
    return $this->with(fn (Post $post) => [
        'content' => $post->content,
        'author' => fn () => UserPresenter::make($post->author)
            ->preset('withCount')
            ->get(),
    ]);
}
這裡的 UserPresenter 也套用了 preset,同樣也要定義 presetWithCount(),postsCount 欄位是作者全部文章的數量:
app/Presenters/UserPresenter.php
public function presetWithCount()
{
    return $this->with(fn (User $user) => [
        'postsCount' => $user->posts()->count(),
    ]);
}
然後前端文章頁面:
這裡說一下英文單字太長會破版的坑,通常有些英文單字太長時,可以使用
overflow-wrap: break-word(Tailwind CSS 對應.break-words) 來強制段行。但這裡做完之後,開手機板的寬度還是破版,因為這裡用 Grid 排版,踩到了 Grid 的坑 (Flex 也會遇到此問題),解決方案之一是在 Grid 的元素的子元素,加上min-width: 0(Tailwind CSS 對應.min-w-0)。參考:Preventing a Grid Blowout。
resources/js/Pages/Post/Show.vue
<template>
  <div class="py-6 md:py-8">
    <alert v-if="$page.flash.success" class="shadow mb-6">{{ $page.flash.success }}</alert>

    <div class="grid gap-6 xl:grid-cols-4">
      <div class="card p-6 md:p-8 min-w-0 xl:col-span-3">
        <h1 class="text-3xl font-semibold leading-snug">{{ post.title }}</h1>
        <div class="flex space-x-4 mt-2 text-sm">
          <div>
            <icon class="text-purple-500" icon="heroicons-outline:clock" />
            <span class="text-gray-500">{{ post.created_at }}</span>
          </div>
          <div>
            <icon class="text-purple-500" icon="heroicons-outline:eye" />
            <span class="text-gray-500">{{ post.visits }}</span>
          </div>
        </div>

        <div class="mt-6 font-light break-words">{{ post.content }}</div>
      </div>

      <div>
        <div class="card p-6 md:p-8 sticky top-8">
          <inertia-link :href="`/user/${post.author.id}`">
            <img :src="post.author.avatar" class="rounded-full w-20 h-20 mx-auto">
          </inertia-link>
          <div class="mt-4 text-center">
            <div class="text-2xl font-semibold">
              <inertia-link :href="`/user/${post.author.id}`" class="hover:text-purple-500">
                {{ post.author.name }}
              </inertia-link>
            </div>
            <div v-if="post.author.description" class="mt-2 text-gray-600 font-light">
              {{ post.author.description }}
            </div>
            <div class="flex justify-center items-center space-x-6 mt-3">
              <inertia-link :href="`/user/${post.author.id}`" class="link font-light">
                <icon icon="heroicons-outline:book-open" />
                文章 {{ post.author.postsCount }}
              </inertia-link>
            </div>
          </div>
        </div>
      </div>
    </div>
  </div>
</template>

<script>
import AppLayout from '@/Layouts/AppLayout'
import Alert from '@/Components/Alert'

export default {
  layout: AppLayout,
  metaInfo() {
    this.addMeta('description', this.post.description)
    this.addMetaWithProperty('og:type', 'website')
    this.addMetaWithProperty('og:title', this.post.title)
    this.addMetaWithProperty('og:description', this.post.description)
    this.addMetaWithProperty('og:image', this.post.thumbnail)
    this.addMetaWithProperty('og:url', location.href)
    this.addMeta('twitter:title', this.post.title)
    this.addMeta('twitter:description', this.post.description)
    this.addMeta('twitter:url', location.href)
    this.addMeta('twitter:card', 'summary_large_image')
    this.addMeta('twitter:image', this.post.thumbnail)

    return {
      title: this.post.title,
      meta: this.meta
    }
  },
  components: {
    Alert
  },
  props: {
    post: Object
  },
  data() {
    return {
      meta: []
    }
  },
  methods: {
    addMeta(name, content) {
      if (content) this.meta.push({ name, content })
    },
    addMetaWithProperty(property, content) {
      if (content) this.meta.push({ property, content })
    }
  }
}
</script>
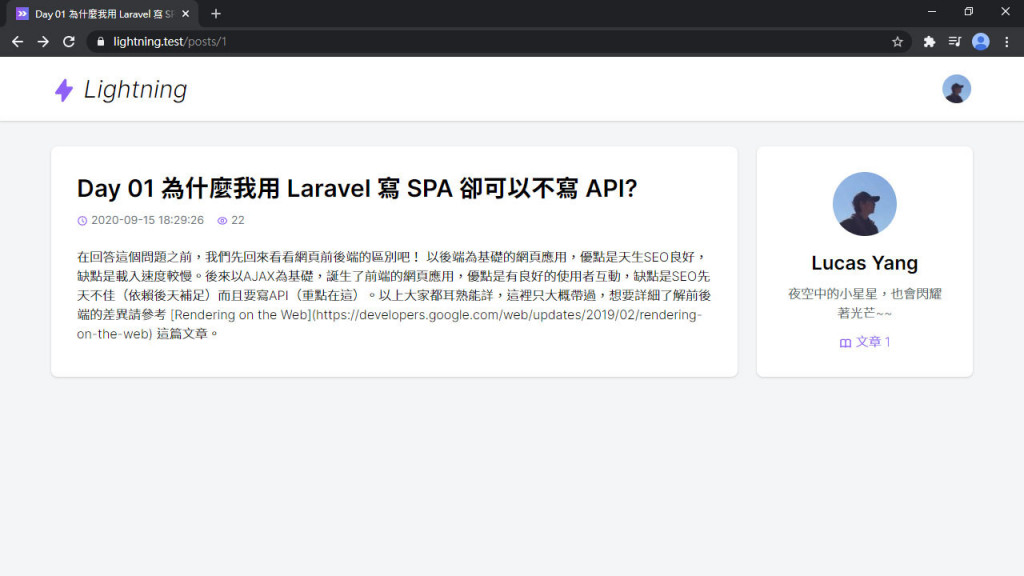
開 /posts/1 就可以看到新增的第1篇文章了:
文章要分享,SEO 自然不能少,Meta 交給 Vue Meta 了。可是 Vue Meta 只會在前端渲染啊!沒關係,之後會解決。
文章還有個欄位叫 published (發布),可以讓文章作者決定要不要發布文章,正常在未發布(草稿)時,應該是除了作者的其他人就不能看該文章。所以現在要來新增 PostPolicy:
php artisan make:policy PostPolicy --model=Post
view() 方法就是管顯示單個資源的授權,為了兼容未登入使用者這裡要用 ?User 標示為可選,$user 也要包 optional()。若此用戶有登入且為作者,不管是不是草稿,都可以正常瀏覽。若不是就只能瀏覽已發布的文章:
app/Policies/PostPolicy.php
public function view(?User $user, Post $post)
{
    return optional($user)->id === $post->author_id
        ? true
        : $post->published === true;
}
還有在 ShowPost Controller 裡增加 authorize() 來驗證用戶:
app/Http/Controllers/Post/ShowPost.php
public function __invoke(Post $post)
{
    $this->authorize('view', $post);
    ...
}
剛才的文章數量是直接拿作者所有文章的數量,包括草稿,但草稿數不需要讓其他用戶知道,所以要改一下:
app/Presenters/UserPresenter.php
public function presetWithCount()
{
    return $this->with(fn (User $user) => [
        'postsCount' => $user->publishedPosts()->count(),
    ]);
}
阿這 publishedPosts() 是不存在的ㄝ,要去 User Model 裡增加:
app/User.php
/**
 * @return \Illuminate\Database\Eloquent\Relations\HasMany
 */
public function publishedPosts()
{
    return $this->posts()->published();
}
這 published() 也不存在,去 Post Model 定義 scope,在組 Query Builder 時就可以呼叫,順帶連 unpublished() 也一起加上:
app/Post.php
public function scopePublished($query)
{
    return $query->where('published', true);
}

public function scopeUnpublished($query)
{
    return $query->where('published', false);
}
然後開 Tinker 把文章設定成未發布:
php artisan tinker
>>> App\Post::find(1)->update(['published' => false])
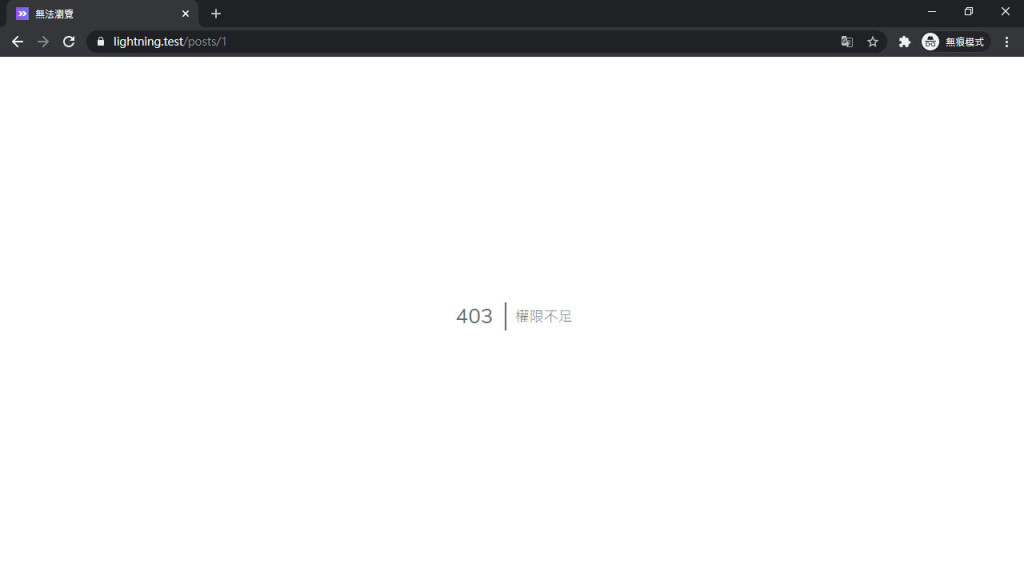
用無痕模式開 /posts/1 看看:
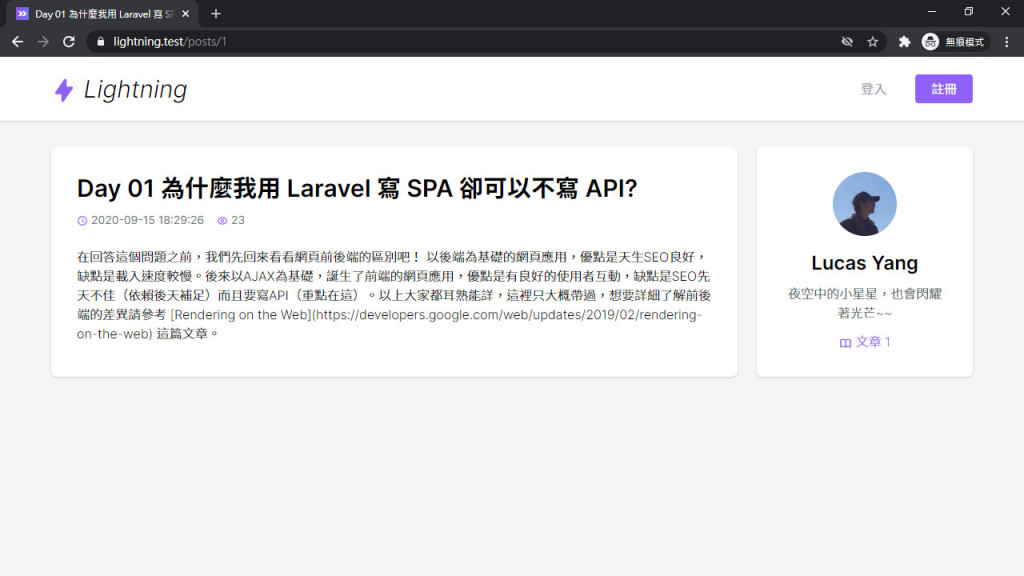
嗯!正常。改成發布狀態:
>>> App\Post::find(1)->update(['published' => true])
再用無痕模式打開:
現在我們就可以在頁面裡增加一個草稿的標示,讓作者知道這篇文章尚未發布:
resources/js/Pages/Post/Show.vue
<h1 class="text-3xl font-semibold leading-snug">{{ post.title }}</h1>
<div class="flex space-x-4 mt-2 text-sm">
  ...
  <div v-if="!post.published">
    <span class="px-2 py-1 bg-green-100 text-green-700">草稿</span>
  </div>
</div>
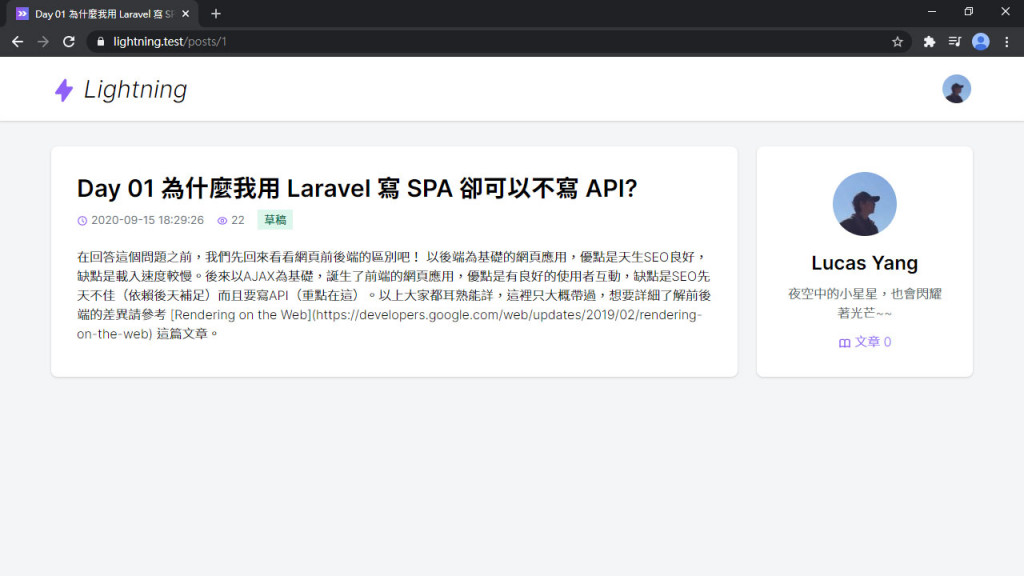
完成!
最後要講的是優化瀏覽人次,現在如果你一直重新整理頁面,瀏覽次數就會一直飆升,且容易被灌水。這裡我們可以增加一些條件。需要是非作者的其他讀者,且沒有瀏覽過的 Session 紀錄,才會增加瀏覽次數:
public function __invoke(Post $post)
{
    ...
    $this->incrementVisit($post);
    ...
}

protected function incrementVisit(Post $post)
{
    if (! optional($this->user())->can('view', $post) &&
        ! session("posts:visits:{$post->id}")
    ) {
        $post->increment('visits');
        session()->put("posts:visits:{$post->id}", true);
    }
}
現在在無痕模式打開文章,瀏覽次數只會+1,且重新整理不會一直增加瀏覽人次。
現在至少有個簡單的文章頁面,新增的文章終於可以看了。當然我們還不滿足,下篇我們改成用 Markdown,大家很熟悉的語法,敬請期待~~
Lightning 範例程式碼:https://github.com/ycs77/lightning


 iThome鐵人賽